Integrate Biamp control in Yealink Microsoft Teams Room (MTR) UC system
This article covers integrating Biamp Control within the Yealink room system.
Requirements
Biamp devices controllable by a web interface are required for integration into this type of system. For example, Impera Tangos, Alfa IIs, or the Apprimo Touch 8. A copy of Project Designer of 1.32.2 or later is also required.
The Yealink room system must be running Yealink RoomConnect 2.30.50.0 or later. RoomConnect can be downloaded here: Yealink Support
An example integration
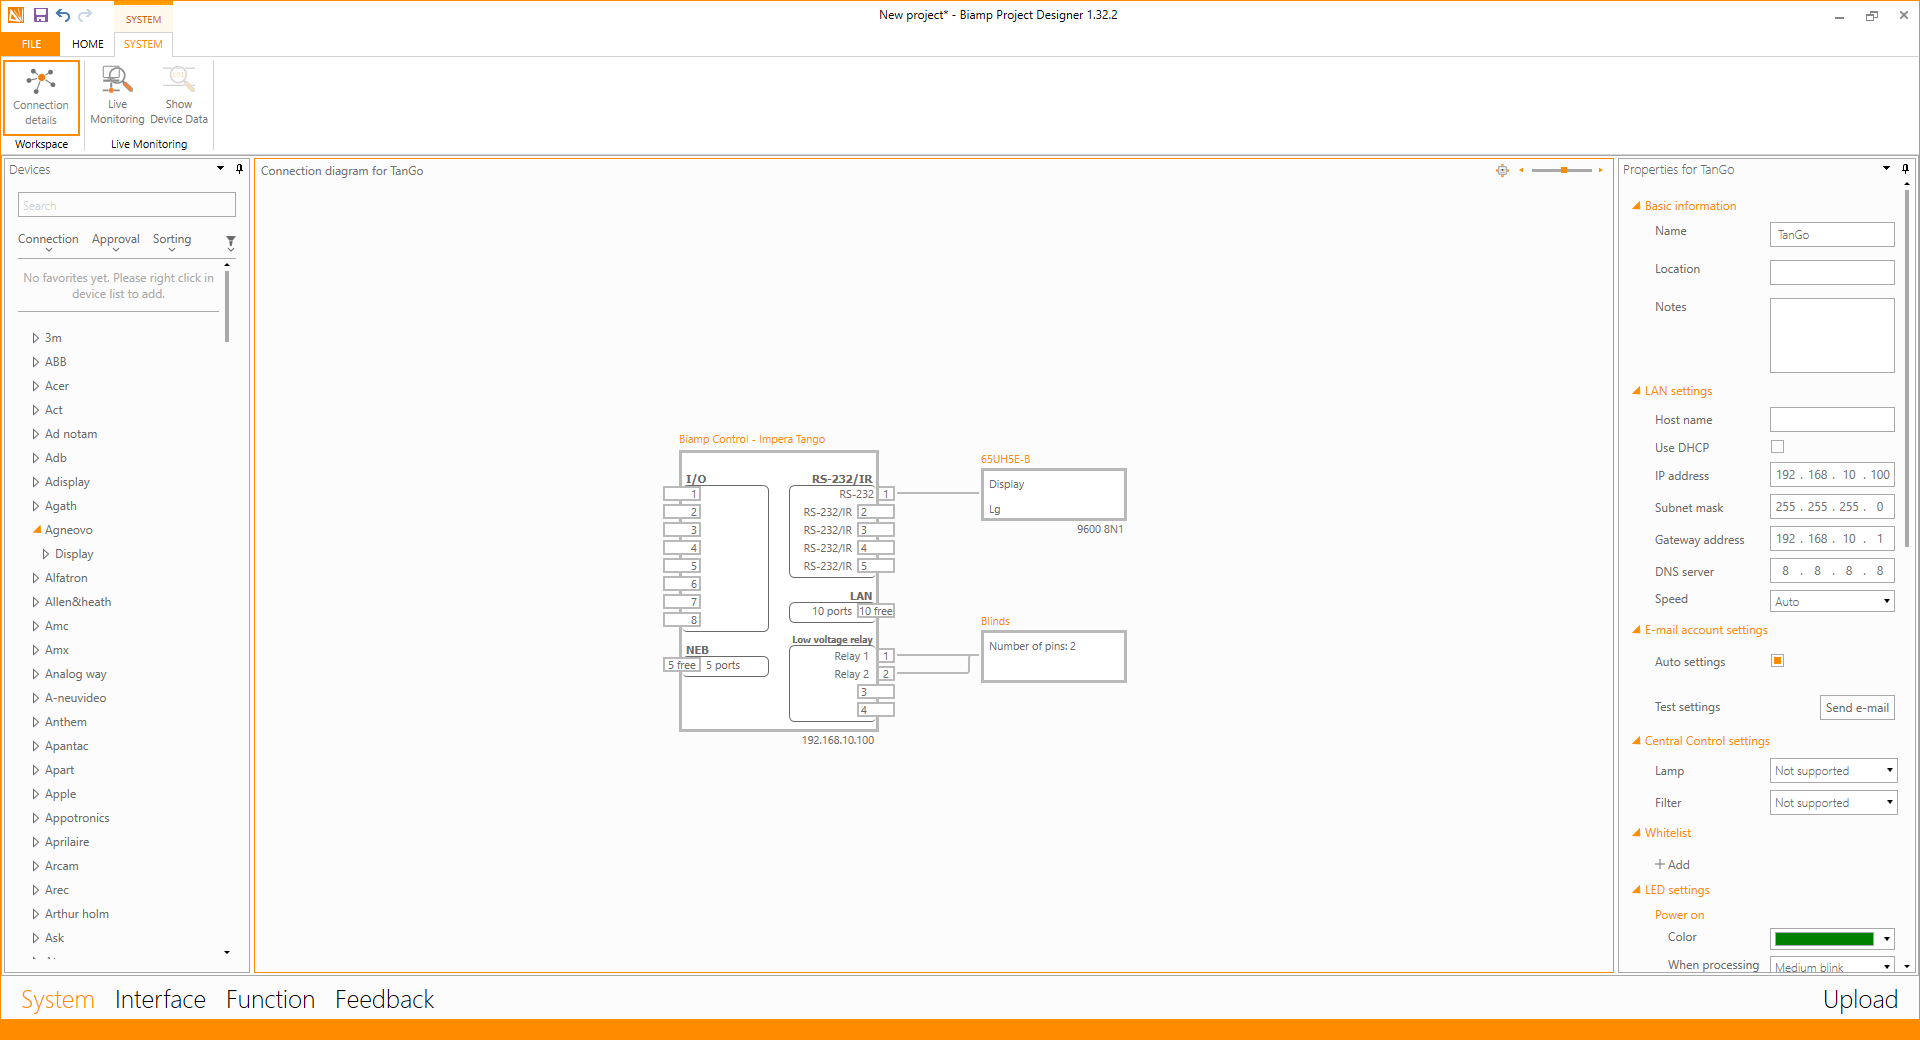
Project Designer configuration
Using Project Designer, configure your project with the desired functionality, and add the required functions to the control interface.
In this configuration example, we are controlling blinds and turning a screen on and off in Project Designer.
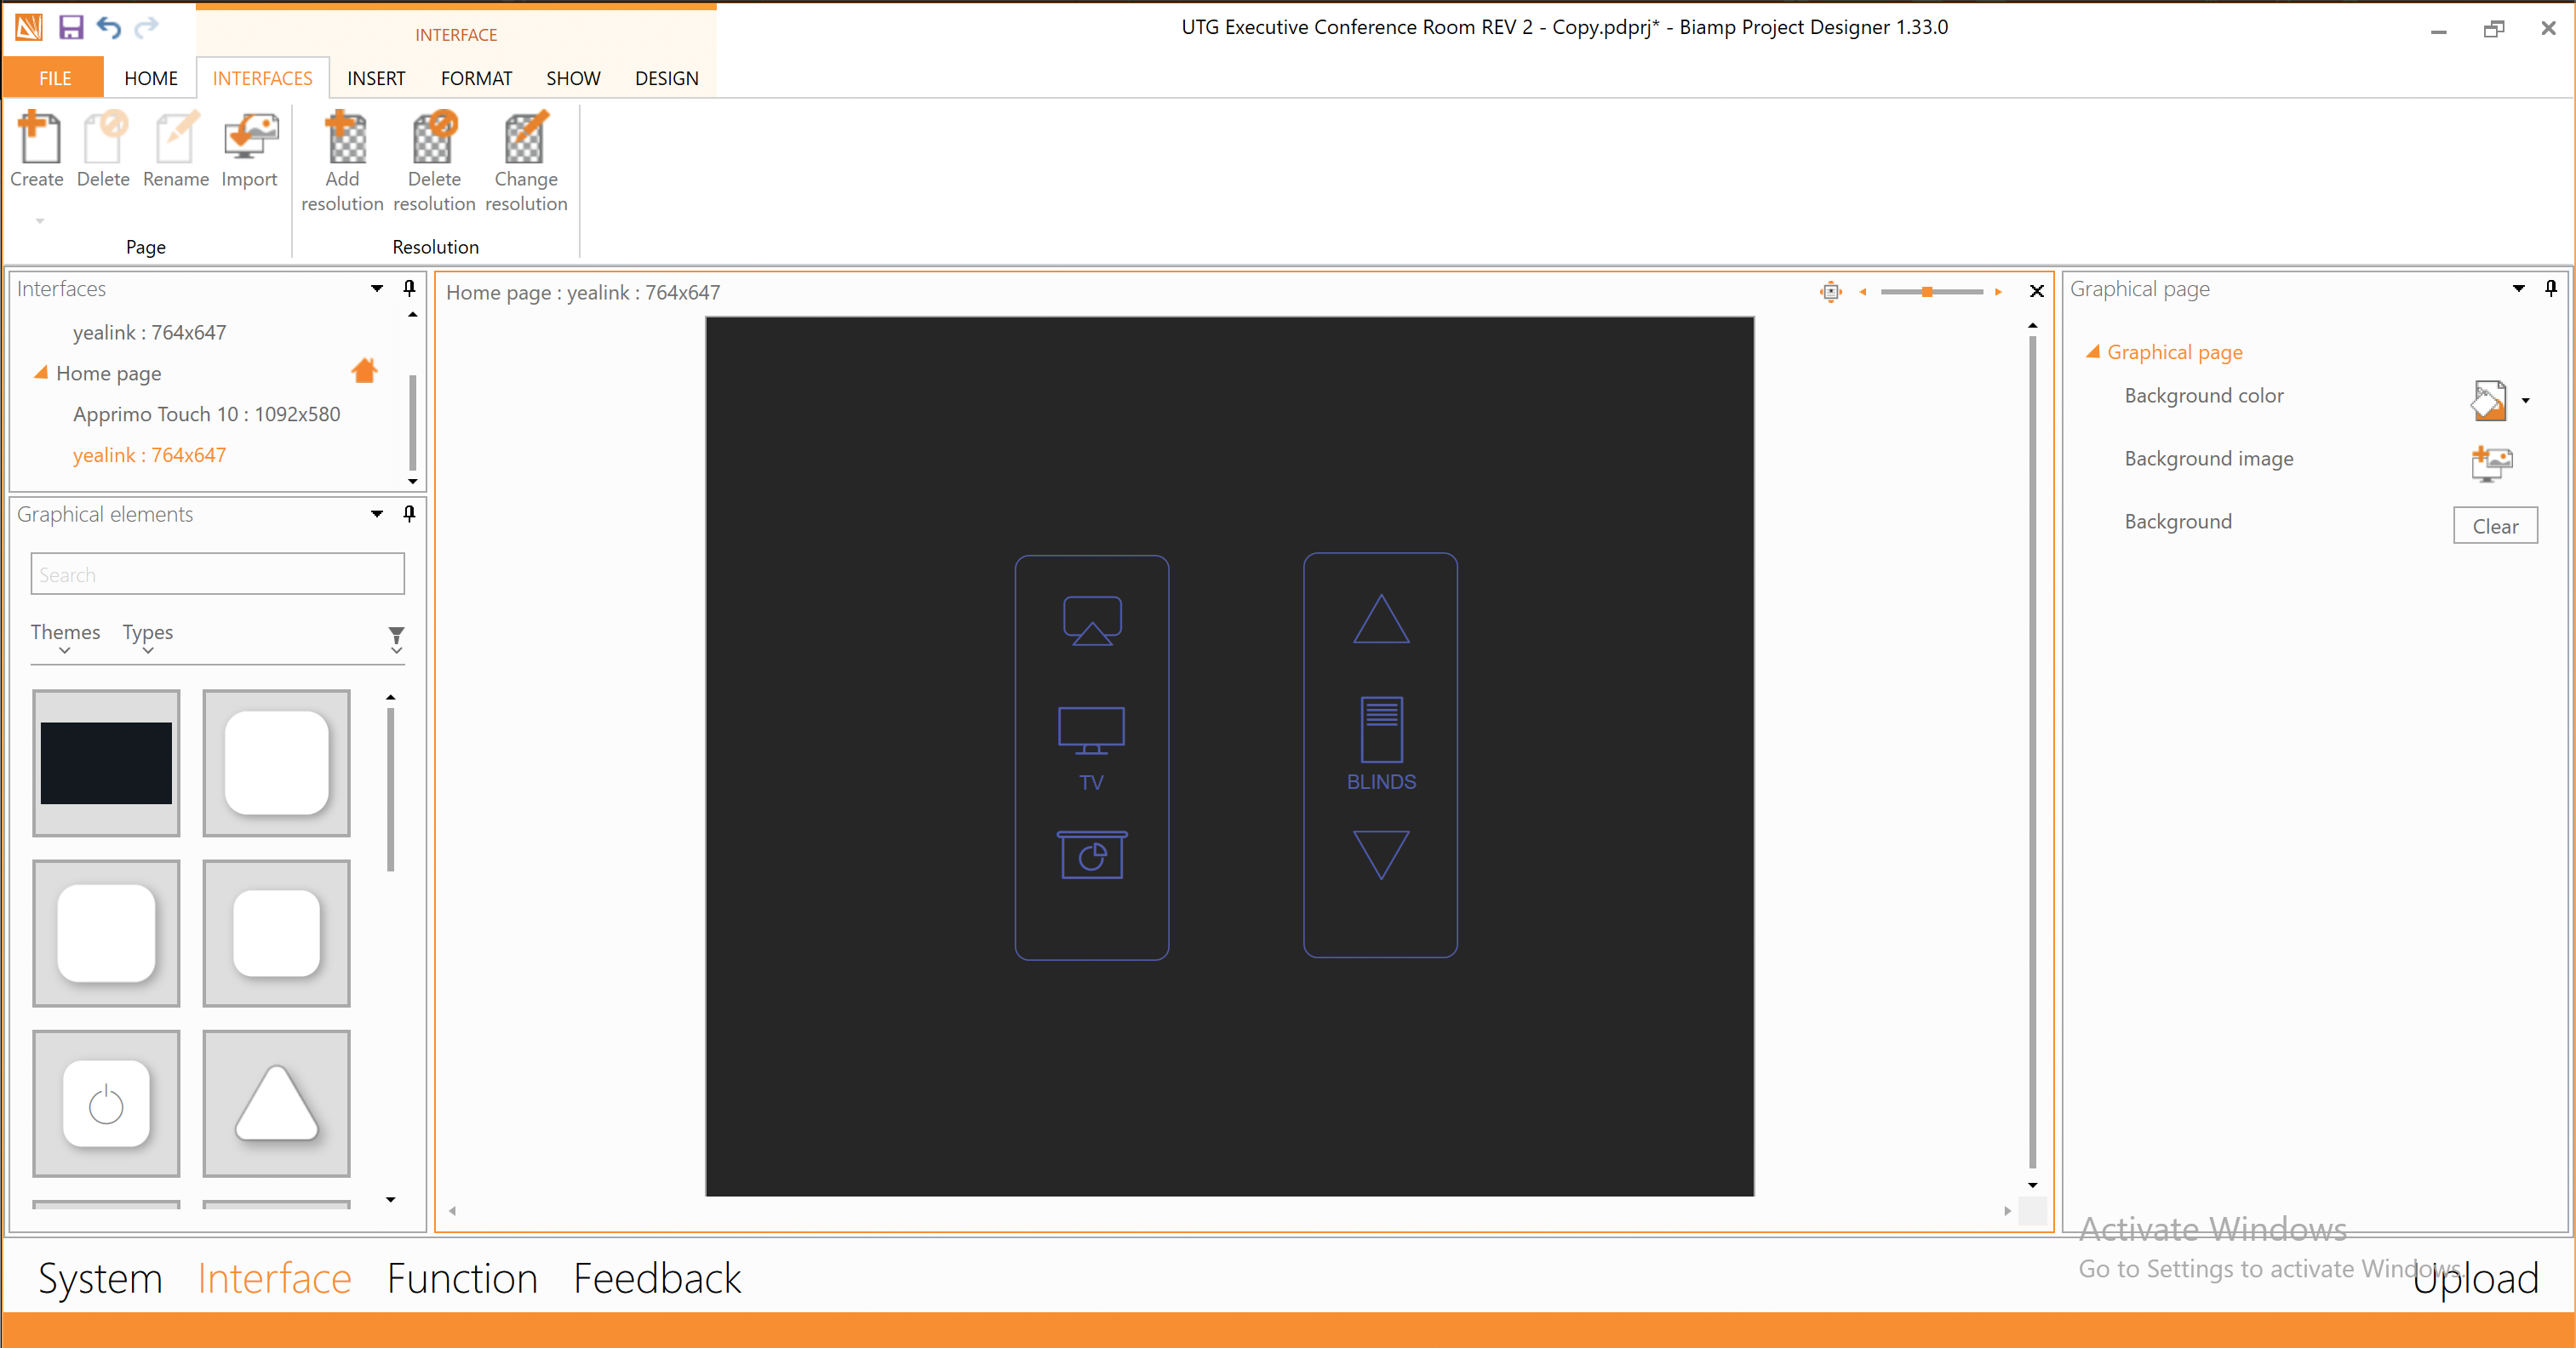
Display panel interface configuration
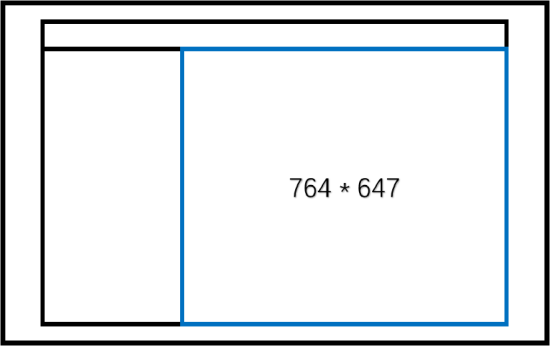
Next, you need to design the interface for the Yealink panel. For this, it is important to use the correct screen size.
Yealink MTouch II resolution on version 2.30.xx

Yealink MTouch II resolution on version 2.31.xx
Yealink MTouch II resolution on version 2.33.x.x should be 920 x 490
Yealink MTouch Plus resolution
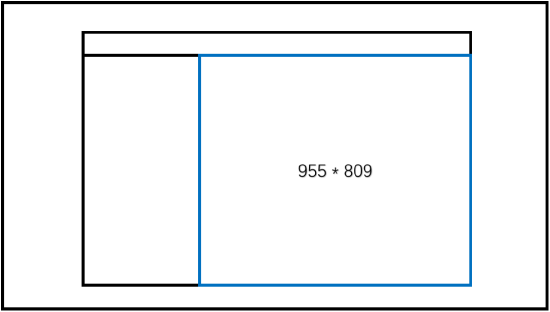
As the Yealink system offers different panel sizes and does not scale its interface, you may have to find the correct resolution through trial and error.
Verify the functionality
When your project is configured, and your control interface design is in place, you can verify that everything is working as intended by accessing the web interface of the Impera Tango or Alfa II (connect using a web browser, and the IP address of the Impera device).
Note: For Apprimo Touch 8i, you need to specify the port 8080, when connecting to the web interface.

When you are satisfied with the functionality, and the control interface design, the next step is connecting it to the Yealink system.
Connection
The connection is made through Yealink RoomConnect. To access this on the Yealink panel, follow these steps:
- Tap the more button "3 dots" ellipsis on the main page.
- Select settings on the menu to the right.
- Enter the administrator password for the device (default is sfb).
- Select Windows setting from the menu on the left.
- Choose the Administrator on the login screen user menu, and type the administrator password (default is sfb).
- When logged into the system, start the Yealink RoomConnect program.
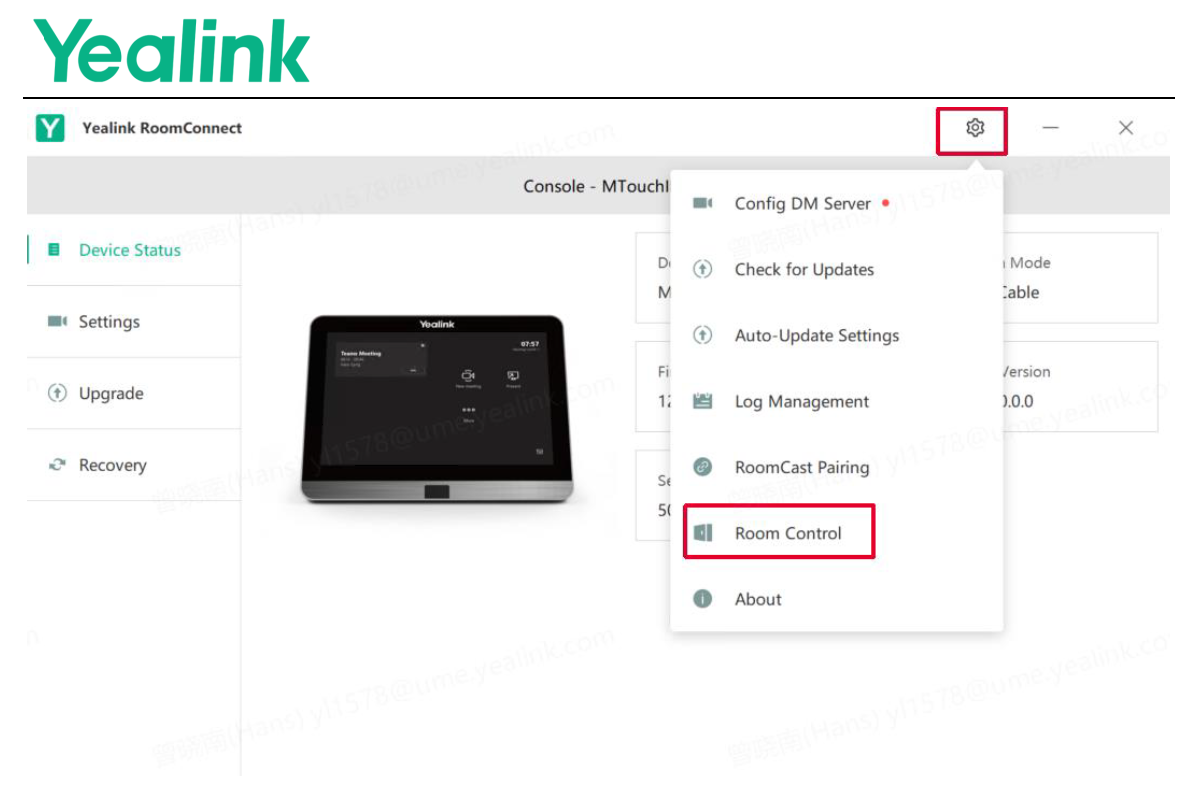
- Press the cogwheel at the top, and select Room Control.
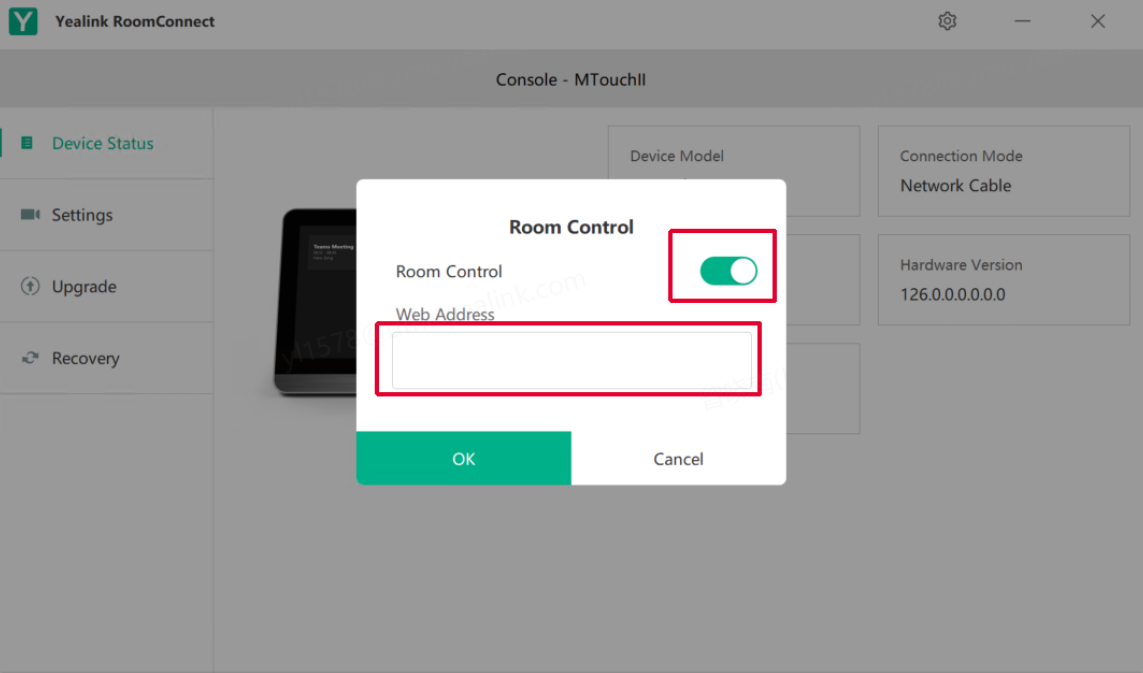
- In the Room Control window, activate Room Control, enter the IP address for the Biamp control device, and press OK.
- Impera : <ip_address>
- Apprimo Touch 8i : <ip_address:8080>
- Close Yealink RoomConnect and logout as the administrator, and log back in as a Skype user.
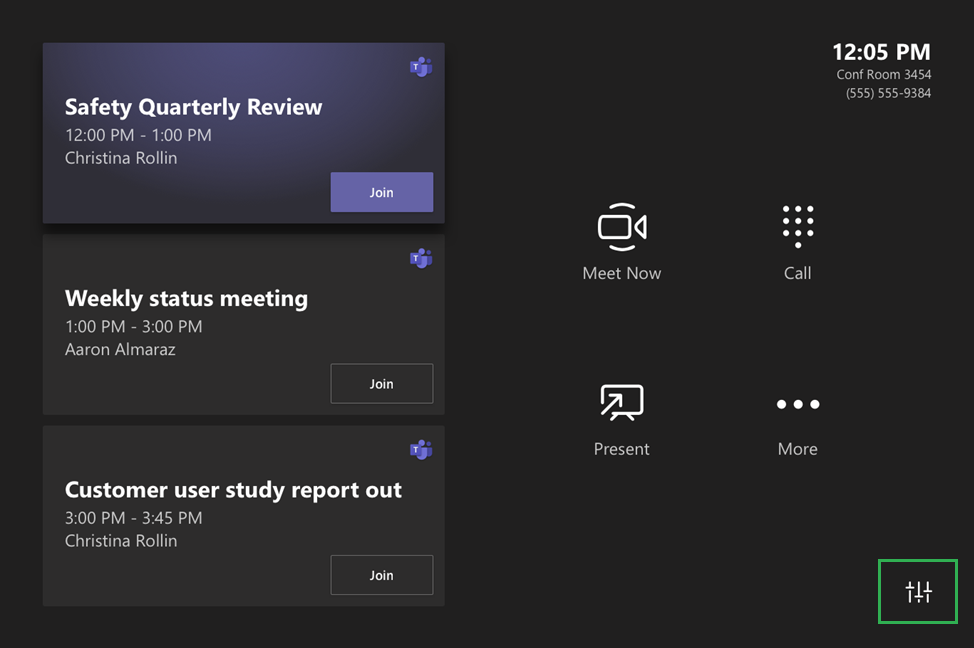
On the main screen, access the Biamp control interface of the Impera or Apprimo by pressing the settings button at the lower right corner.
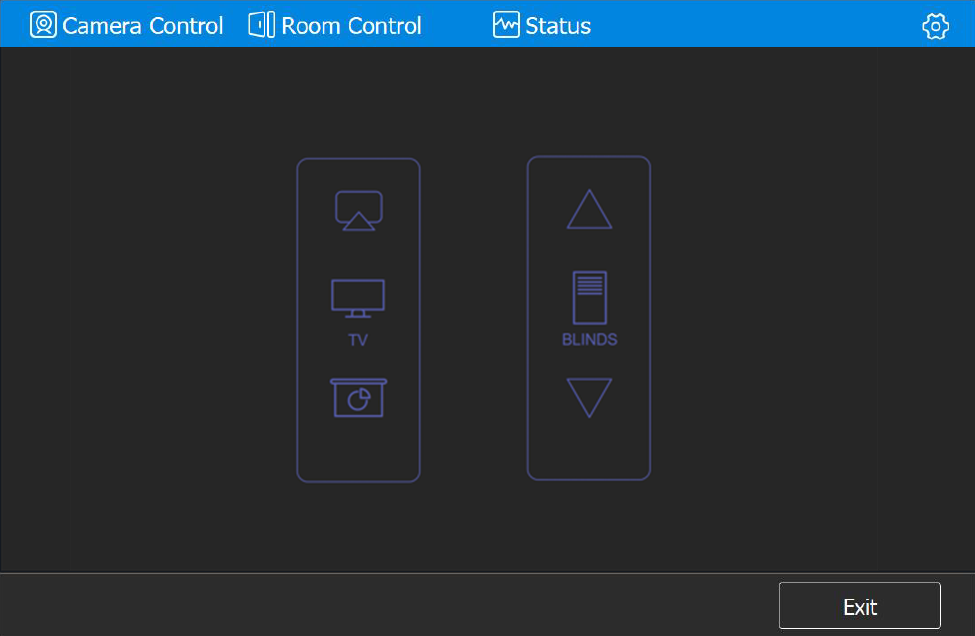
A new entry "Room Control" is visible at the top menu bar. Press it to access the Biamp control interface of the configured Impera Tango, Alfa, II or Apprimo Touch 8i.
Summary
The above example highlights the easy integration between the two product families. You can make similar integrations as advanced or simple as needed, including the use of elements such as subpages, feedback, and more.