Step 6: Install and Connect Kleeo and Naso Devices
If you opt to use the hardware devices of Evoko Kleeo and Naso this article will walk you through the steps on how to configure them to Desks and Rooms you have added to your Evoko Workplace.
To complete this step of connecting your hardware you will need to be characterized as an Organizer within your Organization. Having the Organizer status will allow you to use the Evoko Workplace Mobile Application to claim the hardware devices using NFC communication.
Connect Evoko Kleeo Using the Workplace Application
You can reference the Evoko Kleeo Installation Video if you have questions about the install of the Evoko Kleeo.
- Plug the device in the provided USB C Hub and then into power. It will boot to a screen shown below. There should be a white light emitting around the edge of the device and the words "Download App/Tap Phone to Connect" shown.
- Navigate to the Evoko Workplace Mobile Application. For this example we will be using the Evoko Workplace App on an iOS Device.
- When the App opens, you will be prompted to Sign In or Register. Use the Sign In option with your Evoko Workplace Account that you created in Step 1. We will choose sign with M365 Account as that is how we originaly made our Workplace Account.
- Once you have logged in you will be presented with the option to choose the Organization you want to log into. You should see the Organization you created in Step 1. In the Screenshot below you see our Demo Organization.
- This will bring you to the Today view within the Evoko Workplace Mobile Application. Navigate to the My Profile section in the top right hand corner.
- Scroll down to Device Setup
- Select Kleeo Desk Manager
- Enter the WiFi Credentials that should be sent to Kleeo Desk Manager via NFC. It's important to note that Network Name and Password are case sensitive. Press Save and Continue when done.
- Select the Desk you want to configure to your device. In this exercise we will be using Desk 001.
- Tap your phone on your Evoko Kleeo to perform the NFC handshake. Your screen should show Ready to Scan.
-

-
- Once the device acknowledges the handshake you will see this image on your mobile device.
-

-
- After a few moments the device will power cycle and boot into the configuration you have applied. The device below shows Desk 001.
- If you navigate back to the Evoko Workplace Admin Center you should see your device connected.
- Repeat the above claiming process for any remaining desks you would like to configure.


Connect Evoko Naso Using the Workplace Application
- Plug the Naso device into power by either AC Adapter or PoE. It will boot to a screen shown below.
- Navigate to the Evoko Workplace Mobile Application. For this example we will be using the Evoko Workplace App on an iOS Device.
- When the App opens, you will be prompted to Sign In or Register. Use the Sign In option with your Evoko Workplace Account that you created in Step 1. We will choose sign with M365 Account as that is how we originally made our Workplace Account.
- Once you have logged in you will be presented with the option to choose the Organization you want to log into. You should see the Organization you created in Step 1. In the Screenshot below you see our Demo Organization. If you have already selected this organization it may skip this step.
-

-
- This will bring you to the Today view within the Evoko Workplace Mobile Application. Navigate to the My Profile section in the top right hand corner.
- Scroll down to Device Setup
-

-
- Select Naso Room Manager
-

-
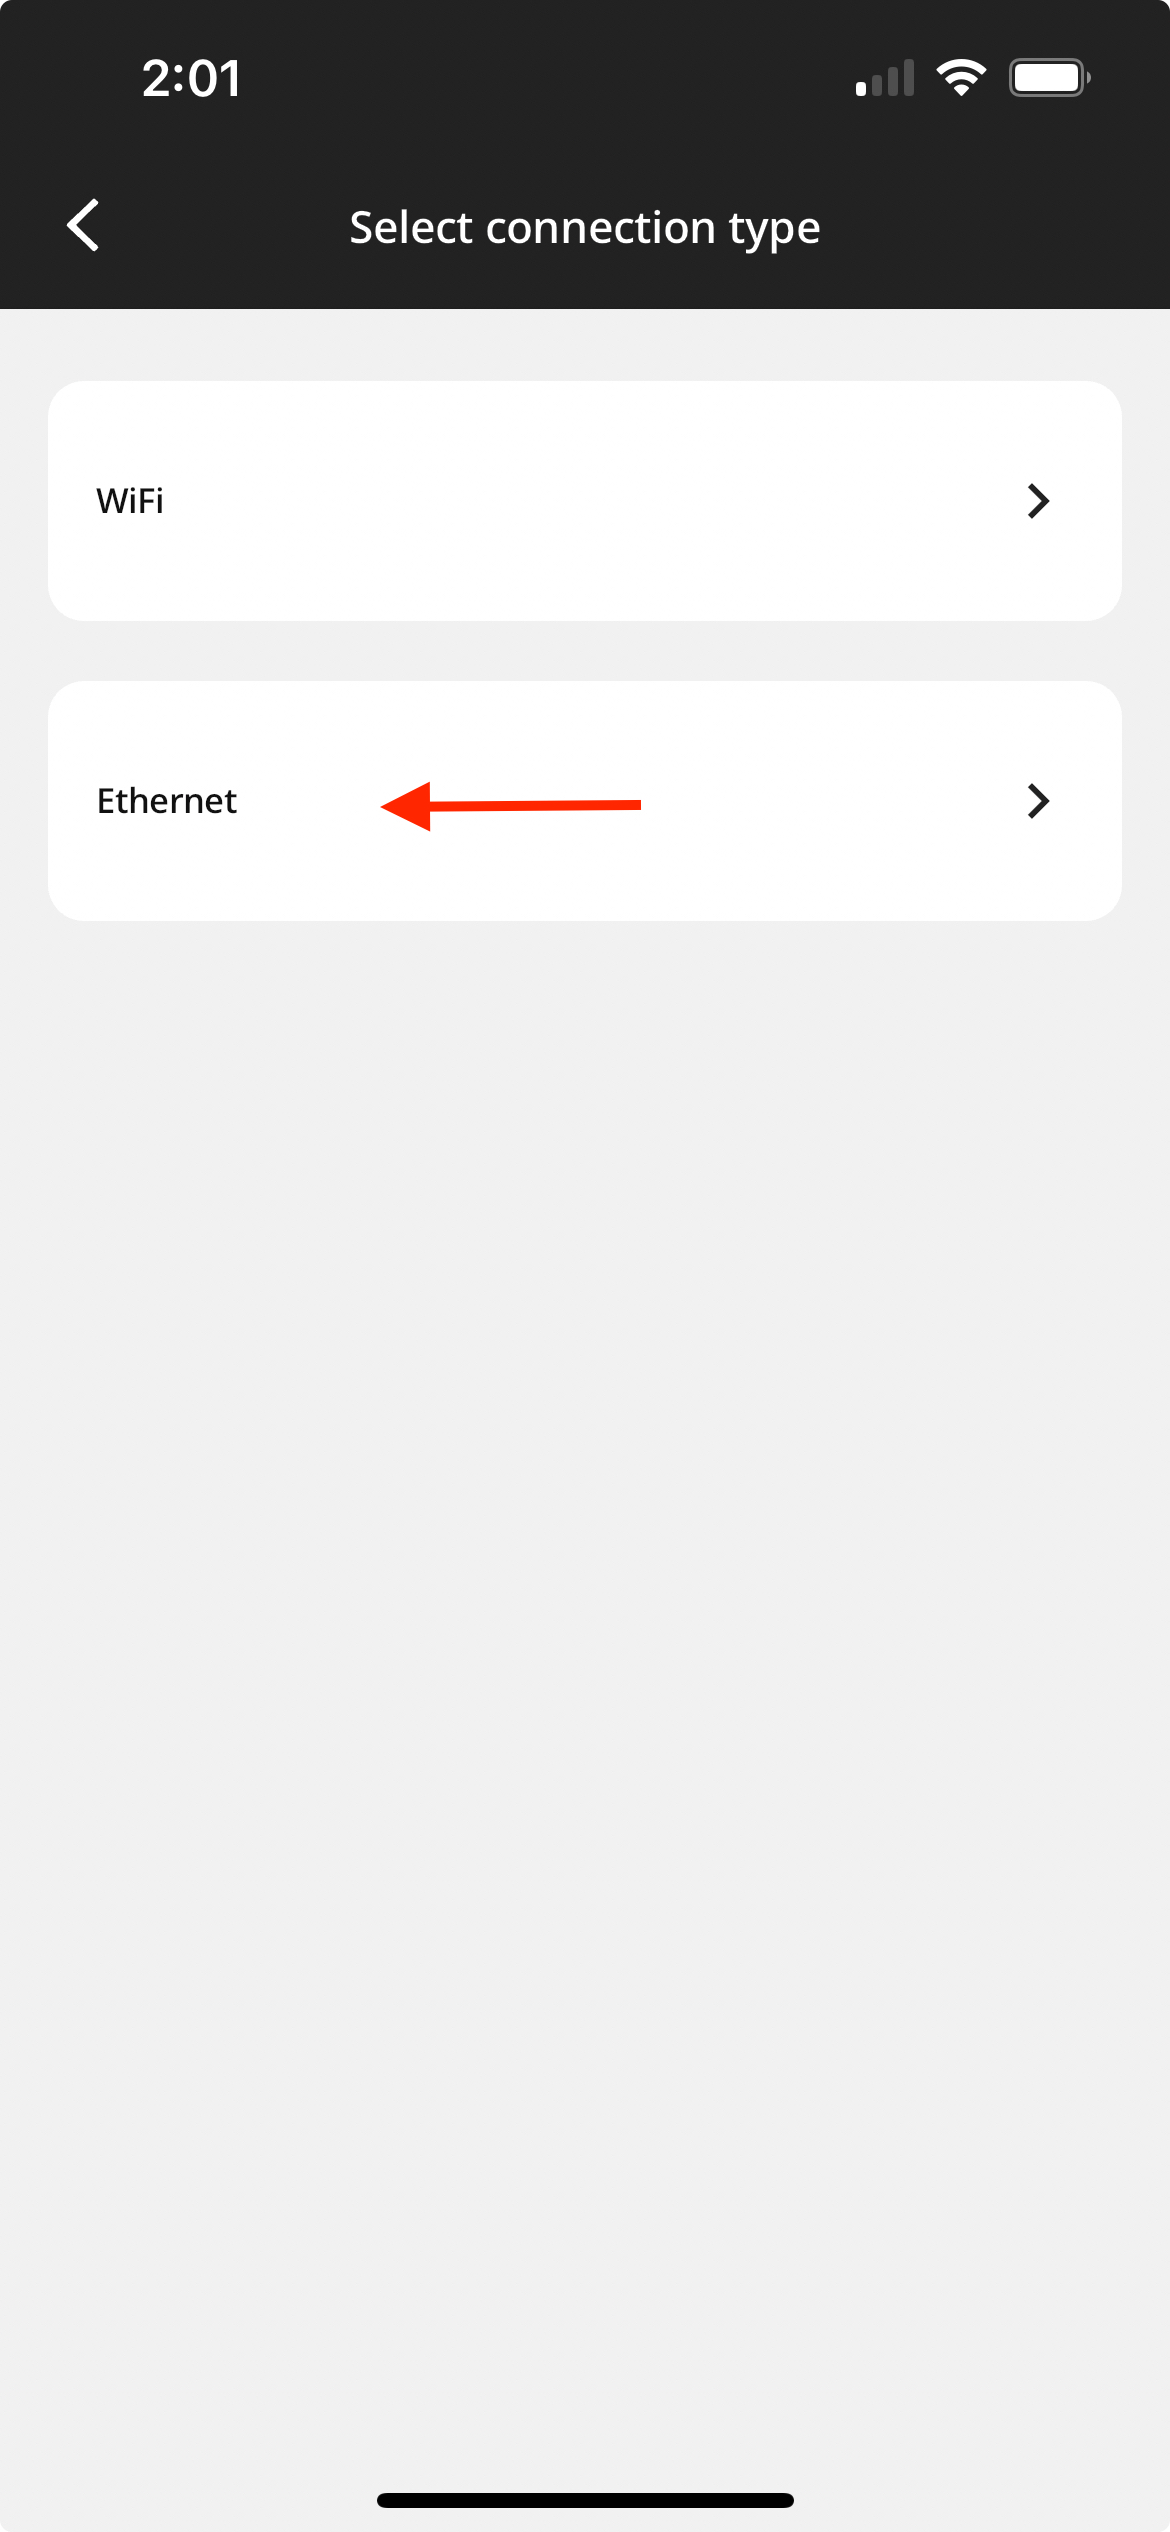
- You will be presented with [2] Options on how the Naso will connect to the internet. In this exercise we will be using Ethernet. Press Ethernet.
- Select which Room you would like assigned to the specific Naso panel. In this exercise we will select Lecture Hall.
-

-
- Place your Mobile Phone in close proximity to the RFID reader on the Naso. The RFID is shown below.
- This will initiate the NFC Handshake for the network configuration and room configuration.
-

-
- Once the device acknowledges the handshake you will see this image on your mobile device.
-

-
- If the handshake was successful you should see the successful message shown. Press Ok, Great when done.
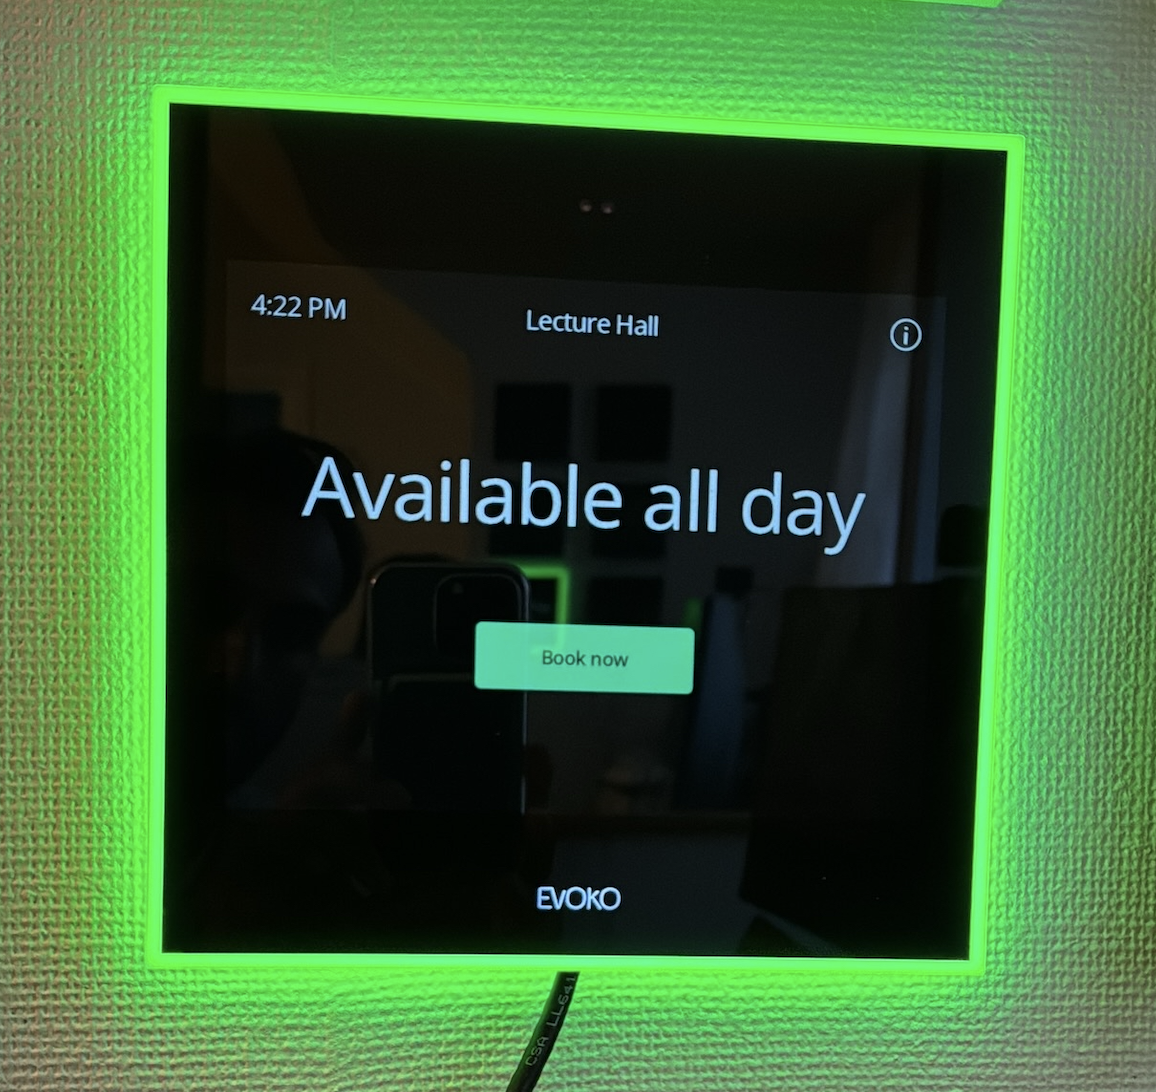
- After a few moments the device will power cycle and boot into the configuration you have applied. The device below shows Lecture Hall.
-
-
- You can also see the device connected in your Evoko Workplace under Devices.
-

-