Step 1: Configure Booking System (M365)
The very first step in the Naso setup is to make sure Microsoft 365 is prepped to work with the Evoko Naso ecosystem. We will cover the following topics in this article.
- Add EvokoNasoCompanyWebAdmin and EvokoNasoUserGroup Groups in M365 Admin Center.
- Add M365 Global Admin to EvokoNasoCompanyWebAdmin Group
- Create Service Account in M365
- Add evoko.naso@yourdomain.com to both EvokoNasoCompanyWebAdmin and EvokoNasoUserGroup Groups
- Create Room Resource Accounts
- Configure the Room Resource Accounts
Add Groups in M365 Admin Center
To manage access of Naso features there are two Active Directory groups are used.
- Admin Group EvokoNasoCompanyWebAdmin is used to manage access to the Naso Admin Portal and Evoko Setup App.
- User Group EvokoNasoUserGroup is used to enable role-based access for the Evoko Workplace Application
Important! The names of these groups need to be exactly EvokoNasoCompanyWebAdmin and EvokoNasoUserGroup, respectively.
Add EvokoNasoCompanyWebAdmin in Microsoft 365 Admin Center
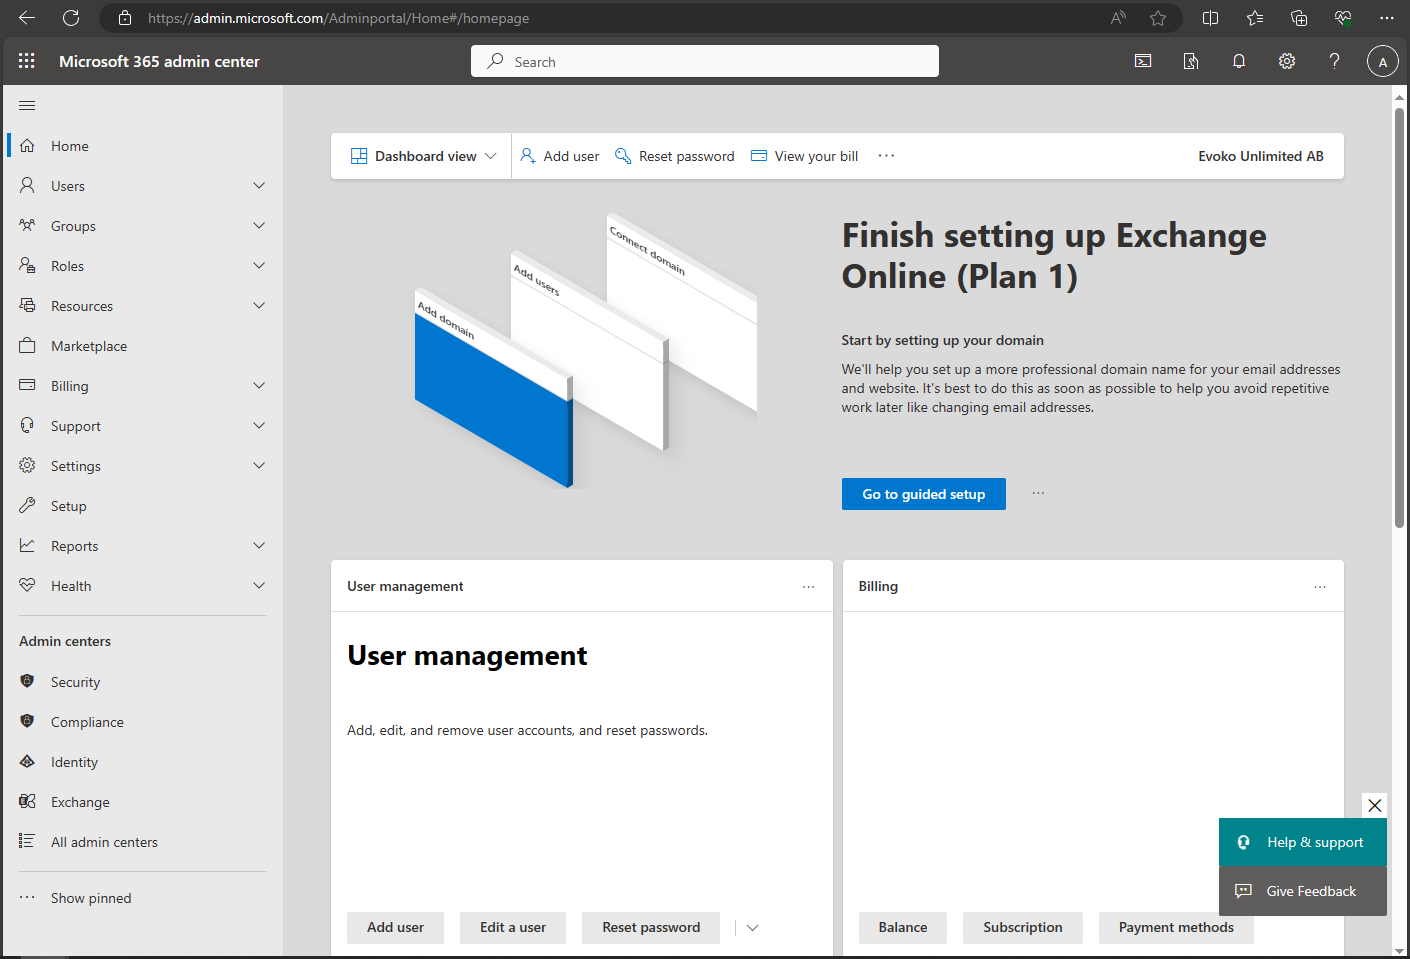
- Navigate to the Microsoft 365 Admin Center.
- Log in with your Microsoft 365 Global Admin Email and you should land here.
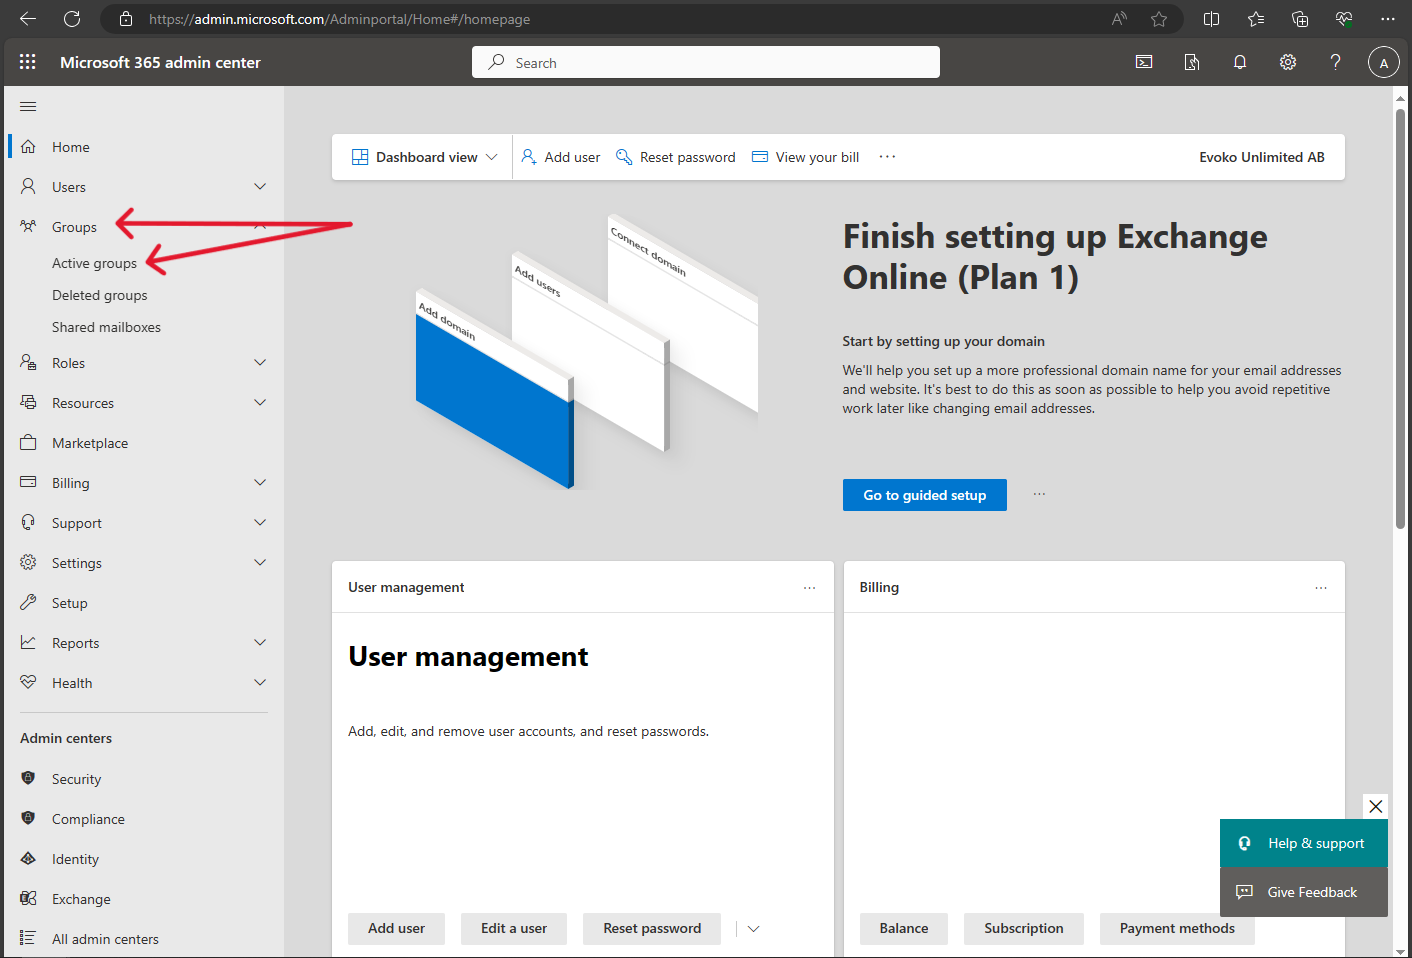
- Navigate to Groups->Active Groups on the left hand side.
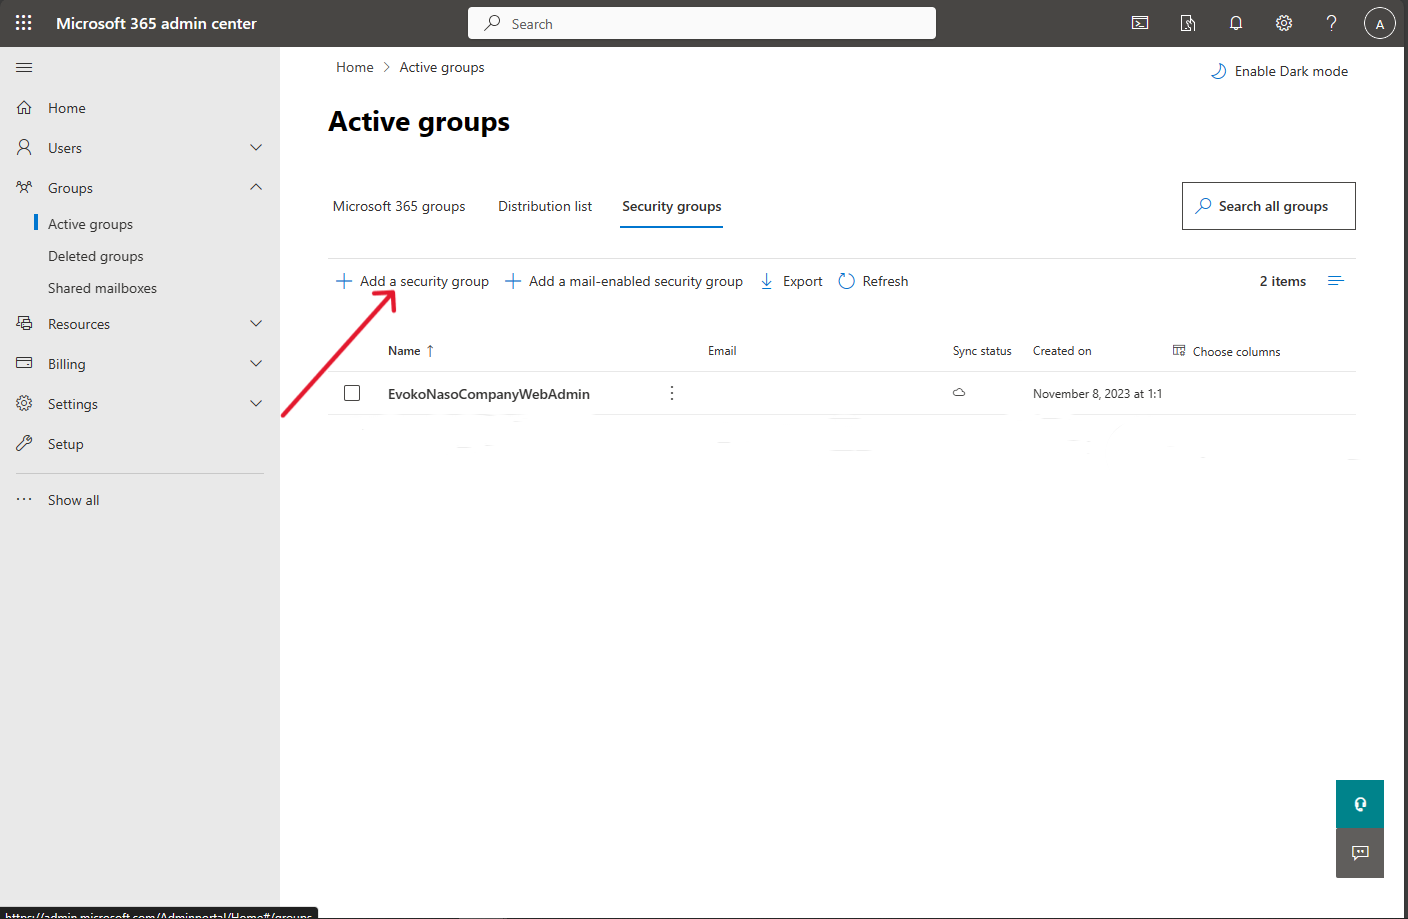
- Navigate to Security Groups
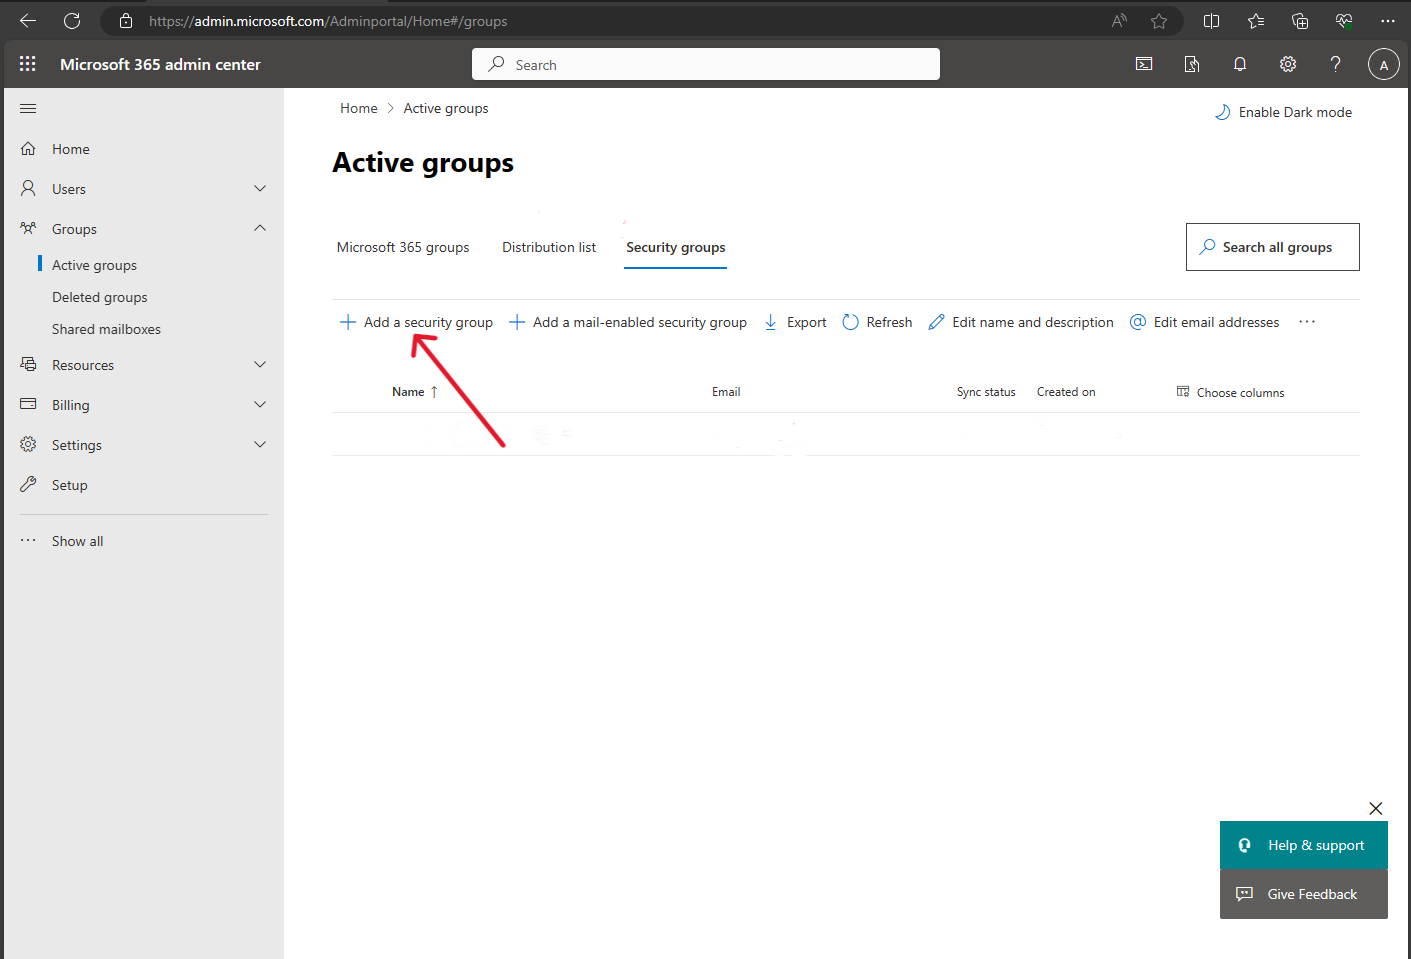
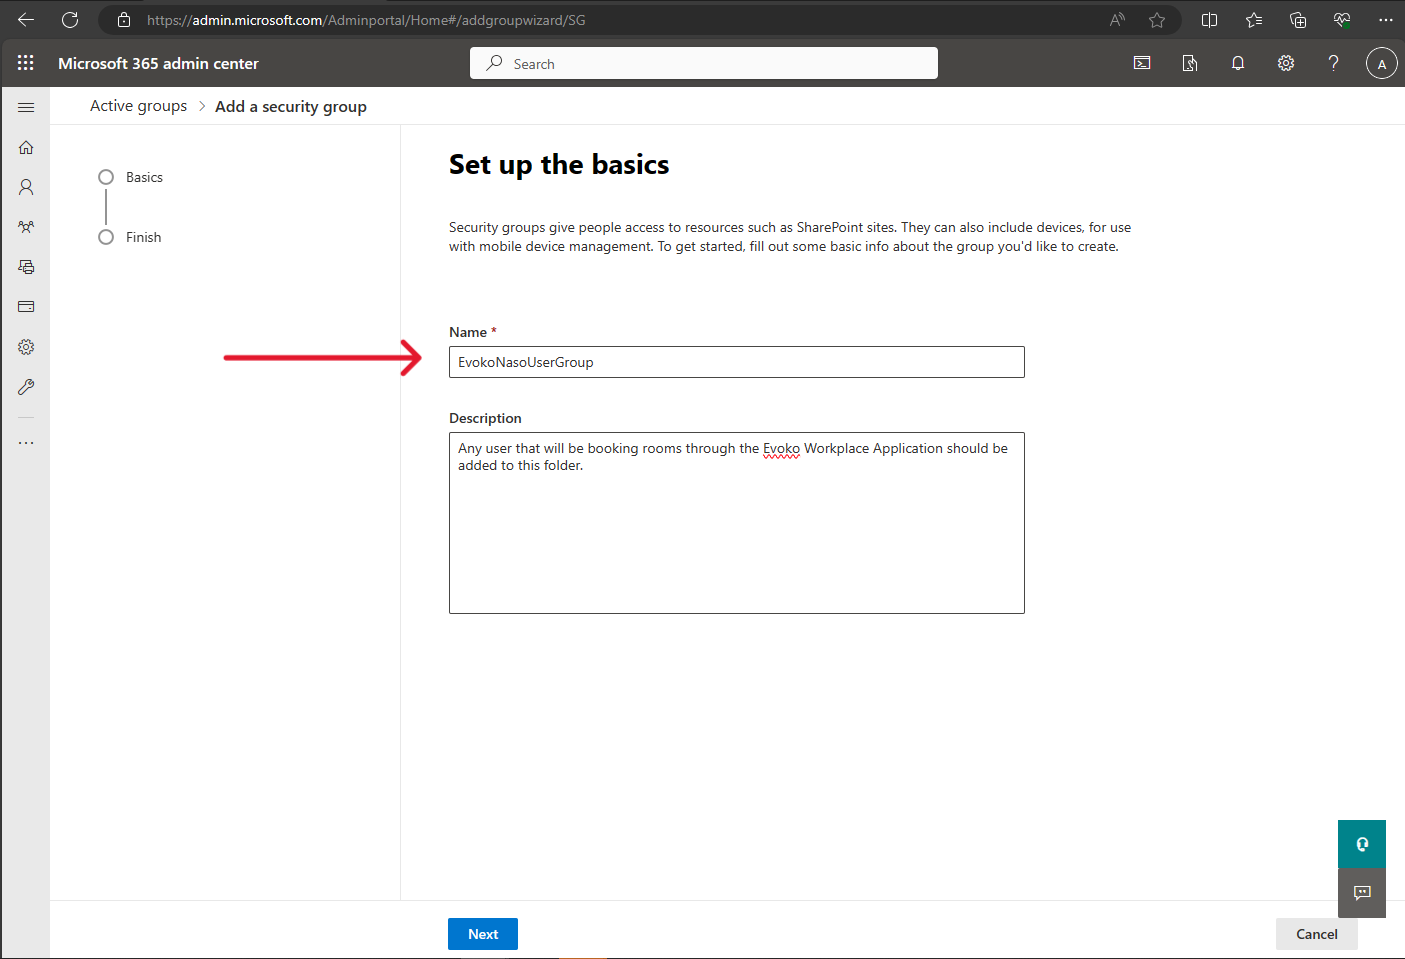
- Select + ADD A SECURITY GROUP
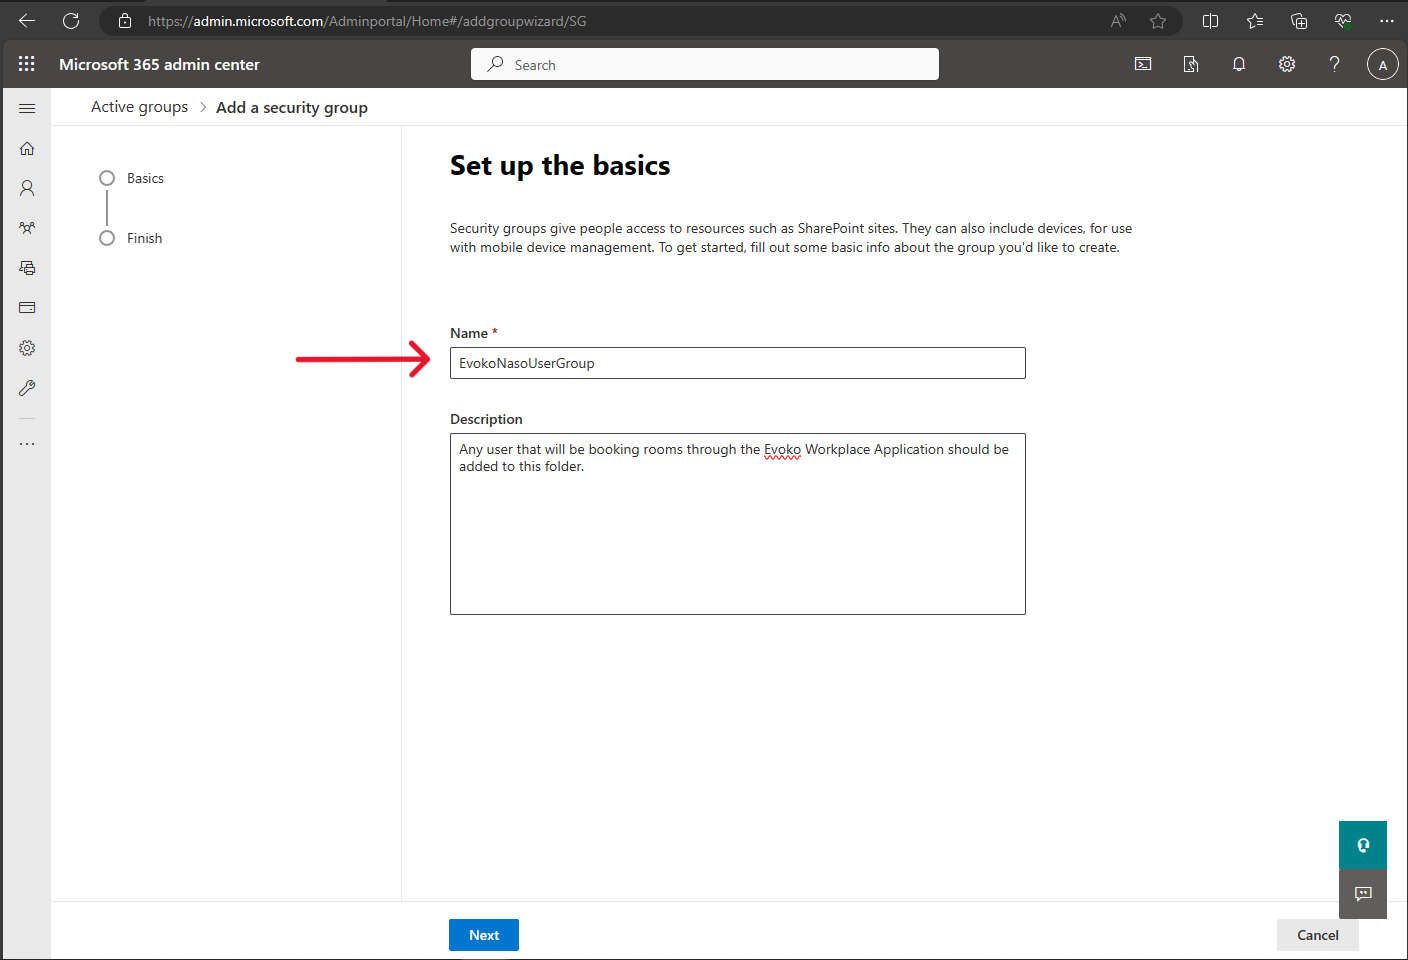
- You will be prompted for the basics. The Name of this group needs to be EvokoNasoCompanyWebAdmin
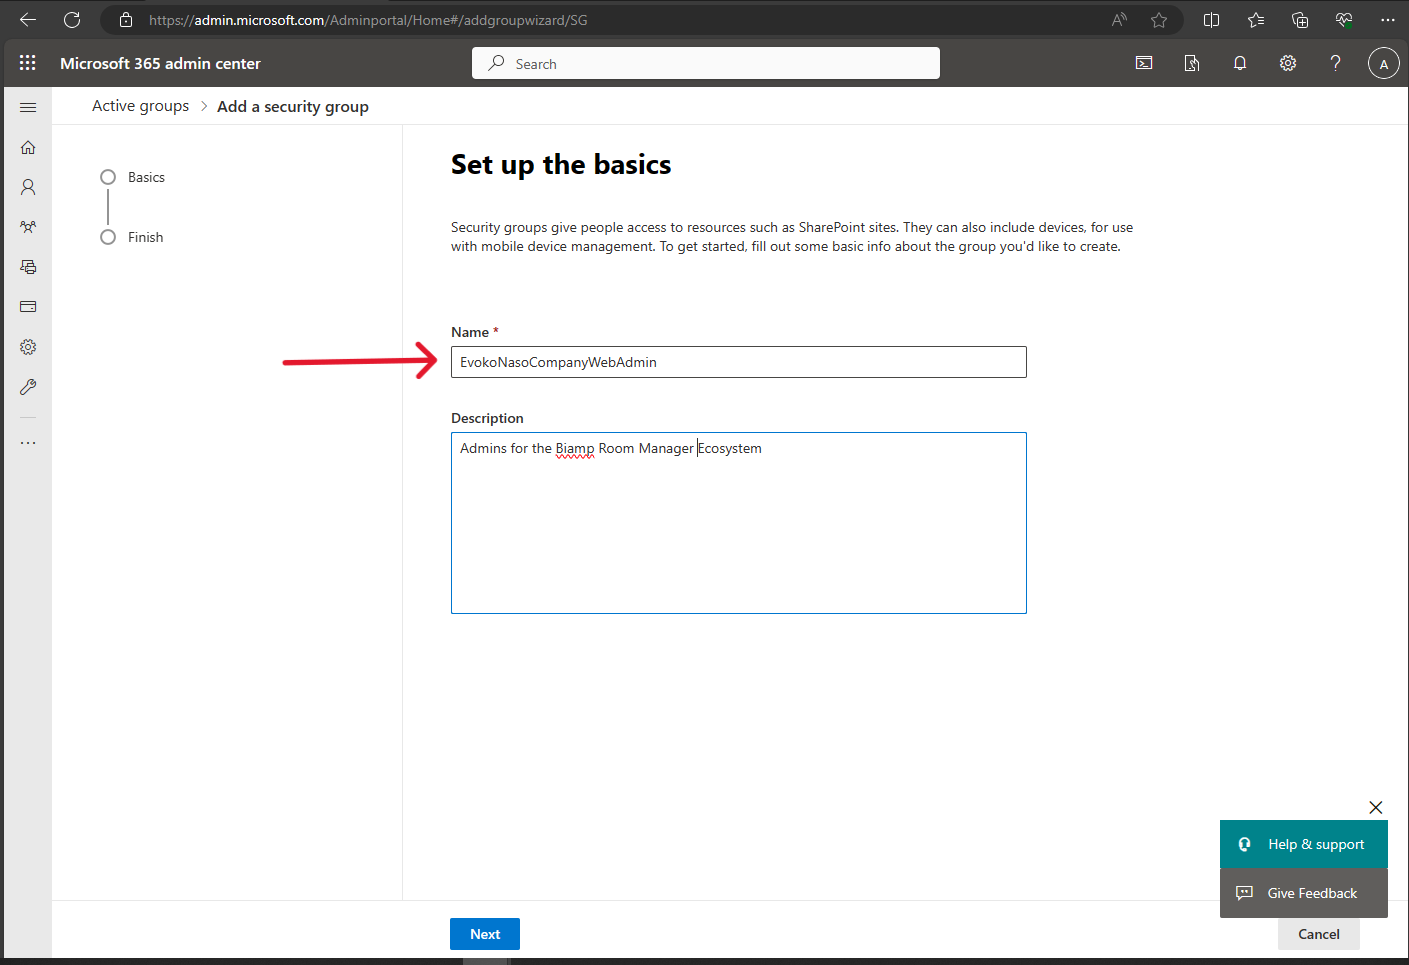
- Press NEXT

- Press CREATE GROUP

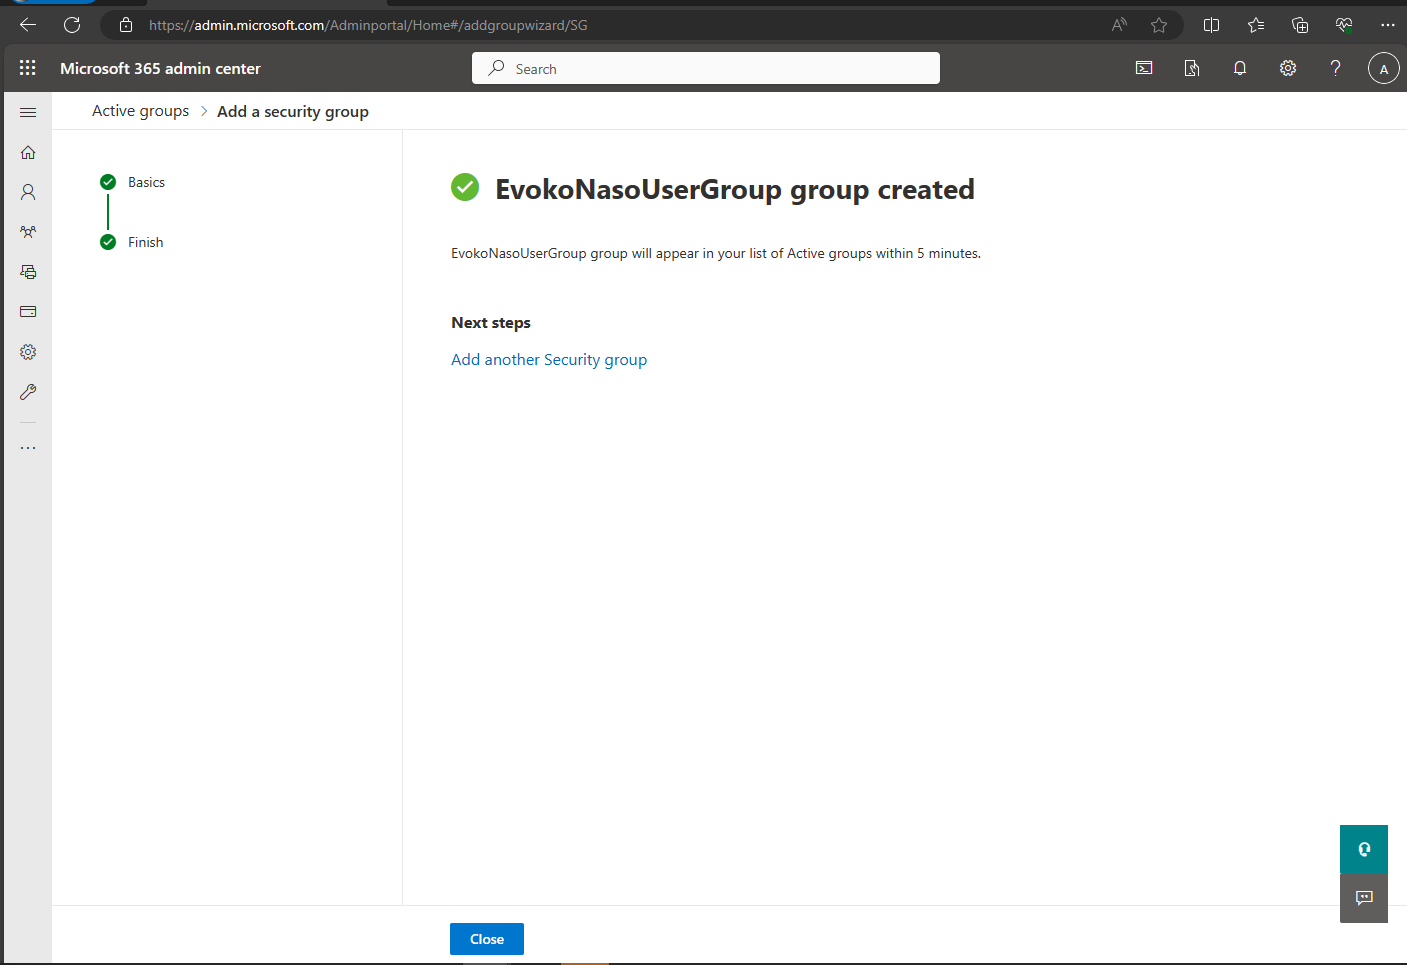
- You will be greeted with a message indicating that your group will populate within 5 minutes.
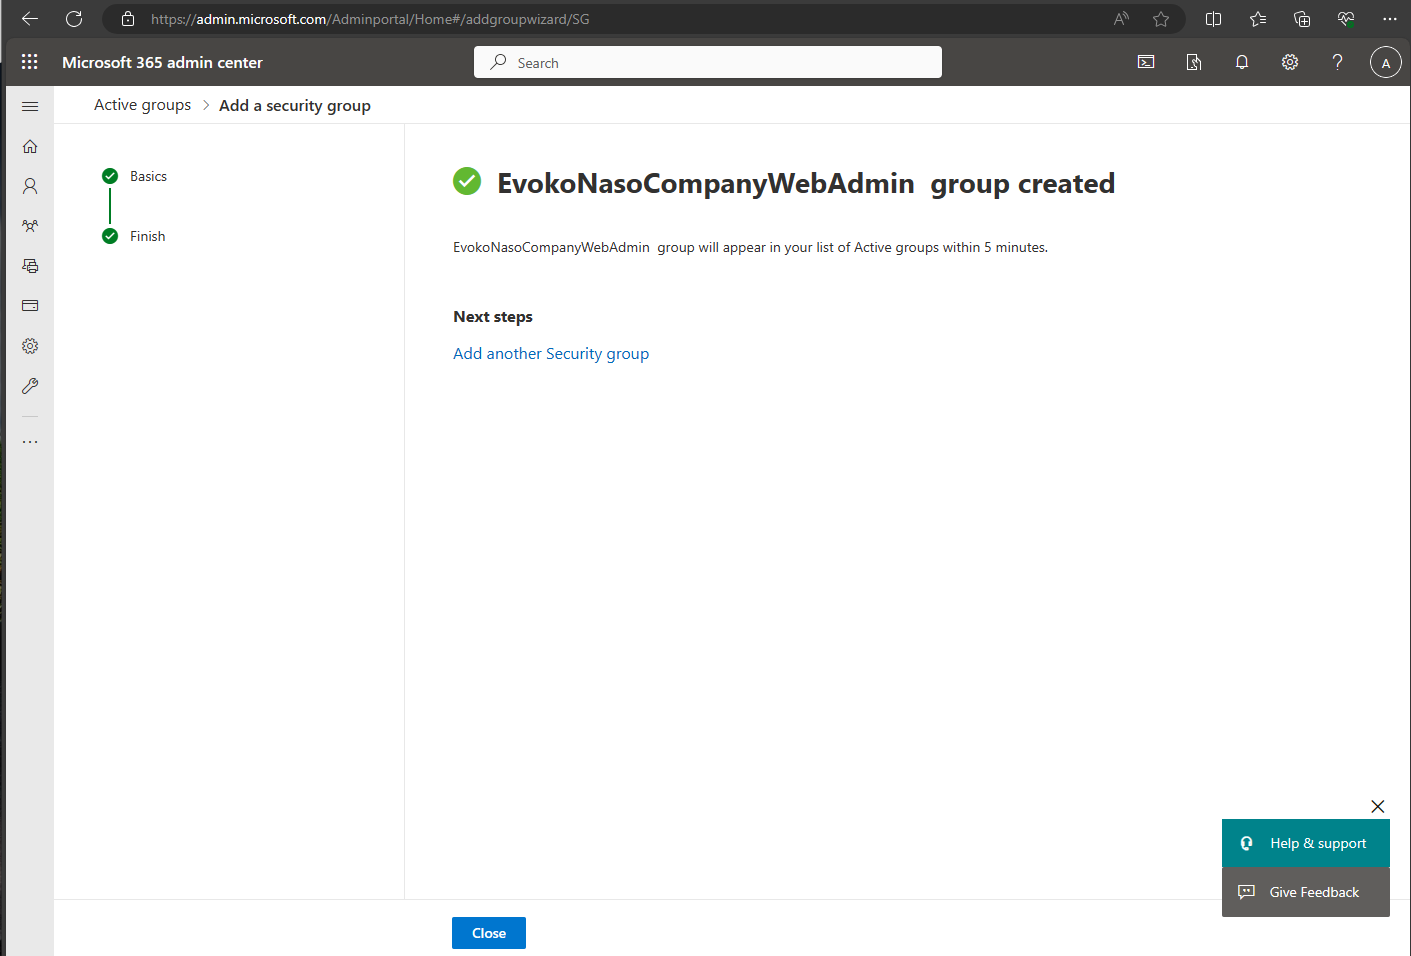
- Press Close.
- After ~few minutes you should see the EvokoNasoCompanyWebAdmin group populated in the Security Group list.
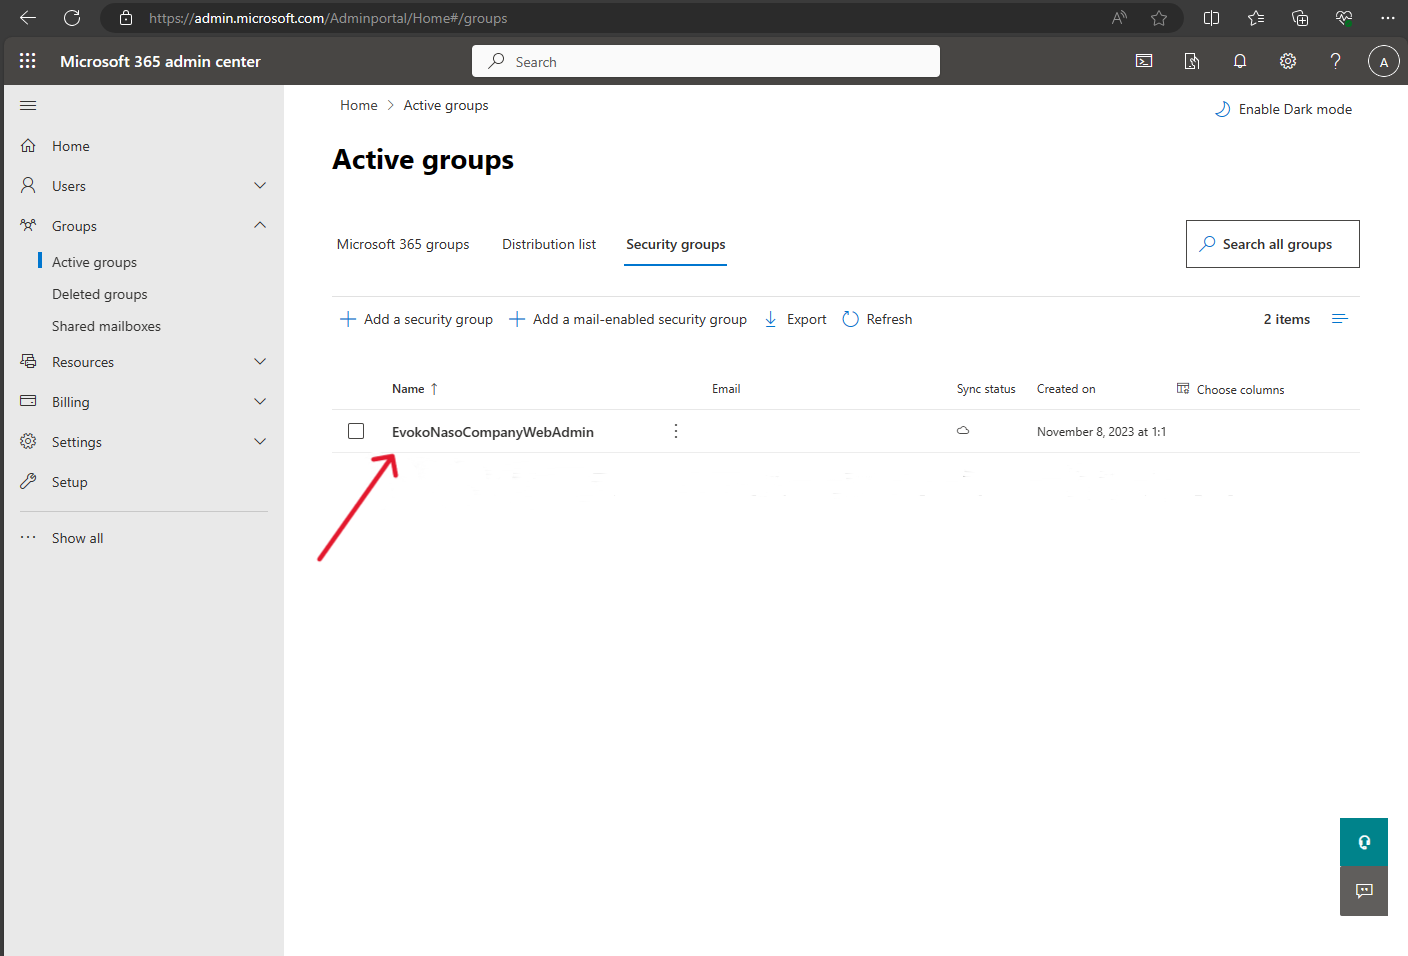
- Well done. Move on to the next section to create the EvokoNasoUserGroup
Add EvokoNasoUserGroup in Microsoft 365 Admin Center
- Navigate to Groups->Active Groups on the left hand side. You will see the previous Admin group we just made. Select the + ADD A SECURITY GROUP
- You will be prompted for the basics. The Name of this group needs to be EvokoNasoUserGroup
- Press NEXT
- Press CREATE GROUP

- You will be greeted with a message indicating that your group will populate within 5 minutes.
- Press CLOSE
- After ~few minutes you should see the EvokoNasoUserGroup populated in the Security Group list, ideally you will see the EvokoNasoCompanyWebAdmin as well.
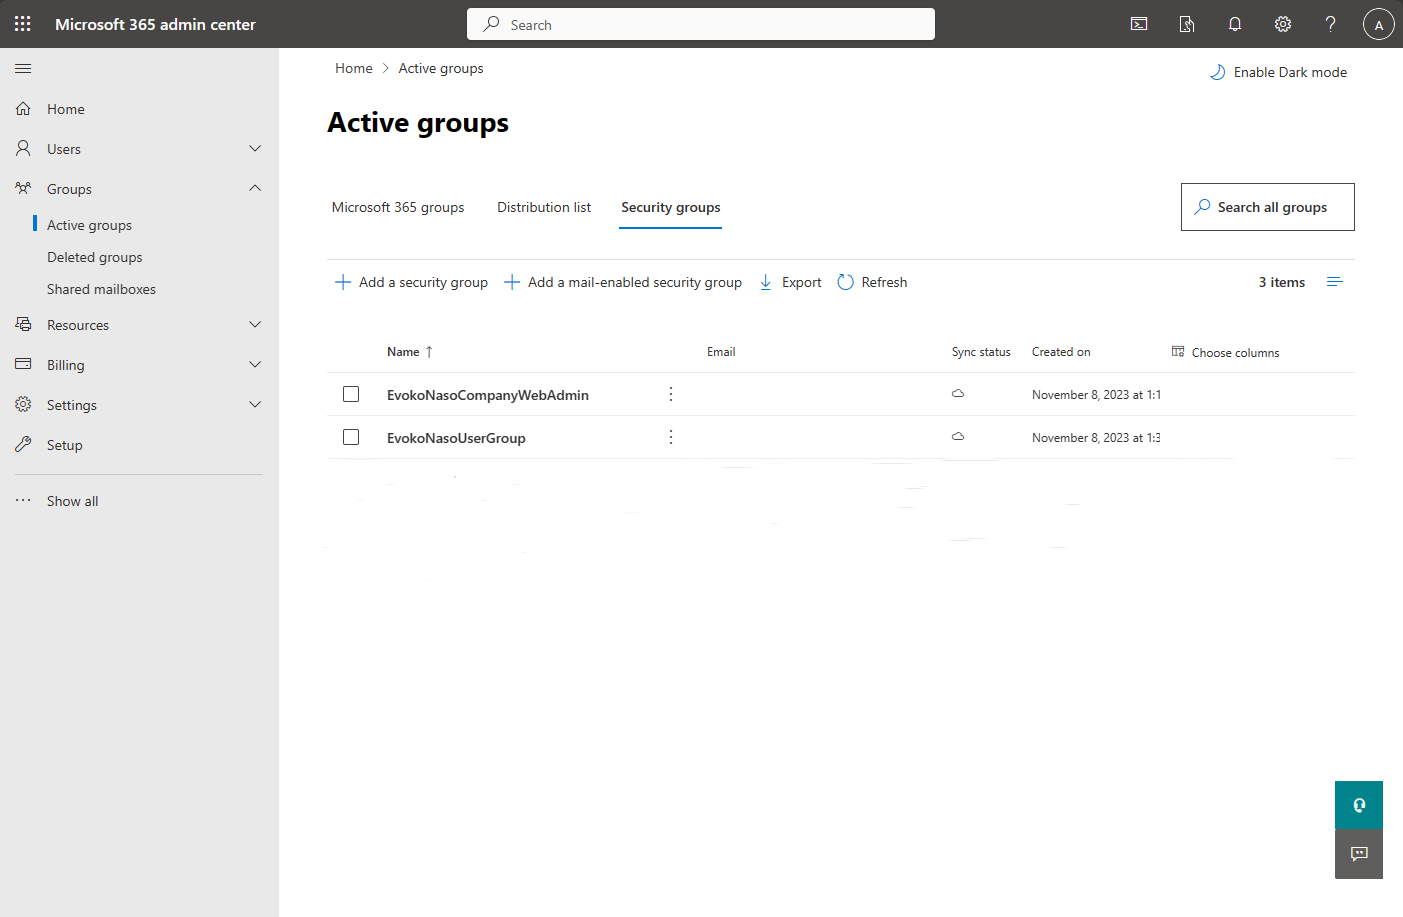
- Now you will need to add the Global M365 Account email used registering for Evoko Workplace to the EvokoNasoCompanyWebAdmin group. Once done you can proceed to creating the evoko.naso@domain.tld Service Account.
Create Service Account
In order to claim Naso devices using the Setup App a special service user needs to be created in the customers active directory. This user does not require a Microsoft 365 license. However, the username needs to follow this format: evoko.naso@domain.tld
- Navigate to the Microsoft 365 Admin Center.
- Press Add a user and enter:
- Display Name: e.g.
Evoko Naso - Username:
evoko.naso@domain.tld
- Display Name: e.g.
- Add the user to the EvokoNasoCompanyWebAdmin and the EvokoNasoUserGroup
- Log in to the
evoko.naso@domain.tldaccount in Microsoft 365 portal to open its mailbox for the first time.
Create Room Resource Accounts
Next let's add rooms (also known as "resource accounts" or "room mailboxes") in Microsoft 365. It's the calendars of these rooms your organization and Naso devices will use when booking the rooms.
- In the Microsoft 365 admin center navigate to Resources > Rooms & Equipment.
- Press Add and enter the following:
- Type:
Room - Name: e.g.
Fika room - Email: e.g.
fika-room@domain.tld
- Type:
- Press Add.
- Repeat the above step for all the rooms you'd like to add.