Step 6: Evoko Liso Installation
Important! You will need to start the device registration timer to allow your devices to connect securely to the server. This can be found in the Evoko Home Global Settings. If the timer is not started, Evoko Home will not accept connections from new Liso devices. The image below shows you where you can find that timer. 
You're almost there! All that remains is to setup the Liso units which this article will cover.
- Network configuration
- Setup in Default mode
Check the following article for mounting instructions and possible power/network options.
Network Configuration
The Evoko Liso can be connected via either a wired Ethernet connection or Wifi using a dynamic or static IP. By default, a Liso unit will automatically obtain an IP address using DHCP once connected via a wired Ethernet connection.
Connect Liso to Evoko Home
To connect a Evoko Liso unit to Evoko Home (which connects to your booking system) you need to enter the IP address and port for your Evoko Home server on the Liso unit and then select the appropriate room in your configuration.
- From the configuration screen press Continue in the bottom right hand corner.
- Select Default Mode
-

-
- Enter the IP address and HTTPS application port (default
3002) for your Evoko Home server. You also have the option to input the Fully Qualified Domain for the Evoko Home Server by using the Alphanumeric Keyboard. - Note! If any octet does not contain 3 digits please just use the "." button to move the cursor over to the next octet. Do not pad with zeros. The default port is 3002 - if Evoko Home has been configured to use another port number, please enter that port number on this screen.
- Wait for it to connect and load.
- You can filter the listed rooms, this is especially helpful for larger installations.
- Once the Liso is connected to your Evoko Home server it should display a list of all activated rooms in your configuration. Highlight the appropriate room and press "Select".
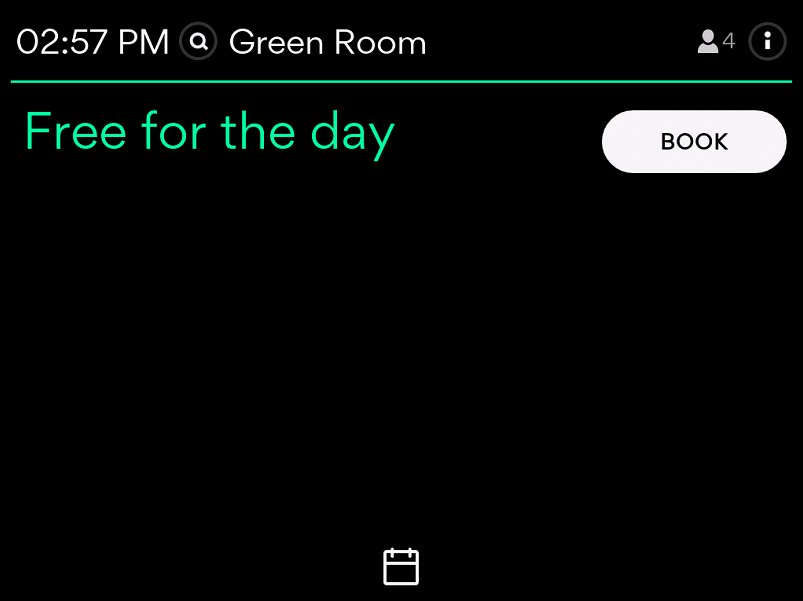
- Now the Liso unit should be setup and ready to use!
- The Liso unit should now appear under the "Monitoring" tab in Evoko Home.