Step 5: Add Buildings, Floors, and Room Resource Accounts
Once the permissions are granted you can proceed to add your buildings, floors, and room resource accounts. This article walks you through the process of doing this for the first time.
- Navigate here: Evoko Workplace and log in with your Workplace Account credentials for Room Booking.
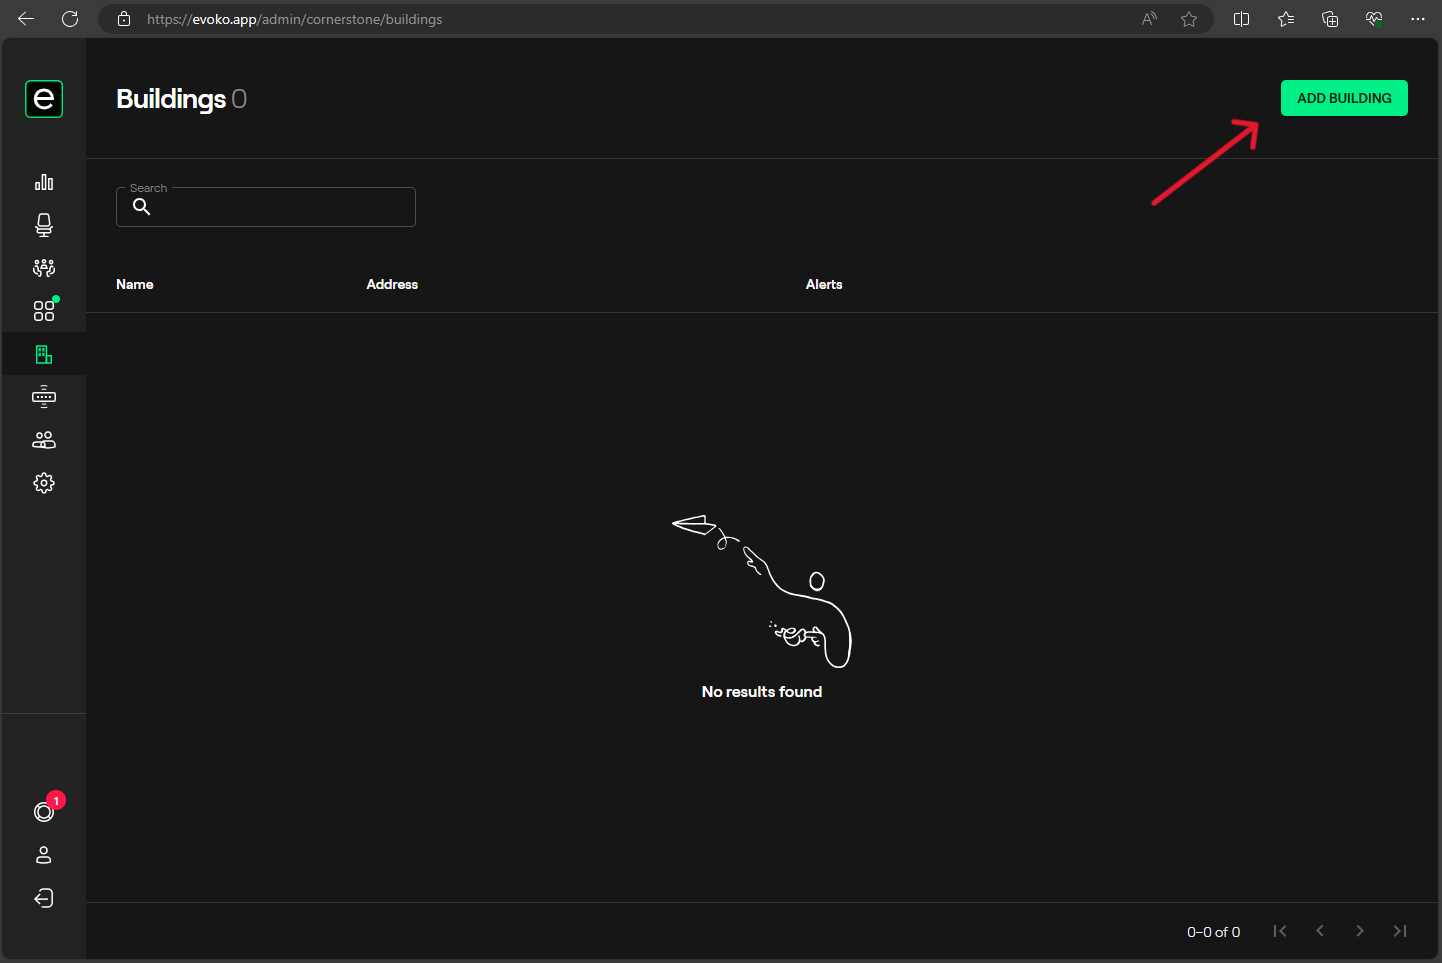
- Once logged in, navigate to buildings on the left hand colum.

- Press the ADD BUILDING button in the top right hand corner.
- Provide a Name and Address for your building. Also select the correct time zone, language, time format, and opening hours for this specific building. Press ADD BUILDING when done.

- Your building will now be added to the list. On the same page you should be able to scroll down to ADD FLOOR.
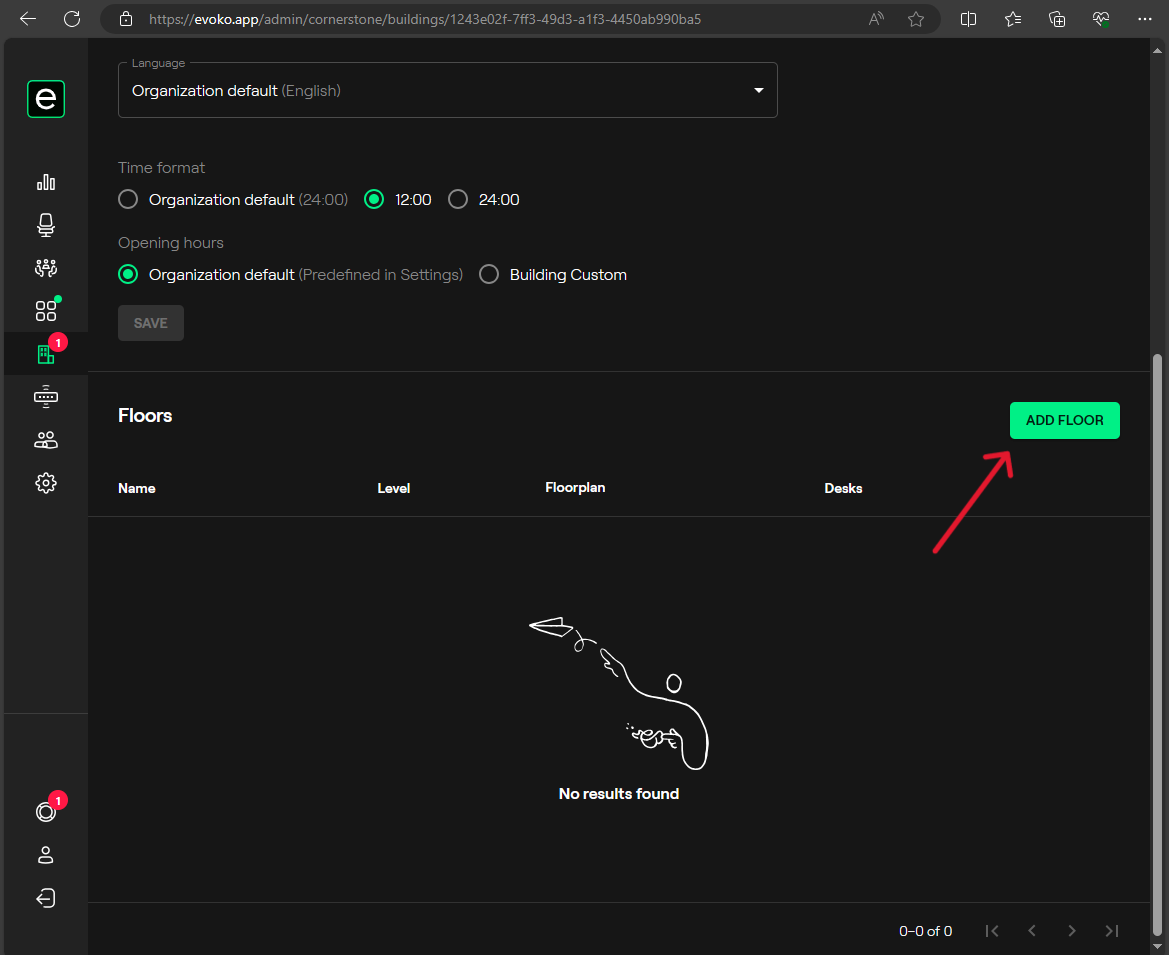
- Press ADD FLOOR
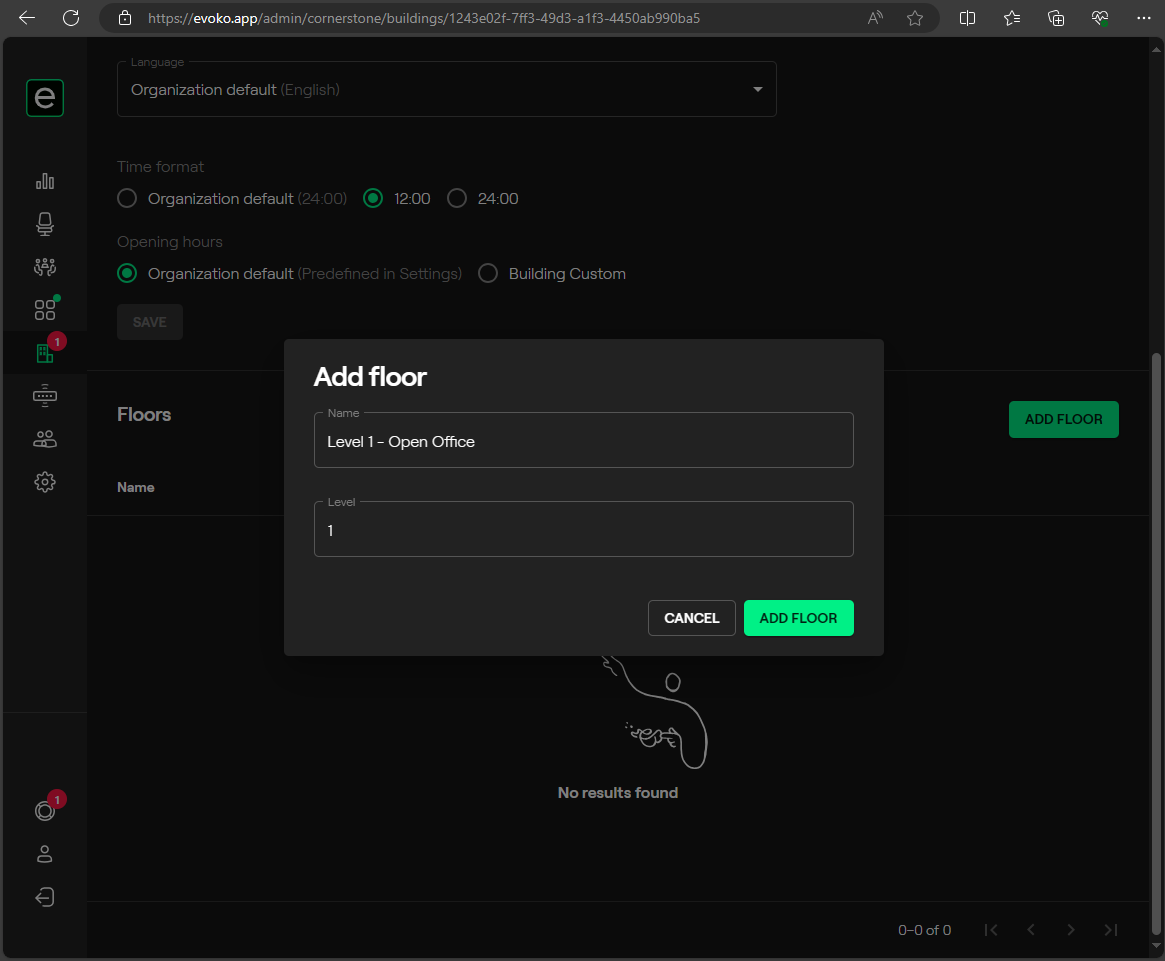
- Give the Floor a NAME and assign it a Level to meet your floor structure.
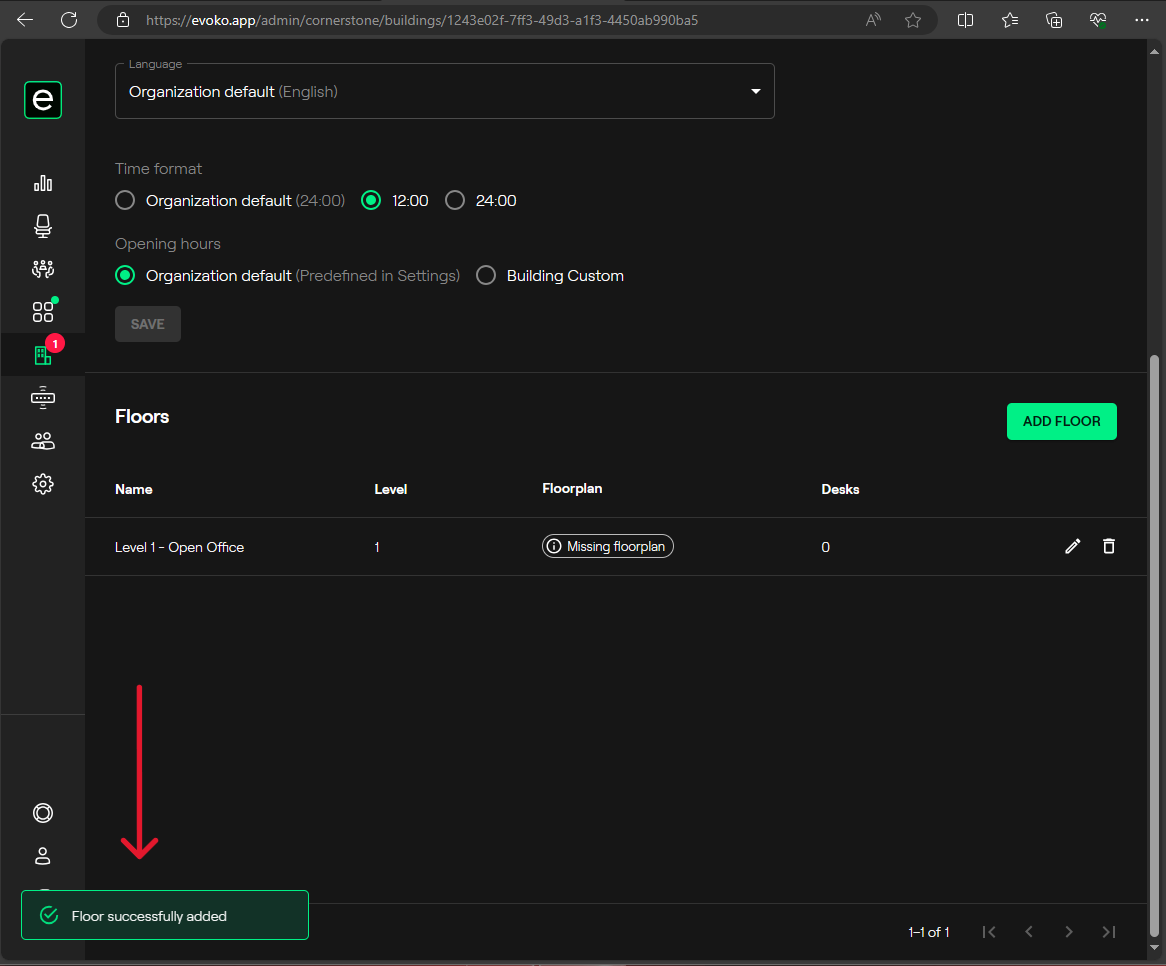
- Press ADD FLOOR. You should be greeted with the "Floor Successfully Added" message shown here.
- After the Floor has been added we will add the Rooms we will be using with the Evoko Naso. Navigate to the Rooms section in the column on the left in the Evoko Workplace.
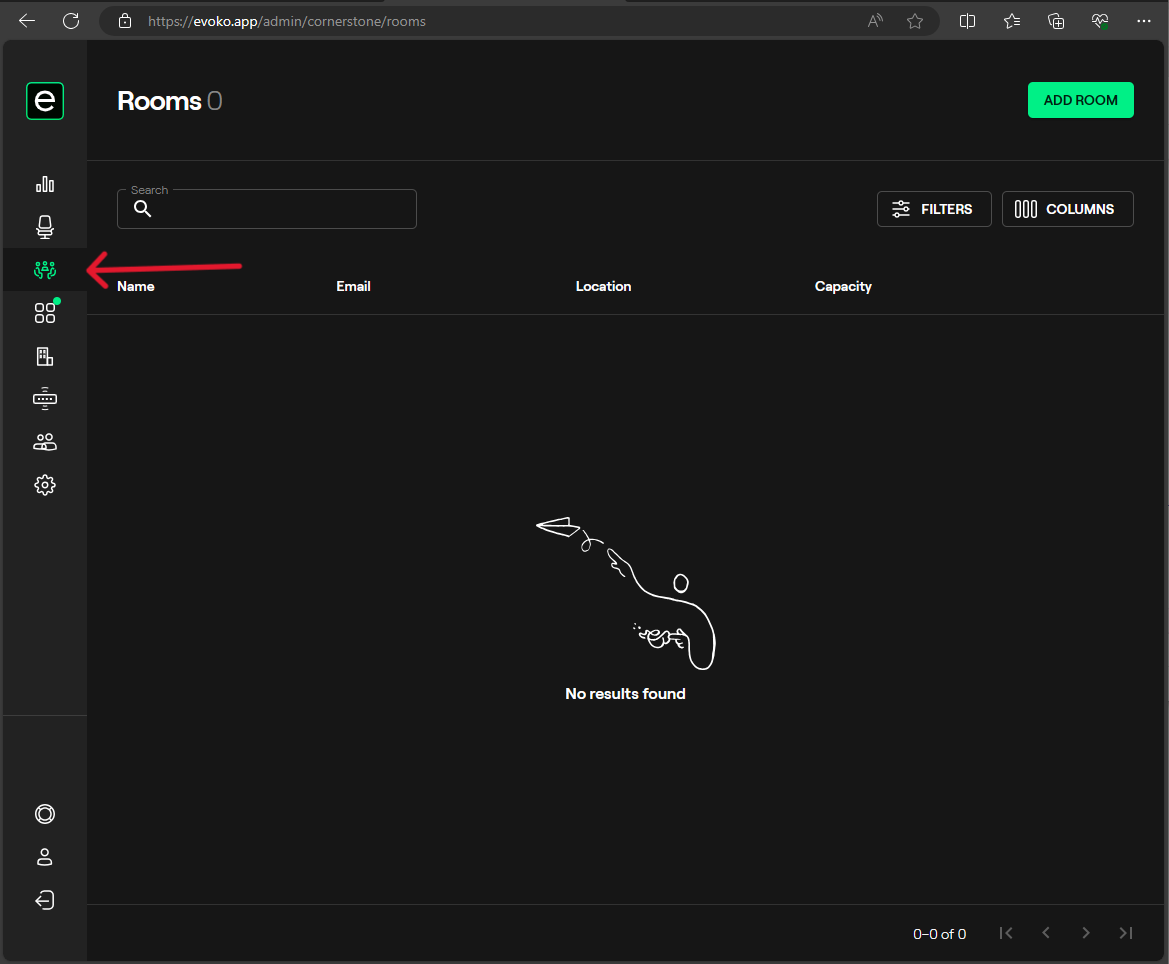
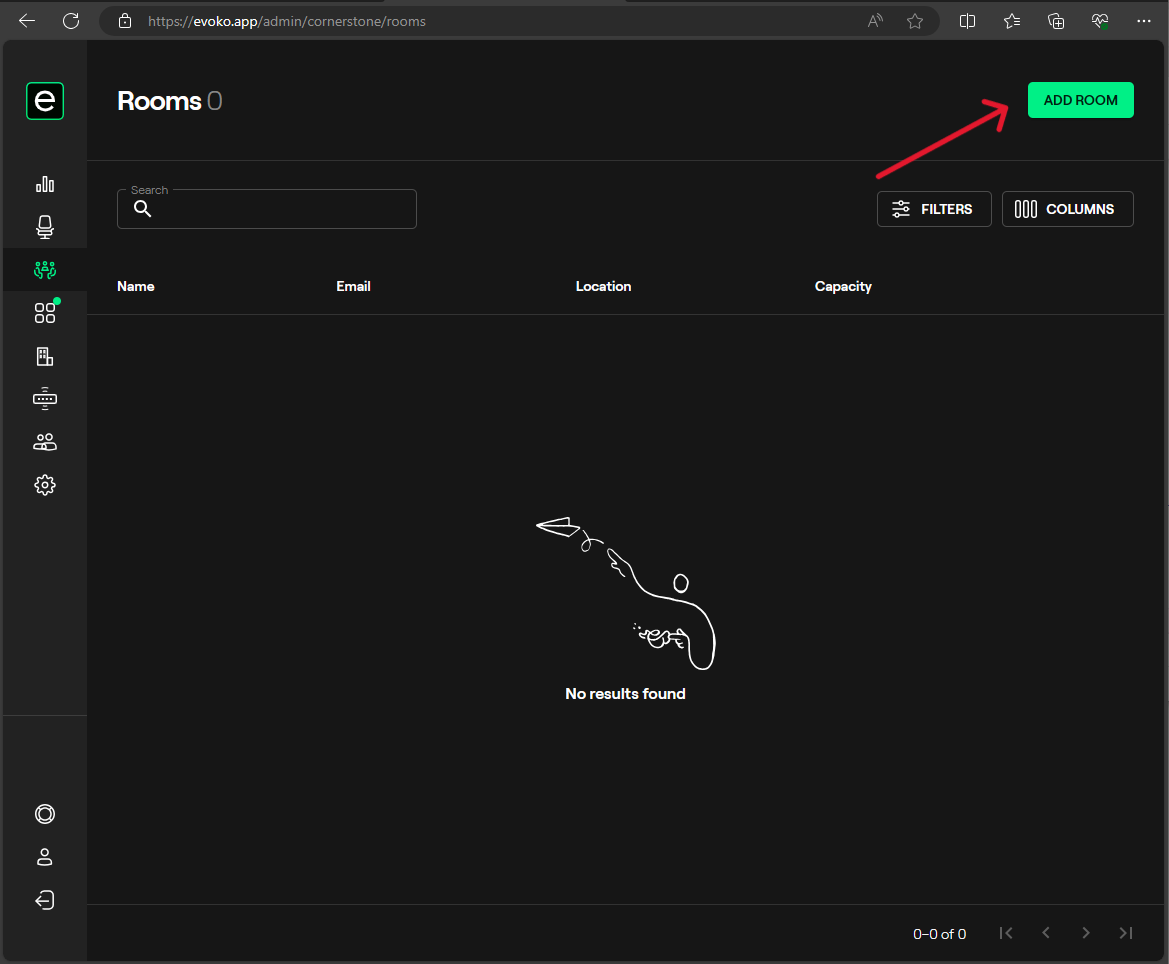
- Select the ADD ROOM button.
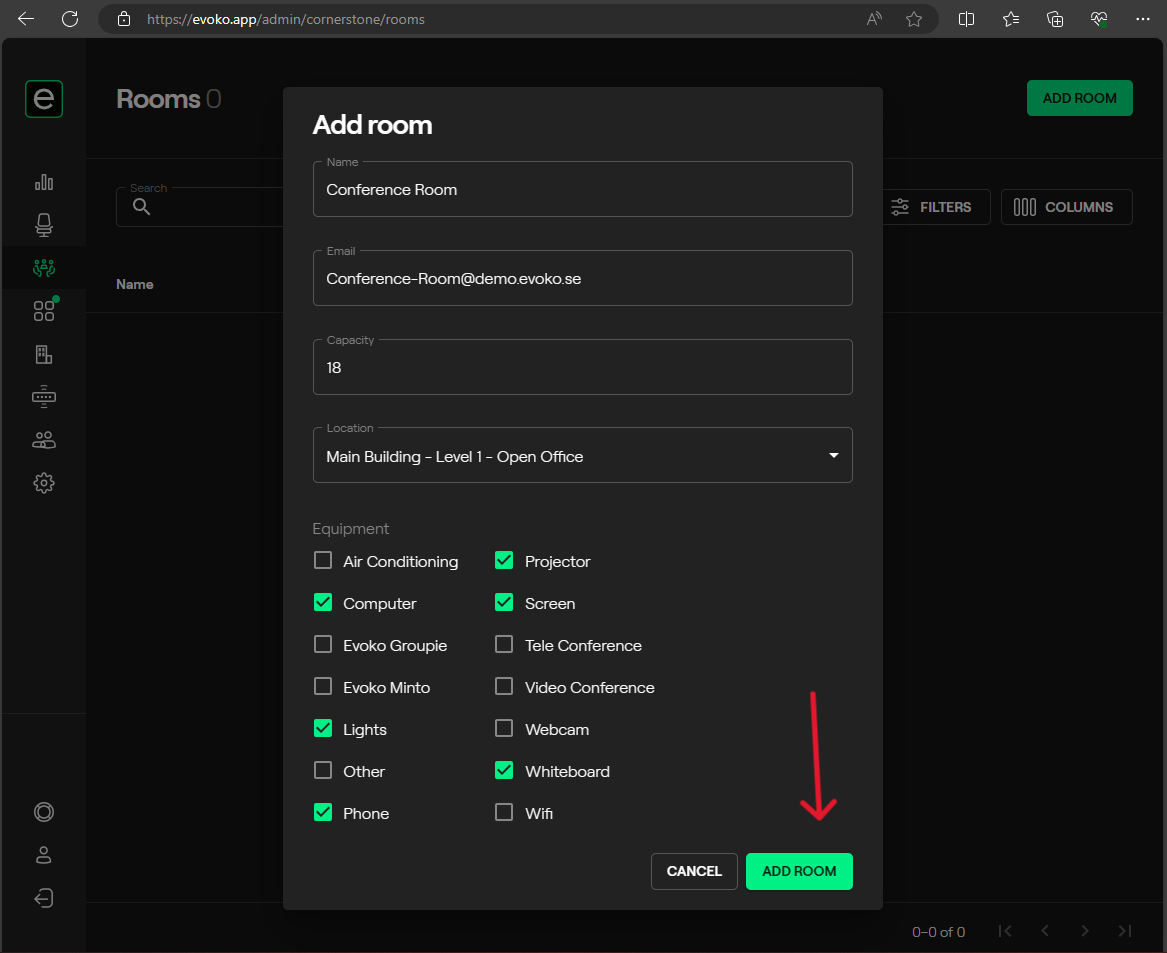
- You will then be prompted to add your room. You will need to add the Name, Email, Capacity, and Location. You will also be prompted to select the equipment that is available within this particular room. When finished, press ADD ROOM.
- We should now see our room listed in the Room List as shown below:

- If you had any other rooms to add to your organization you can repeat the process we have just done for the previous room.
- Once all of your rooms are added, you can proceed to the final step of claim the Evoko Naso.