Step 6: Claim Naso Using Device Setup App
You're almost done, all that remains is to setup the physical devices. This article will walk you through that process.
Mount Evoko Naso
Before you start to configure all of your Naso devices and begin assigning them to a room to a Room you get them mounted first. Nasos can be mounted on both standard or glass walls.
For powering and connecting the Naso's there are 3 options.
- Wired Ethernet with PoE (Recomended)
- Wired Ethernet without PoE and a power supply.
- Wi-Fi and a power supply.
Note! Naso does not come with a power supply in the standard box due to an absolute majority of users using PoE (power over ethernet). You can however order this an accessory if needed for your organization.
Claim Evoko Naso using the Naso Device Setup App
To setup your Naso devices we've created an Application called the SetupApp for both iOS and Android:
iOS Evoko Naso Device Setup App
Android Evoko Naso Device Setup App
- Start by downloading the Naso Device Setup App from the correct App Store depending on your mobile device.
- Open the Naso Device Setup App and login with an account that has Naso Admin access. (This is an account that has been added to the EvokoNasoCompanyWebAdmin Group in the previous M365 setup instructions.)
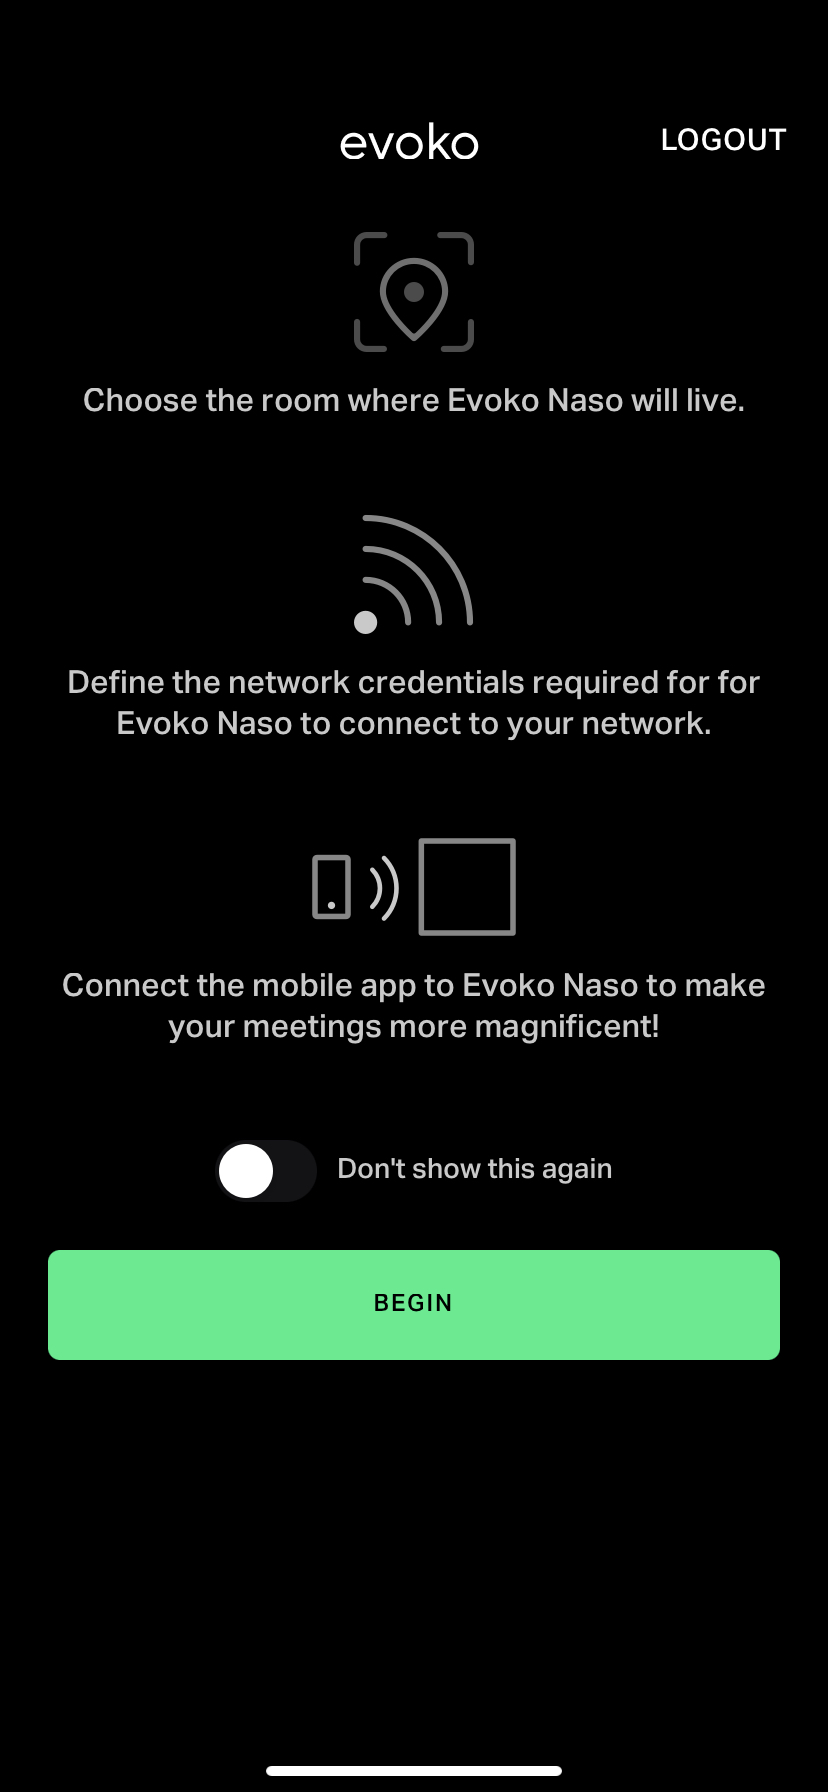
- After logging you will be greeted with a splash page describing the process of claiming Nasos. You can then select the BEGIN option.
 '
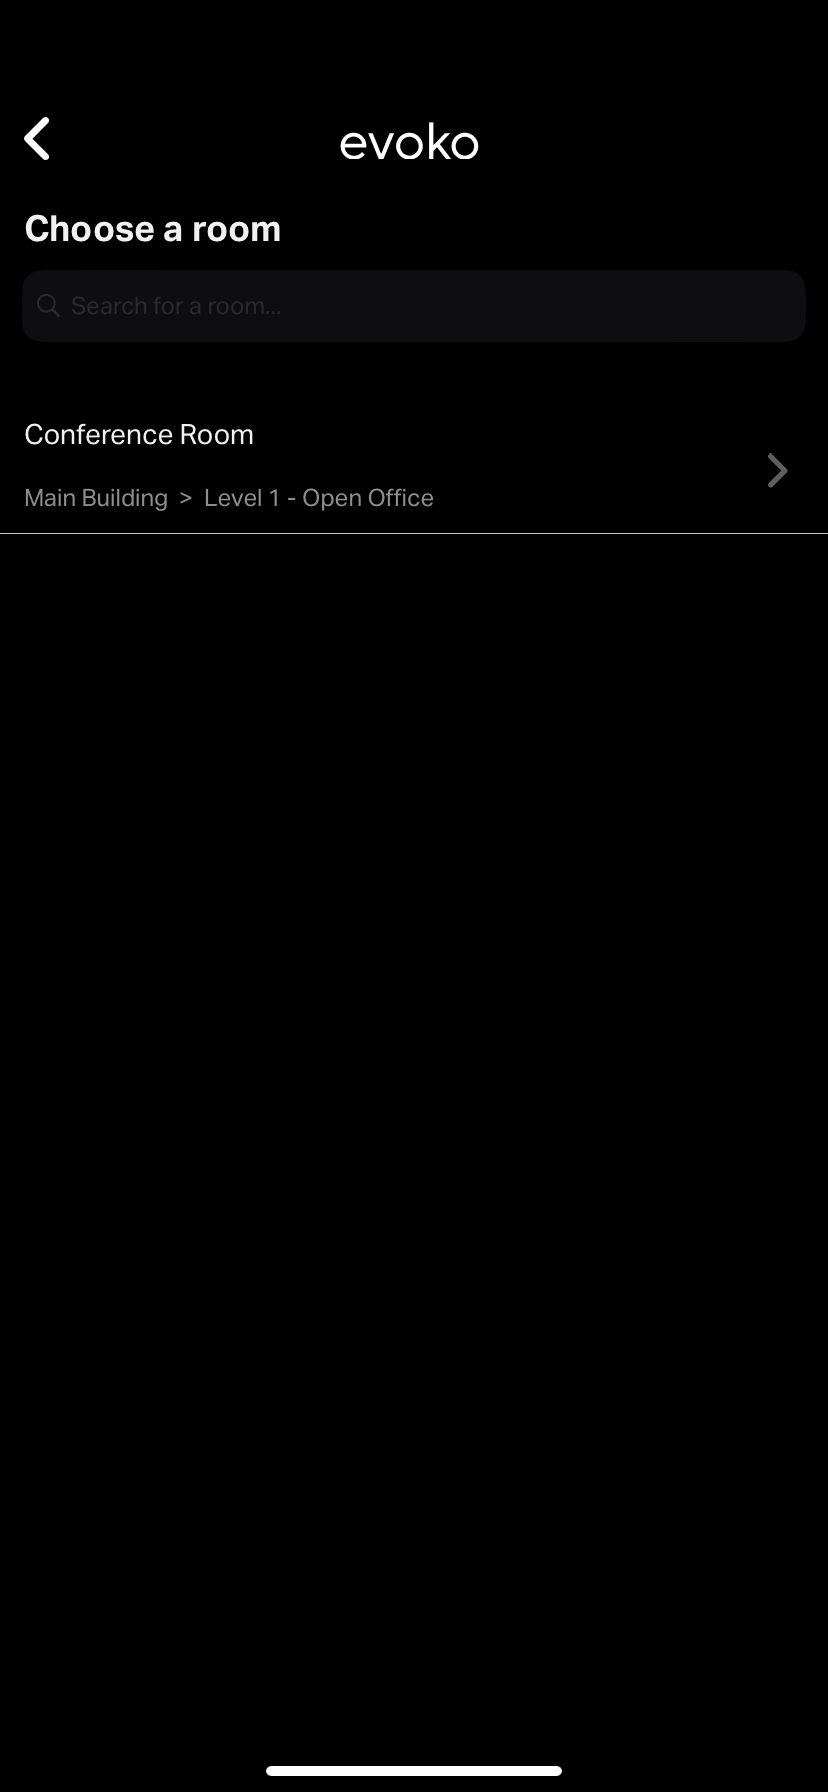
' - On the next screen you will be provided a list of all of the Rooms you added to the Evoko Workplace. Select the room you want to use.
- Next we will need to choose a device name, by default the Room Name is used for the Device Name. You can change this if you would like.

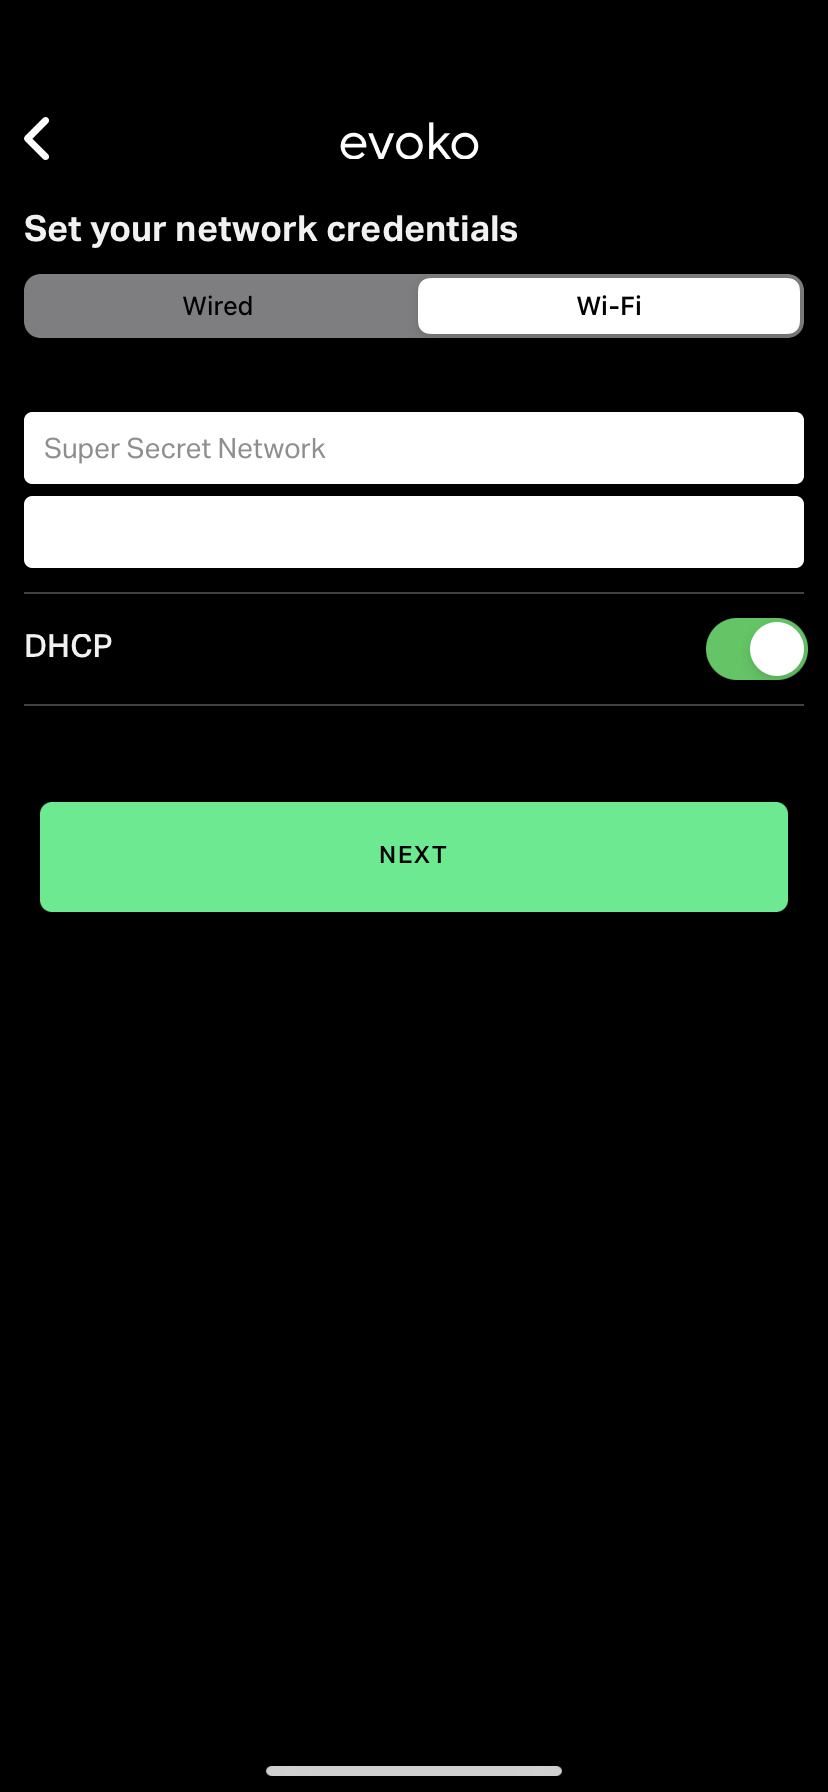
- On the next page we will need to set the network credentials. You can chose either Wired or WiFi. Enter the Wifi Name and Password. Don't press next!
- Before pressing NEXT in the mobile app we should be in close proximity to our Evoko Naso Device. This next step requires the user to press NEXT in the mobile app and the CONNECT button on the physical device around the same time. This will initiative the handshake to send the network credentials from the mobile device to the physical Naso device. The image below shows the CONNECT button.
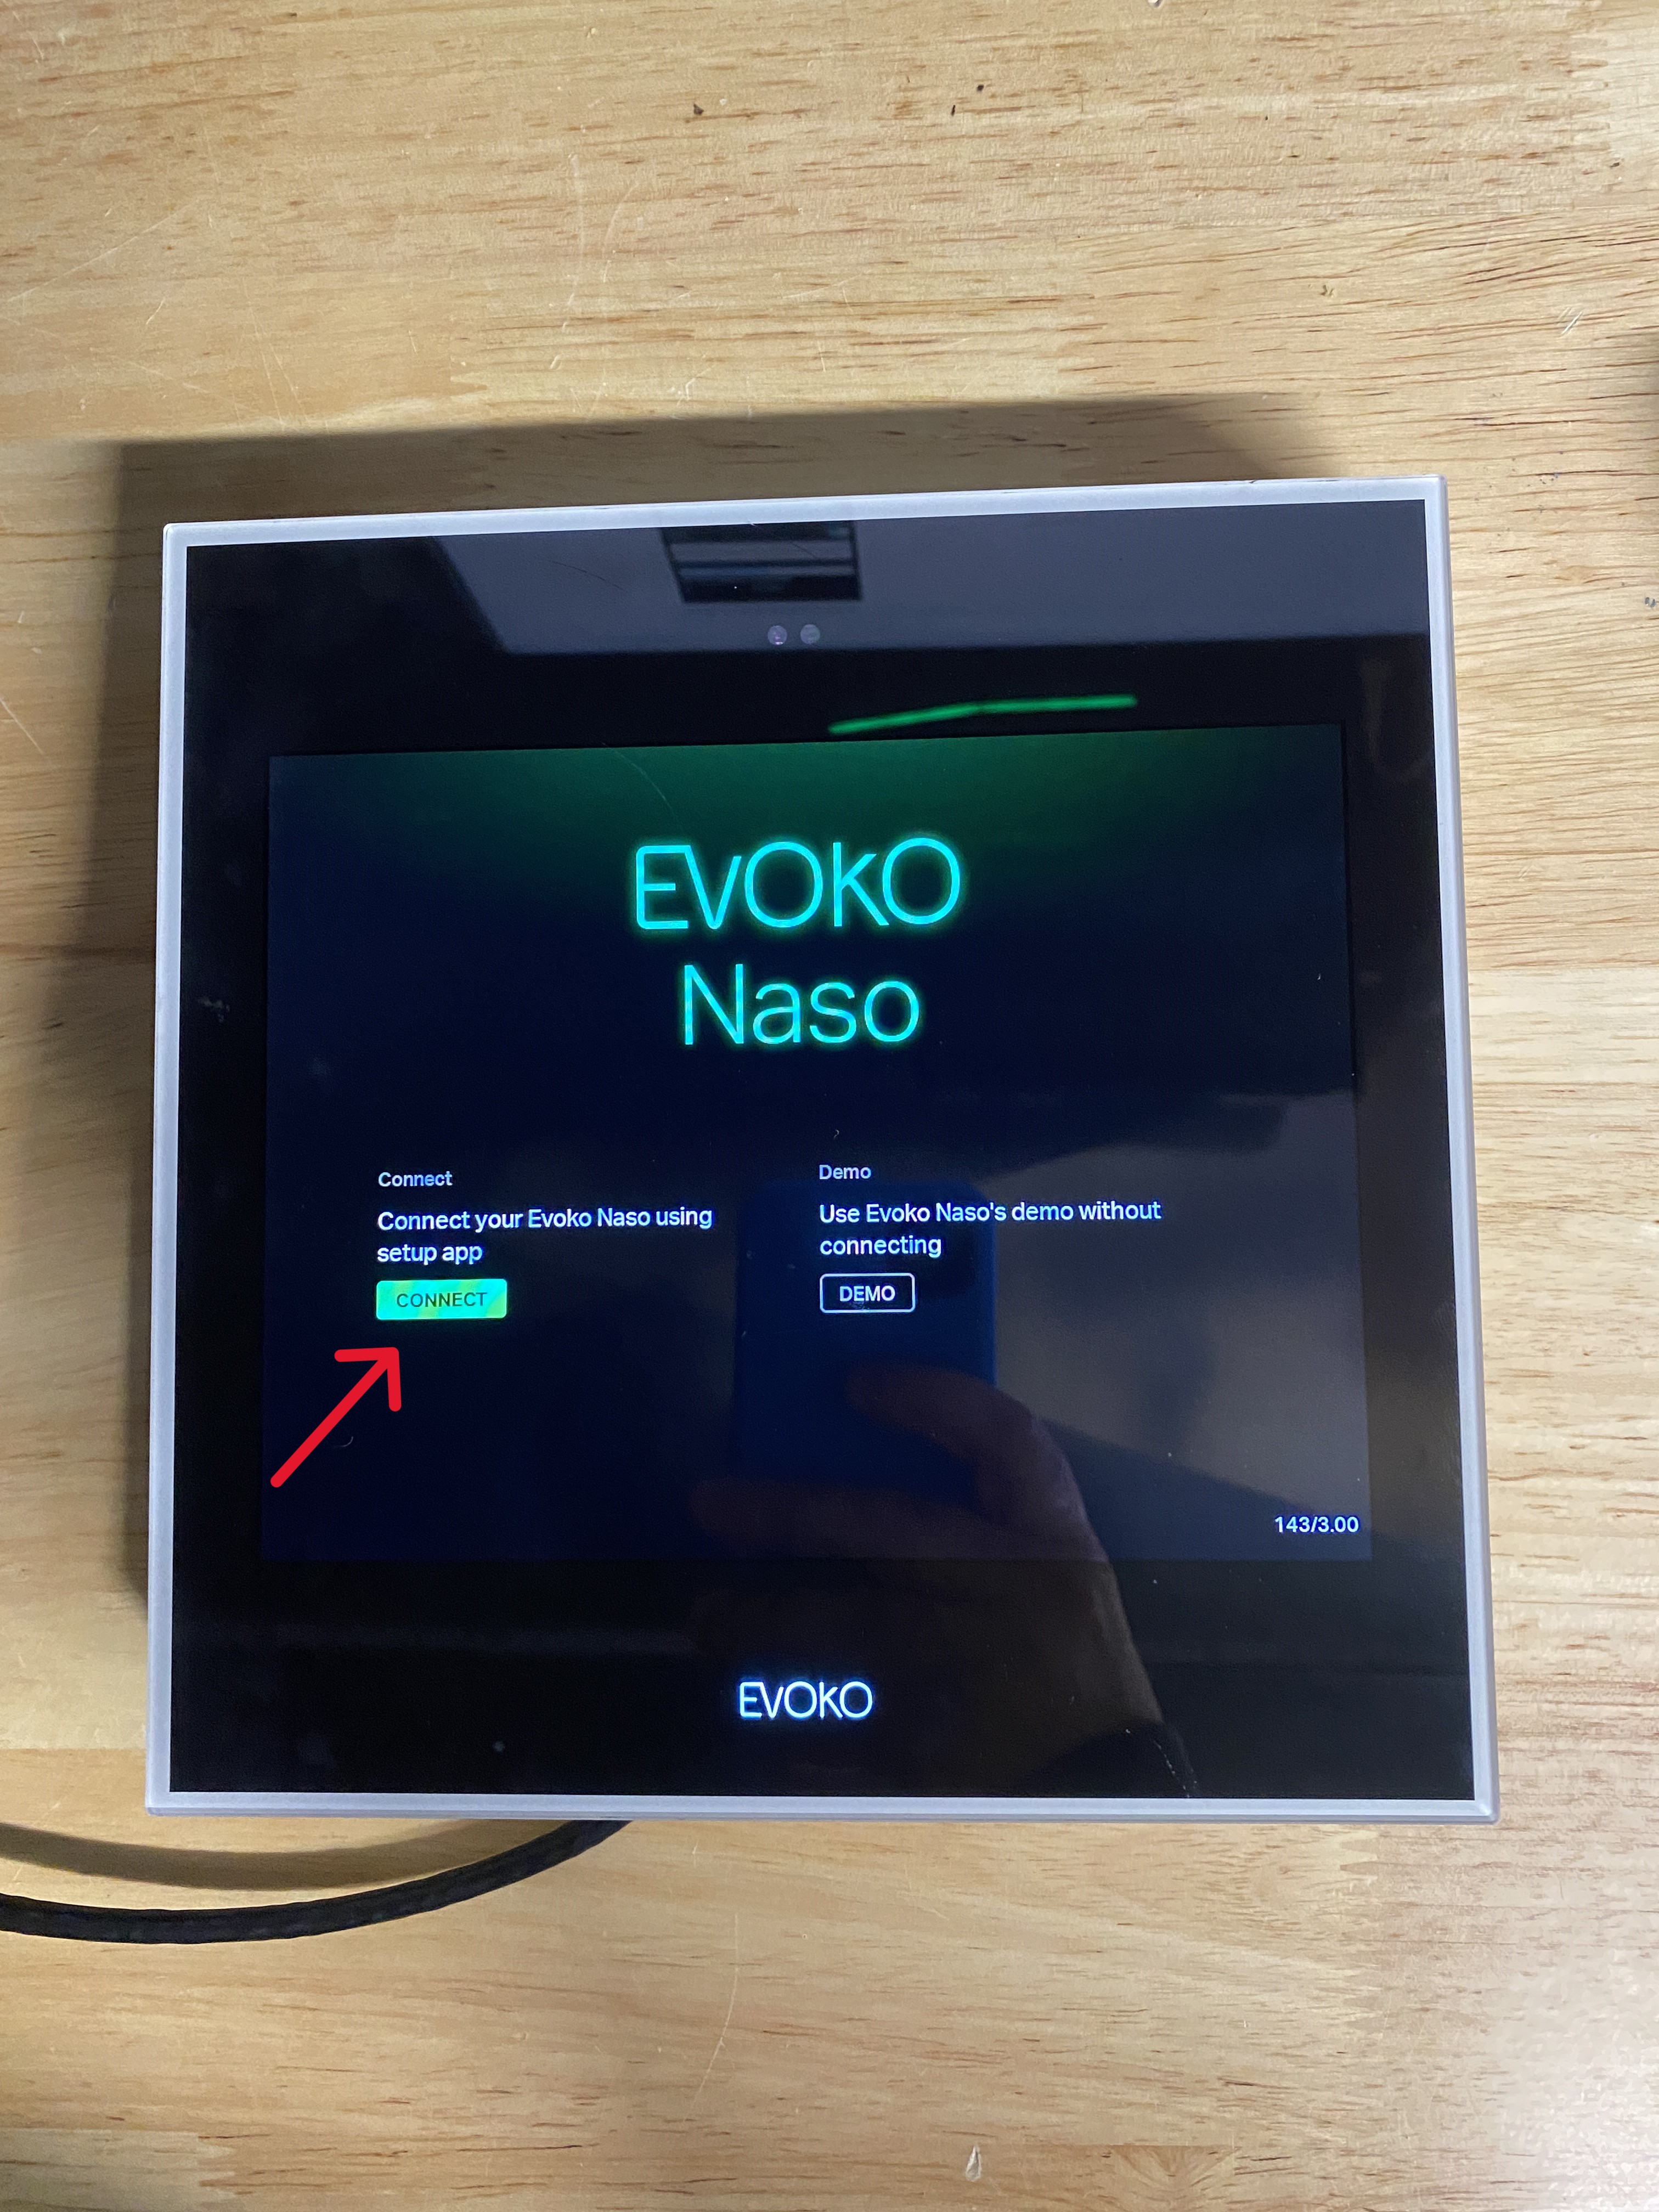
- Press the NEXT button in the mobile app, and press the CONNECT button on the panel. Once connected, enter the 6-digit PIN shown on the Naso in Setup App for verification and the device will accept the handshake.
- You should get the following message shown here in the Setup Application if the handshake was successful:
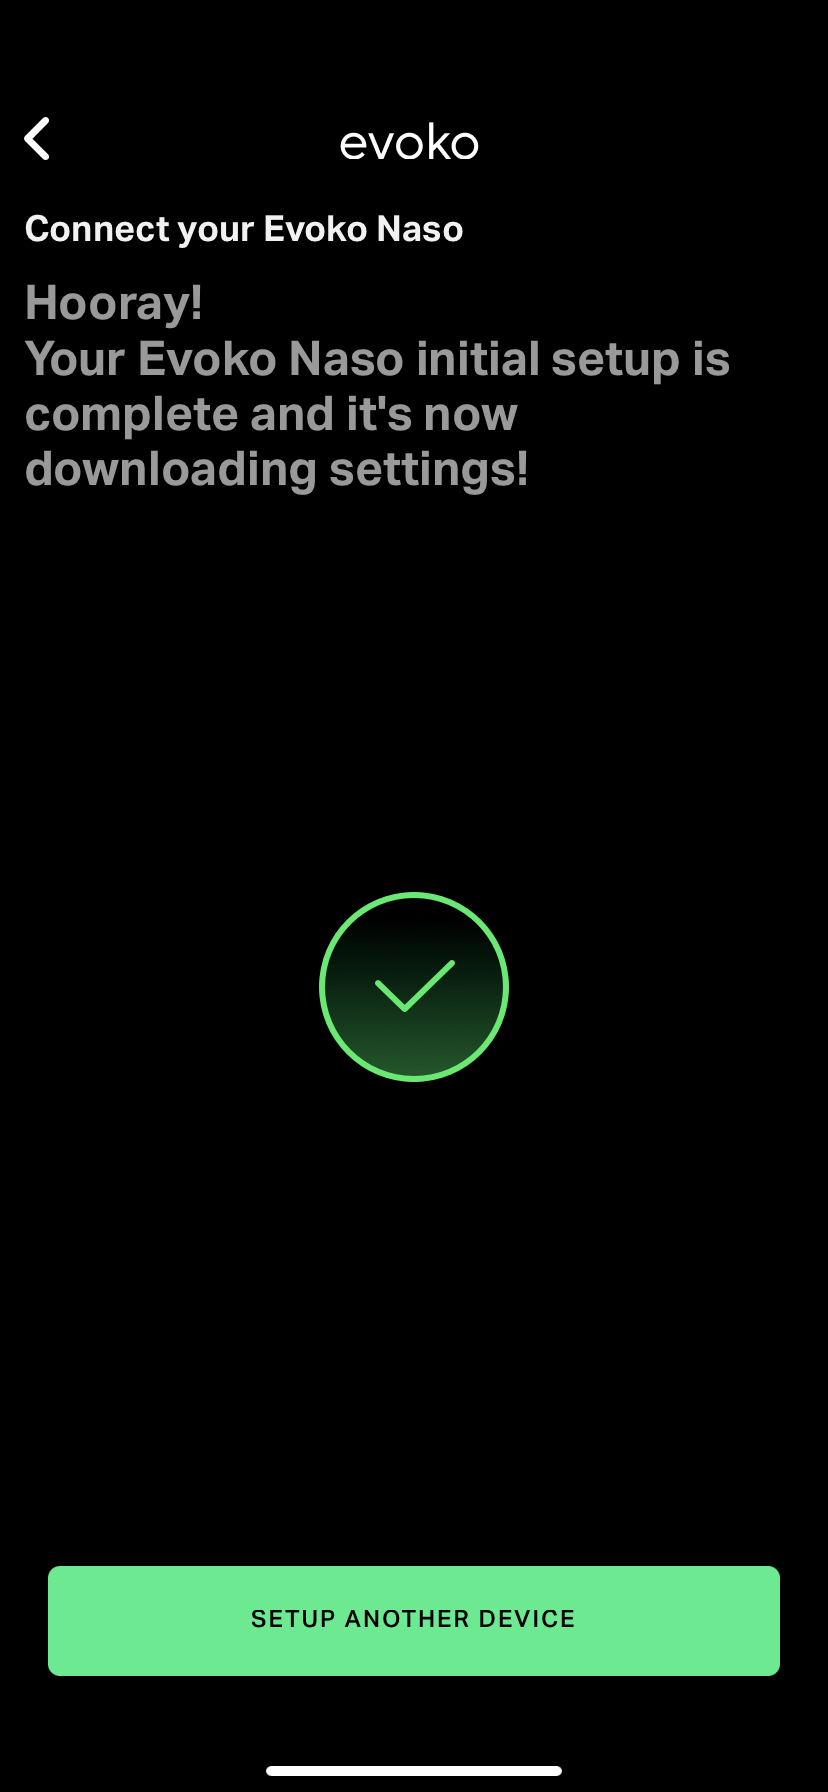
- Done! The Naso should now download the appropriate room settings along with the latest software updates. This will take a couple of minutes but is handled automatically. To claim another device, press SETUP ANOTHER DEVICE and simply repeat the steps above with the correct network configuration.