Chat with Biamp tech support
Biamp Cornerstone

Installing a virtual Asterisk VoIP server

This article explains how to set up a virtual machine Asterisk-based VoIP server using Sangoma's pre-built 'FreePBX' platform. FreePBX comes with Linux, Asterisk and a web configuration GUI already installed, which greatly simplifies the process of setting up a functional VoIP server. A virtual VoIP server can be extremely useful for training, testing or demonstration purposes.

Please note: if you decide to use an existing complete virtual machine rather than download and install the latest version of FreePBX as instructed below, you may not be running the latest software. Your system may therefore not include the new features, bug fixes or security patches. It is possible to update from within an existing installation but this is outside the scope of this article – please consult the FreePBX wiki for more information.

Downloads

  1. Download the .iso disk image for the FreePBX Asterisk installation from https://www.freepbx.org/downloads/.
  2. A file called "SNG7-FPBX-64bit-xxxx-2.iso" or similar will start downloading.
  3. Download Virtual Box installer from https://www.virtualbox.org/
  4. Launch the installer and follow on-screen instructions

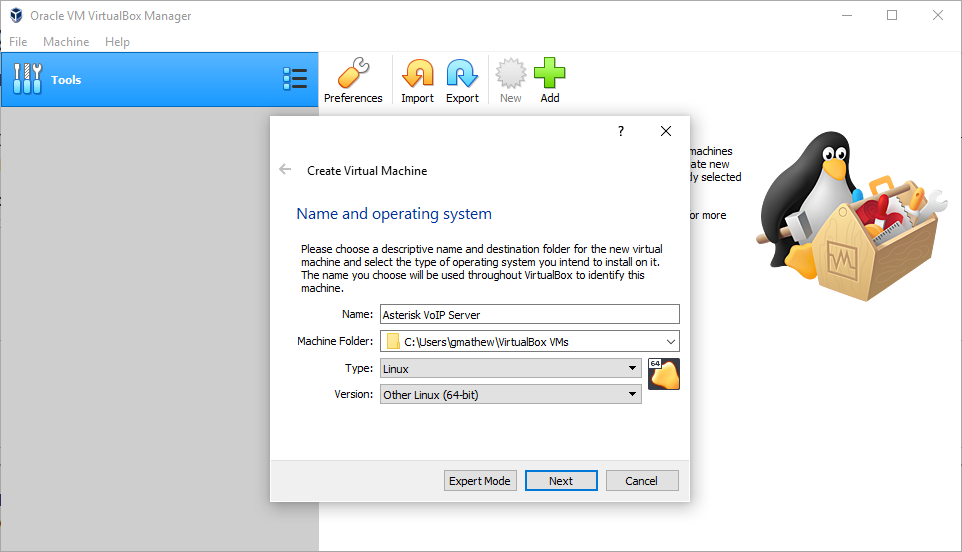
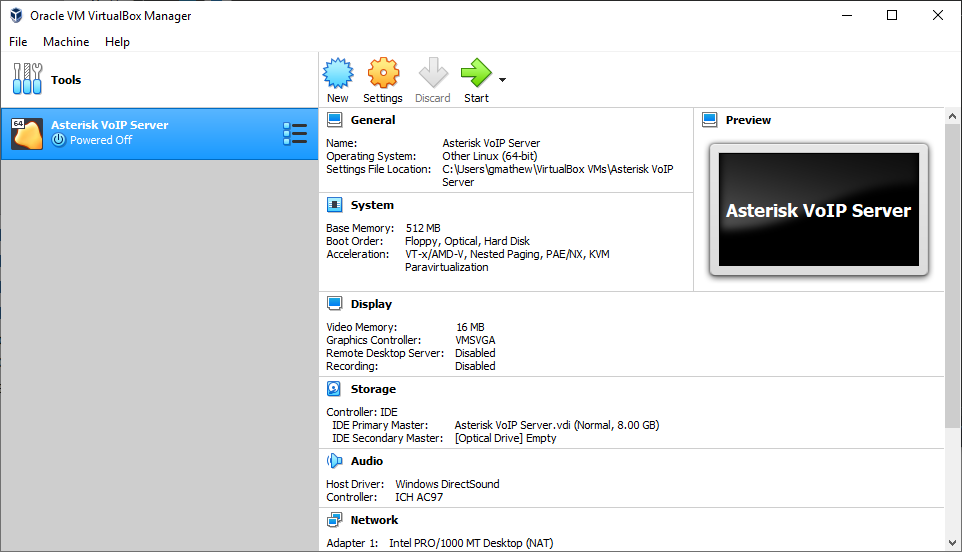
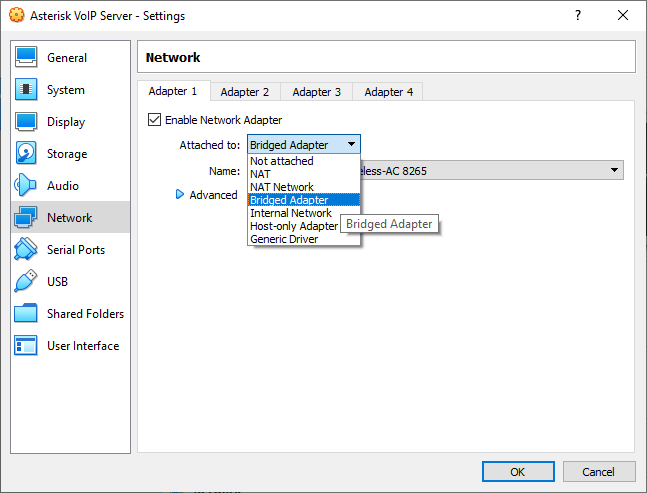
Create a virtual machine in VirtualBox

  1. Open VirtualBox software, click New and select options shown. Name and location of VM can be of your choosing.
  2. In the next step, stick to the default option of "512 MB" of RAM. 
  3. In the next step, stick to the default option of "Create a virtual hard disk now"
  4. In the next step, stick to the default option of "VDI"
  5. In the next step, stick to the default option of "Dynamically Allocated"
  6. In the next step, you can choose the file size of the VM. It’s 8GB by default which is a good option to keep. Because we chose dynamically allocated in the previous step, it won't use all of the allocated memory unless required
clipboard_eef7311379b3a2031196d41e5d60bd487.png
  1. Click Create. You will end up here:
clipboard_e117ed69213c05dd775af2179f4e236ec.png

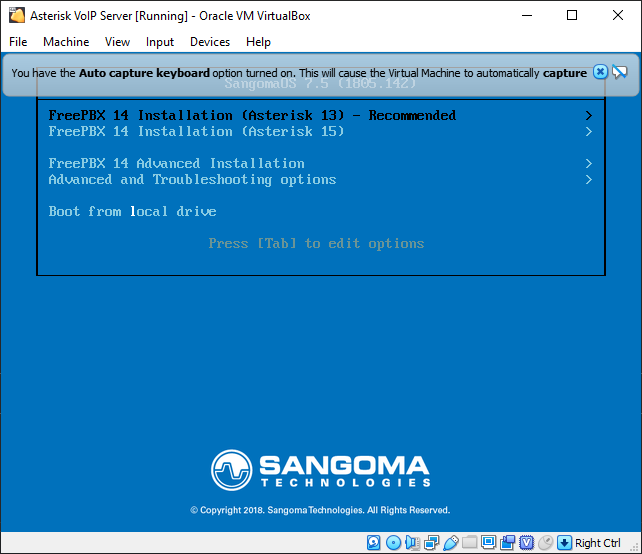
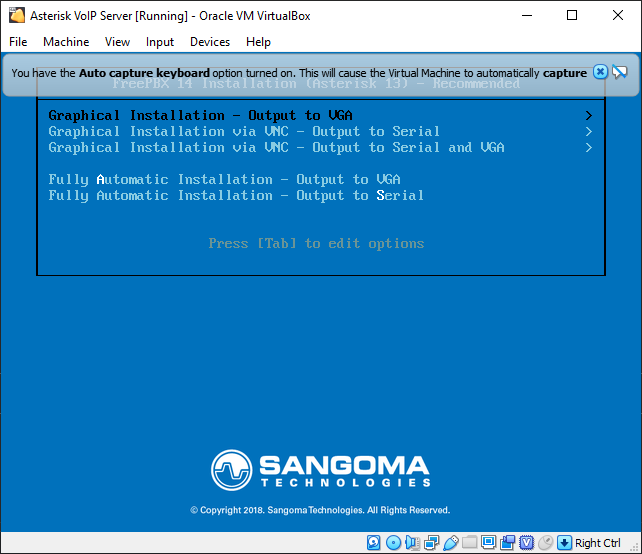
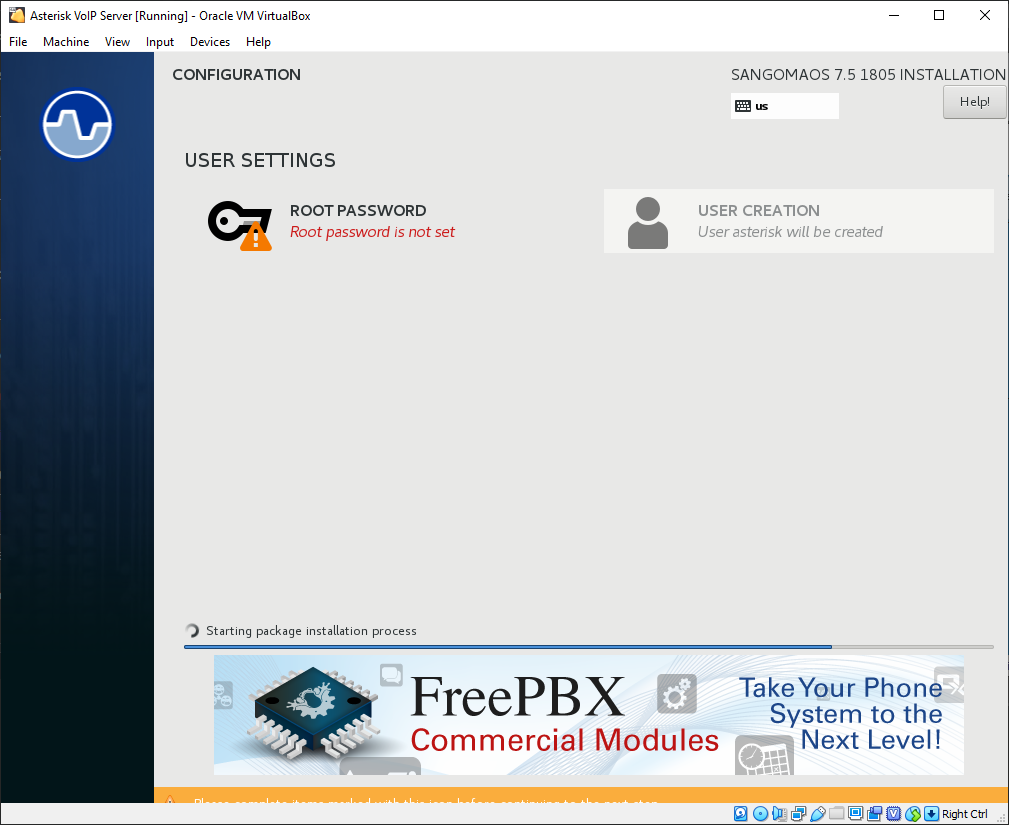
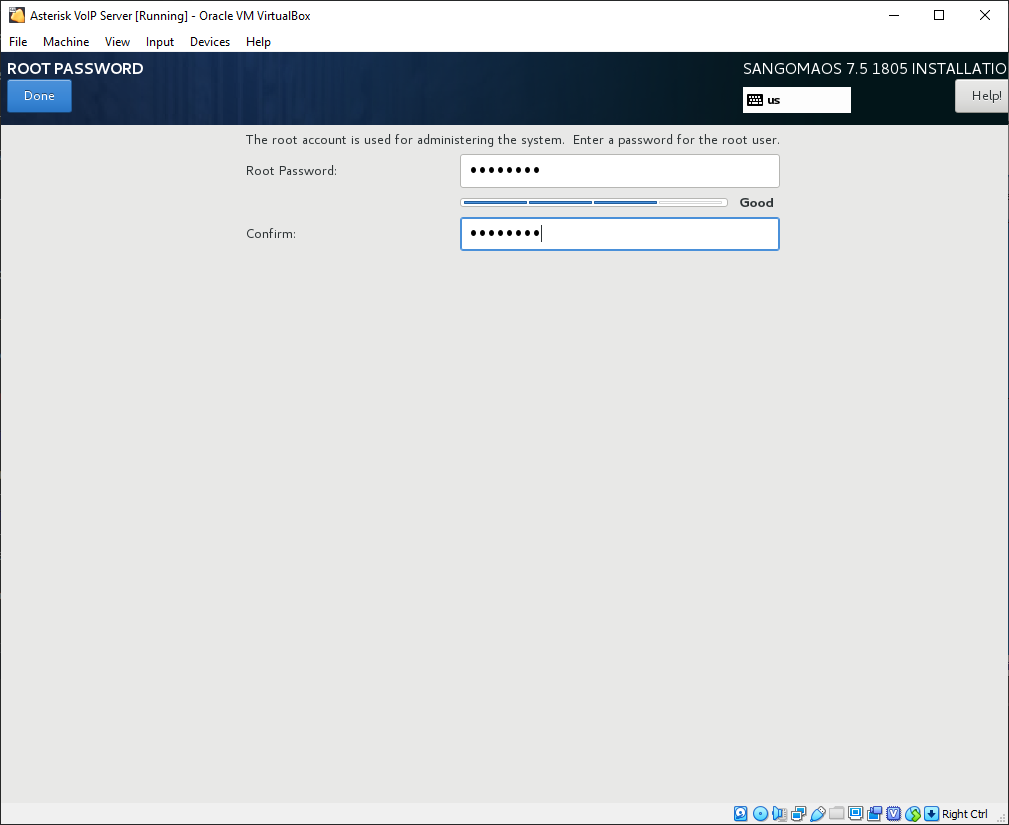
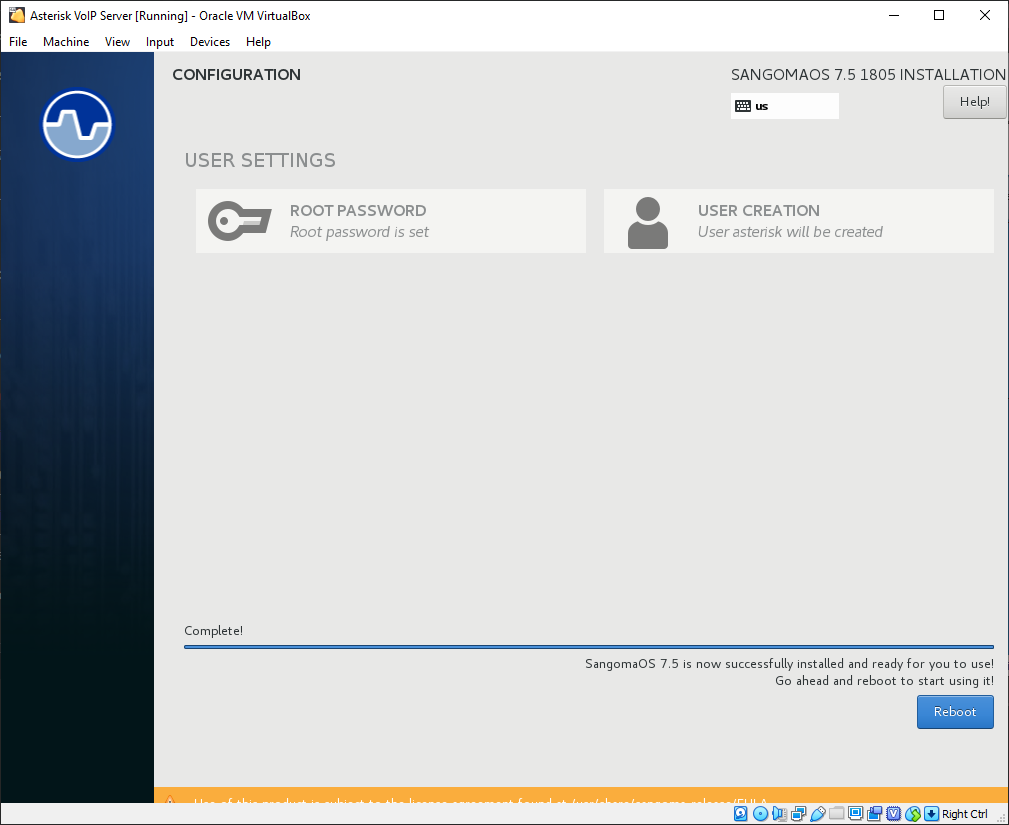
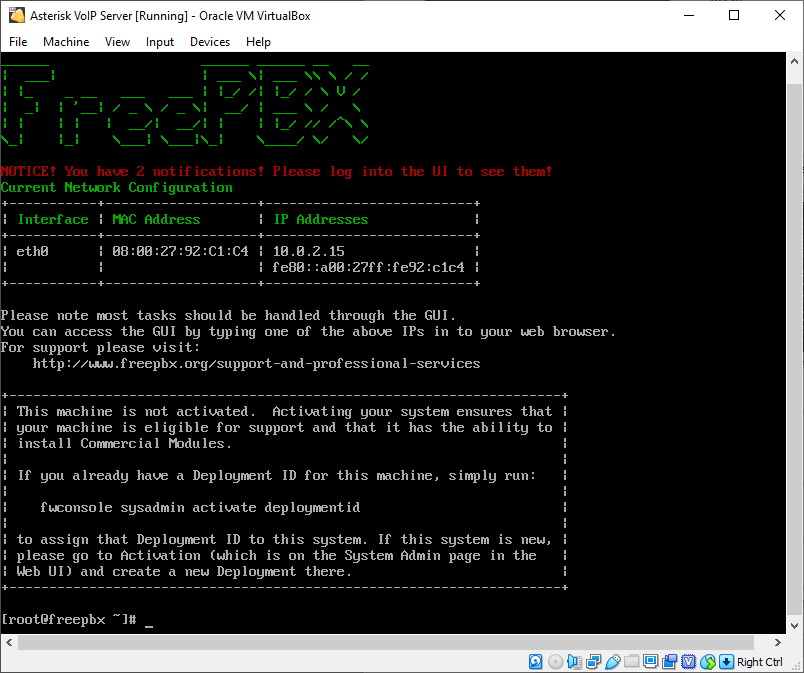
Install FreePBX Asterisk Server

  1. Select the virtual machine you just created in the VirtualBox Manager GUI.
  2. Click Start. You will see this window prompting selection of a startup-up disk. Navigate to "SNG7-FPBX-64bit-xxxx-2.iso" on your PC and click Start
Asterisk 4.png
  1. On the next screen, press enter to select the default option.
Asterisk 5.png
  1. On the next screen, press enter to select the default option. Repeat for next screen.
Asterisk 6.png
  1. The screen will change to a command line installation. Eventually it will switch to this graphical UI and will continue to install packages. This can take a while and no action is required. 
Asterisk 8.png
  1. When the install process completes Click on ROOT PASSWORD and set a password. Click Finish Configuration. Make a note of this password, if you lose it you cannot complete the set-up process!
Asterisk 9.png
  1. You will see an option to Reboot. If you click Reboot, it will attempt to re-run the installation process from the ISO file that was loaded in step 1. To stop this, navigate to Devices>Optical Drives and uncheck "SNG7-FPBX-64bit-xxxx-2.iso".  You may  get a dialog saying its unable to eject virtual optical disk. Click on Force Unmount in the dialog.

Asterisk 13.png

  1. Now click Reboot.
Asterisk 11.png
  1. The virtual machine will boot into a login prompt. Enter the username "root" and press enter. At the Password prompt, type the root password you chose earlier. 
Asterisk 15.png
  1. You will now be presented with the FreePBX command line welcome screen and some configuration details including IP address information. The IP address will need to be edited so it is in the same subnet as the physical NIC on host machine which is being used for VoIP. 
Asterisk 16.png

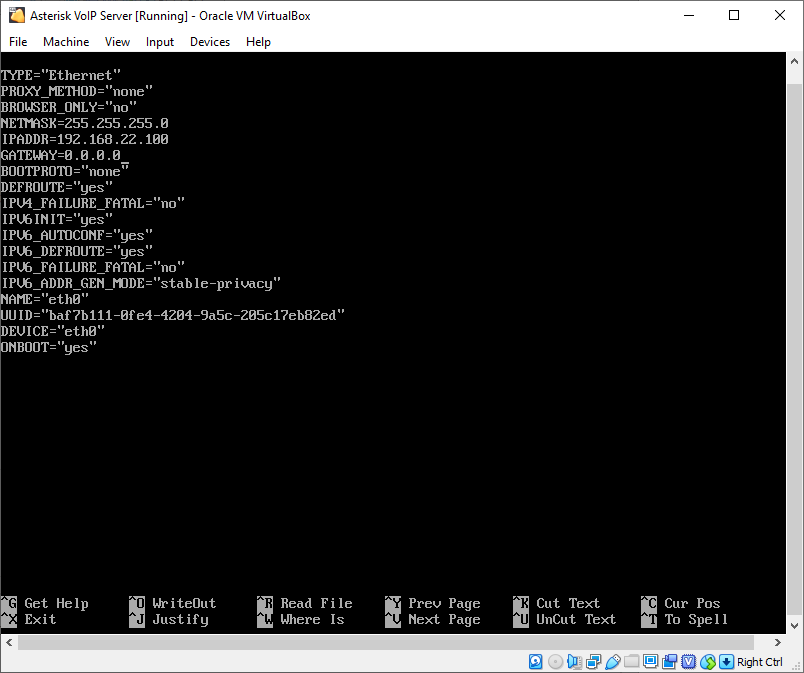
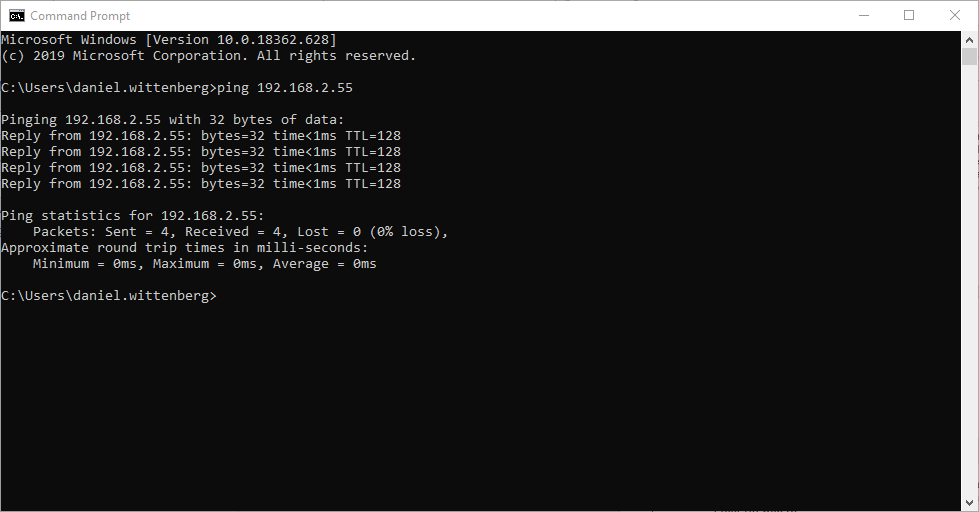
Configure IP settings

  1. At the prompt, enter the following command:
nano /etc/sysconfig/network-scripts/ifcfg-eth0
  1. You will be presented with a text editor with the Network configuration. Change or add following parameters in the text editor. Do not change other parameters.
BOOTPROTO="none"
IPADDR= <Your IP Address>
GATEWAY= <Your Default Gateway Address>
NETMASK= <Your Network Subnet Mask>

  1. Press Ctrl+o to save.
  2. Press enter to confirm file existing name (do not change the filename!)
  3. Press Ctrl+x to exit.
Asterisk 18.png
  1. The network interface of the VM now needs to be set to bridged mode so that the Asterisk VM can communicate with devices external to the host machine. Shut down the VM by using File -> "Send the shutdown signal". 
  2. In the Virtual Box Manager UI, select the Asterisk virtual machine and click Settings.
  3. Go to Network and in the Adapter 1 tab change 'Attached to' to 'Bridged'
  4. Change 'Name' to the network interface card on the host machine which is being used for VoIP
  5. Click OK to save and exit.
Asterisk 21.png
  1. Start the Asterisk VoIP Server VM and confirm you can ping the server from the host machine.
  2. Note that in bridged mode to ping the Asterisk VM from the host machine the physical bridged network adapter needs to be 'up'. It will therefore need to be plugged into an powered-on switch or other network port e.g. a Tesira Forte or SVC-2 card.
voip_ping.png

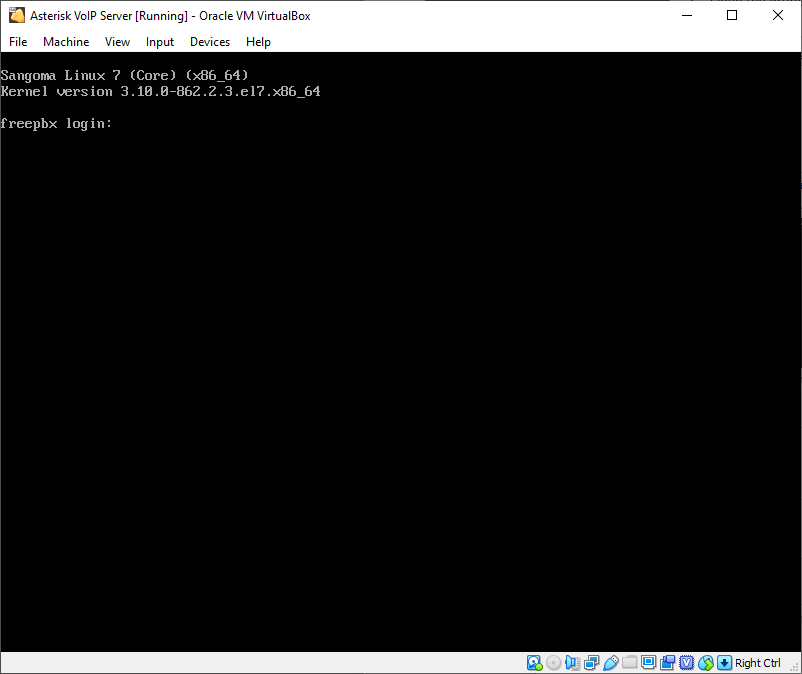
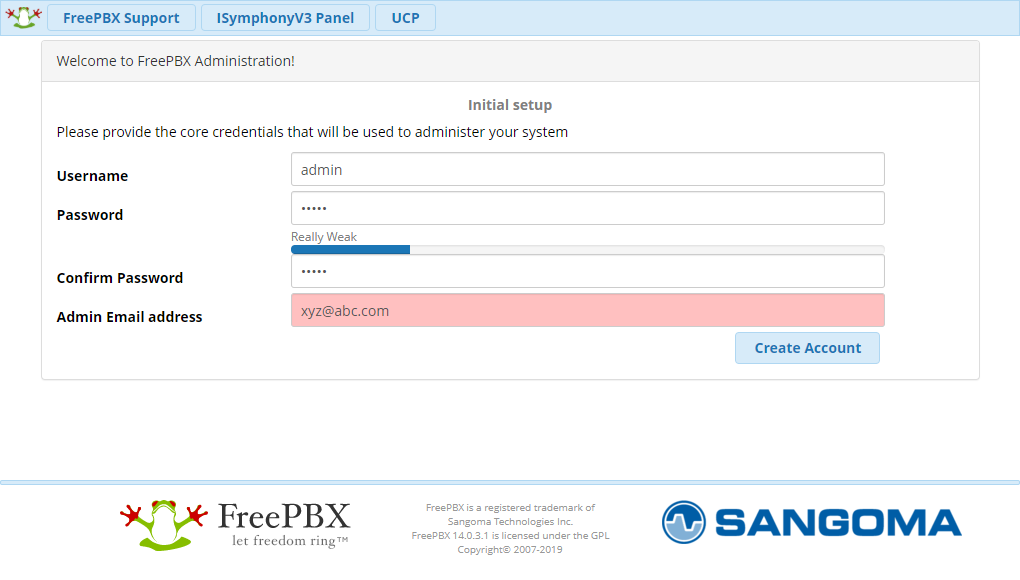
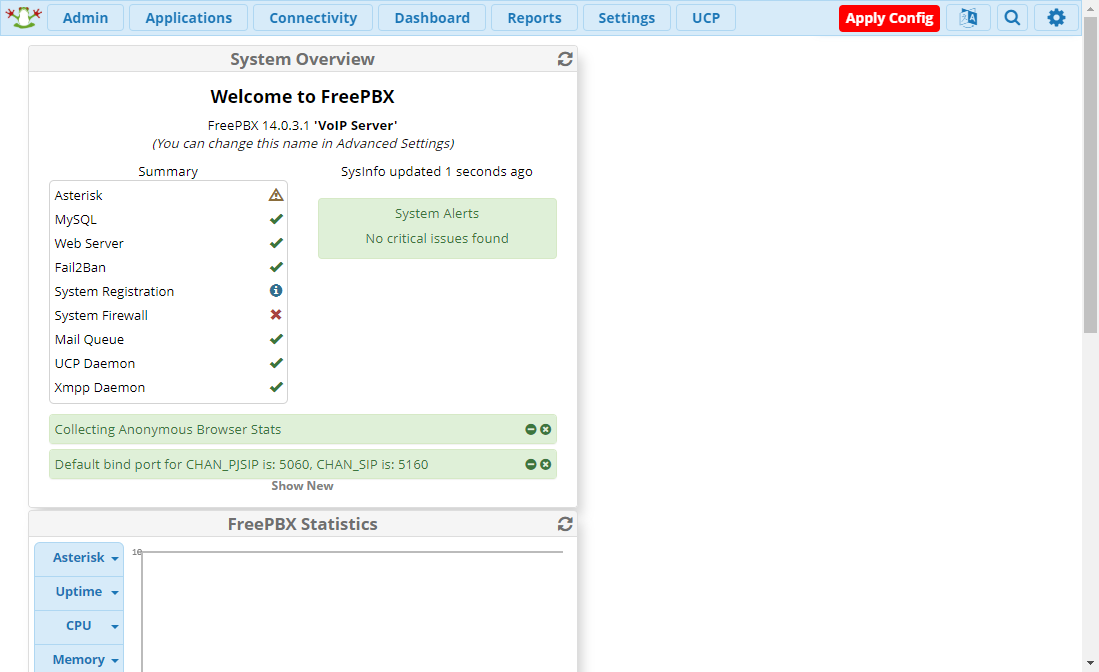
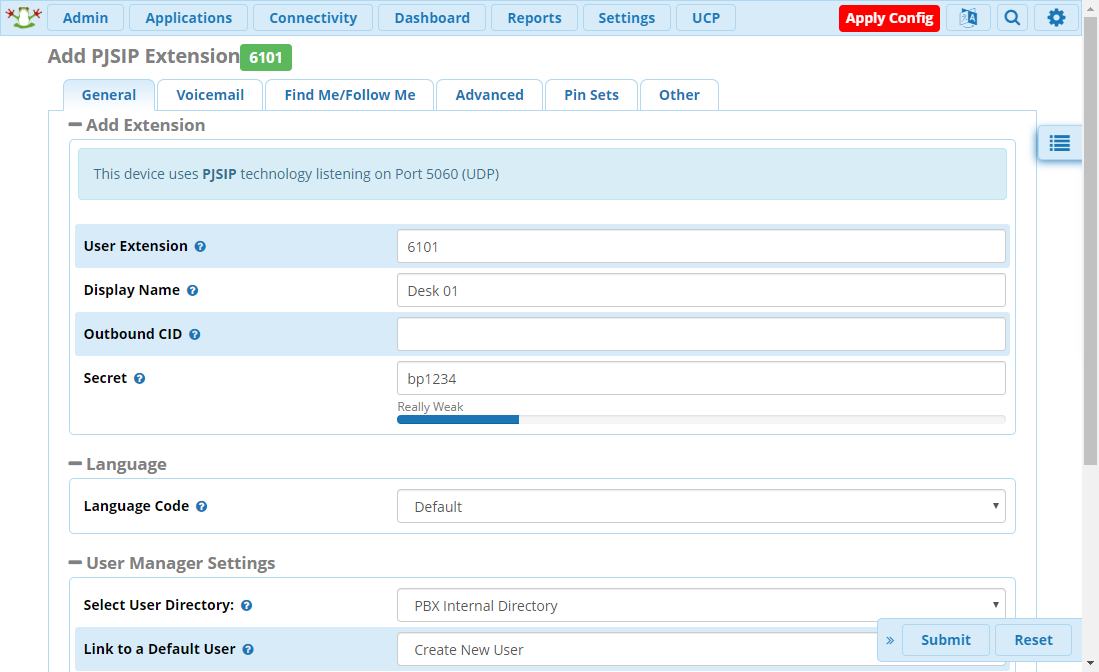
Log in and configure extensions

  1. To open the FreePBX web UIE, enter the VoIP server’s IP address in a browser.
  2. Configure a username and password and email address for the admin account and click Create Account. This is the email address from which the server would send status messages if enabled.
Asterisk 22.png
  1. An option to enable a smart firewall may pop up. Click Abort since a firewall is not necessary for our use case. You can now see the FreePBX status page.
Asterisk 23.png
  1. Navigate to Applications>Extensions.
  2. Click on Add Extensions and select Add New PJSIP Extension.
  3. Fill in the User Extension, Display Name and Secret (Password) details as required. No other settings need to be changed.
  4. Click Submit and then click the red Apply Config button (in the top right hand corner of the browser). The Apply Config button does a global save on all the settings that have been modified in FreePBX.
  5. Repeat for additional extensions. Make sure to click Apply Config if its visible on the web interface.
  6. Your Asterisk VoIP server is now ready for use. 
Asterisk 24.png


  • Was this article helpful?