Opening a telnet session
This article explains how to enable telnet on a Windows PC and initiate a telnet session. Telnet sessions may also be opened using other programs such as Putty. Telnet will need to be enabled on your Tesira device as well. This can be done by going to Device Maintenance→Network Settings, on the Control Network tab, under Services.
Enable telnet in Windows 10, 7, 8, and Vista
In Windows 10, 7, Windows 8, and Windows Vista telnet is not activated by default, but it is available to turn on.
To enable the Telnet Client service in 7, 8, and Vista, click the Windows Start menu→Control Panel→Programs, and then click on "Turn Windows features on or off". (In Windows 10, search for "Turn Windows features on or off.") In the list, scroll down and select Telnet Client and click OK.


Open a session
Click Start, and type cmd in the Search programs and files window and hit Enter. This will open a command prompt window.
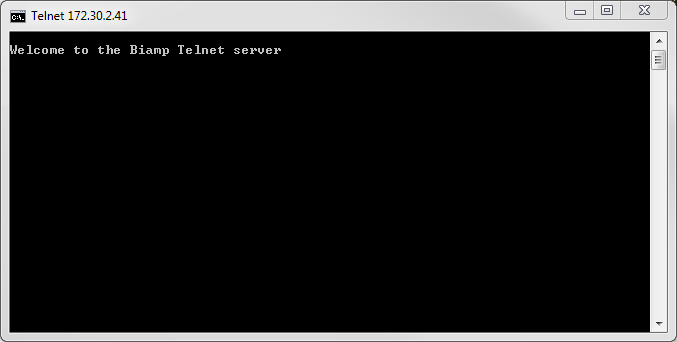
In the command prompt window you will type telnet followed by the IP address of the device you want to connect to. For instance - telnet 192.168.1.101<Enter>
To end the connection type QUIT<Enter>
Commands in telnet sessions are case sensitive.
Further reading
For further information on commands to send via telnet, please refer to the Help documentation in the Nexia, Audia, or Tesira software under the heading System Control. You can also find articles on Nexia Text Protocol (NTP), Audia Text Protocol (ATP), and Tesira Text Protocol (TTP) on this website.