Step 2: Create a New Workplace Account and Organization
The first step to get the Evoko Workplace configured is to create a new Evoko Workplace Account.
- Navigate to Evoko Workplace in your browser and select Register under Room Booking.
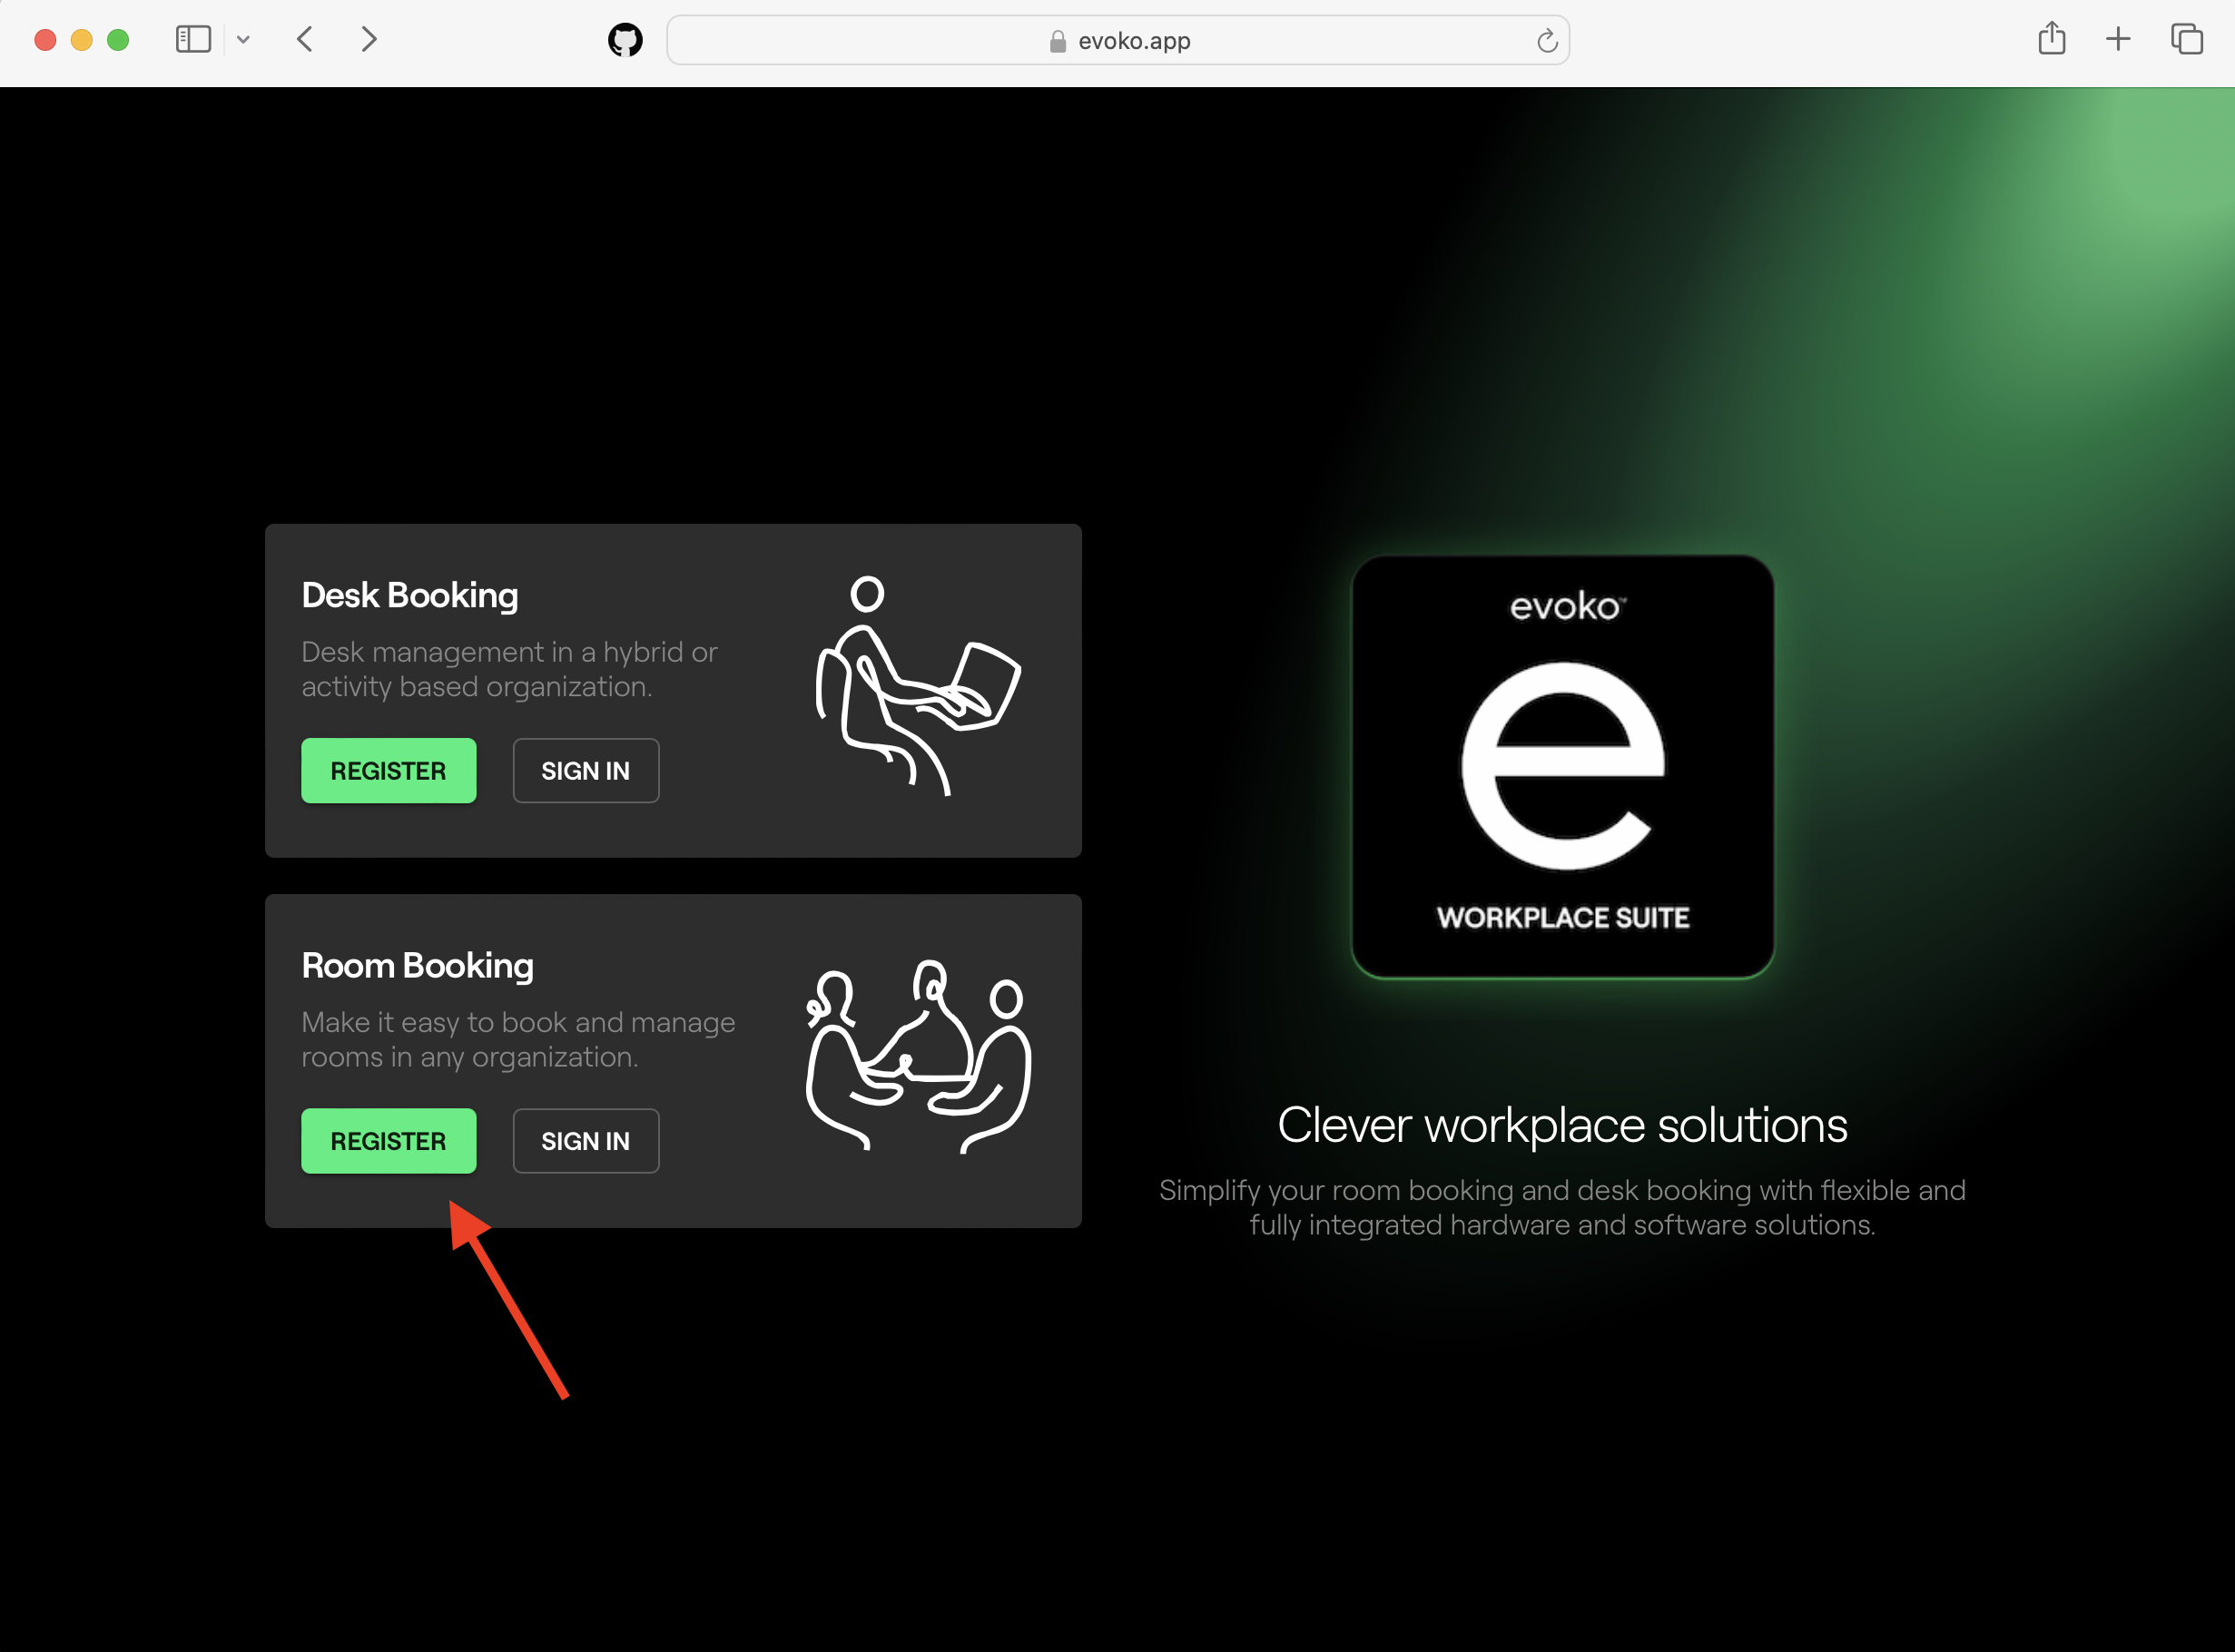
- At this screen you are presented four options to create a new account.
- Sign up with Google
- Sign up with Microsoft 365
- Sign up with Apple
- Sign up with Email
- For this guide we will be Registering with Microsoft

- Enter the M365 Email Address/Password you want to use to create your Workplace Account and press Next.
- Next you will need to authorize the permissions of the Evoko Workplace Application to be used with your M365 Account. Select the consent box, and press Accept.
-

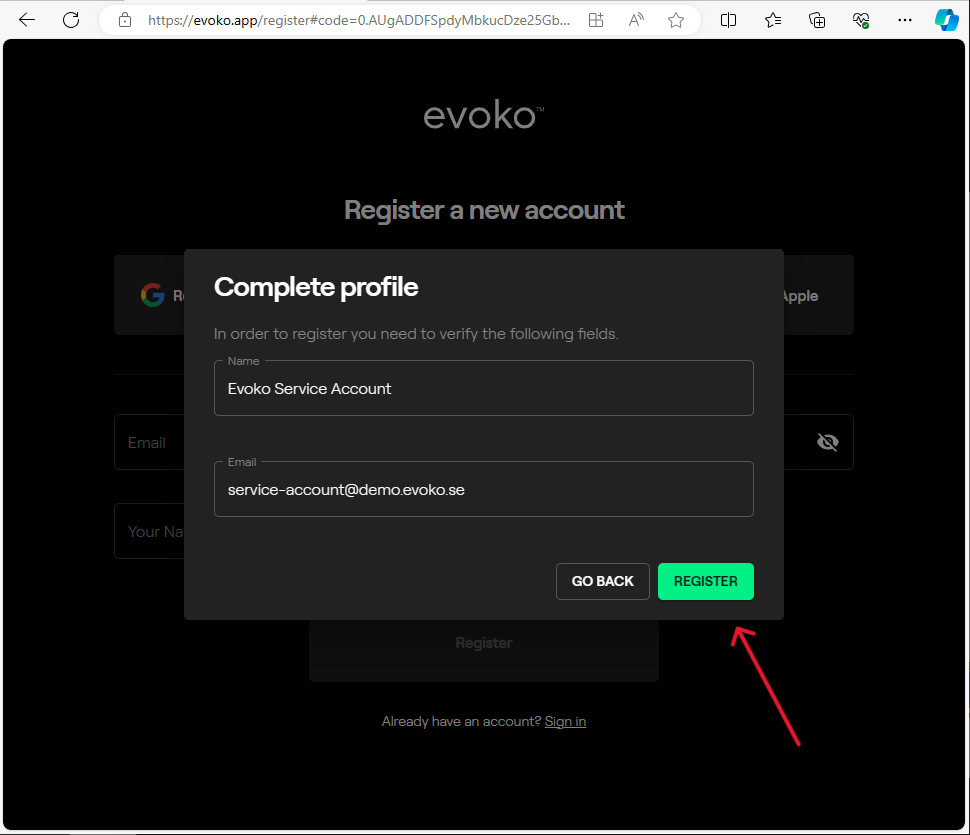
- On the next page you will need to complete your sign up by verifying your user information. Press the Register button.
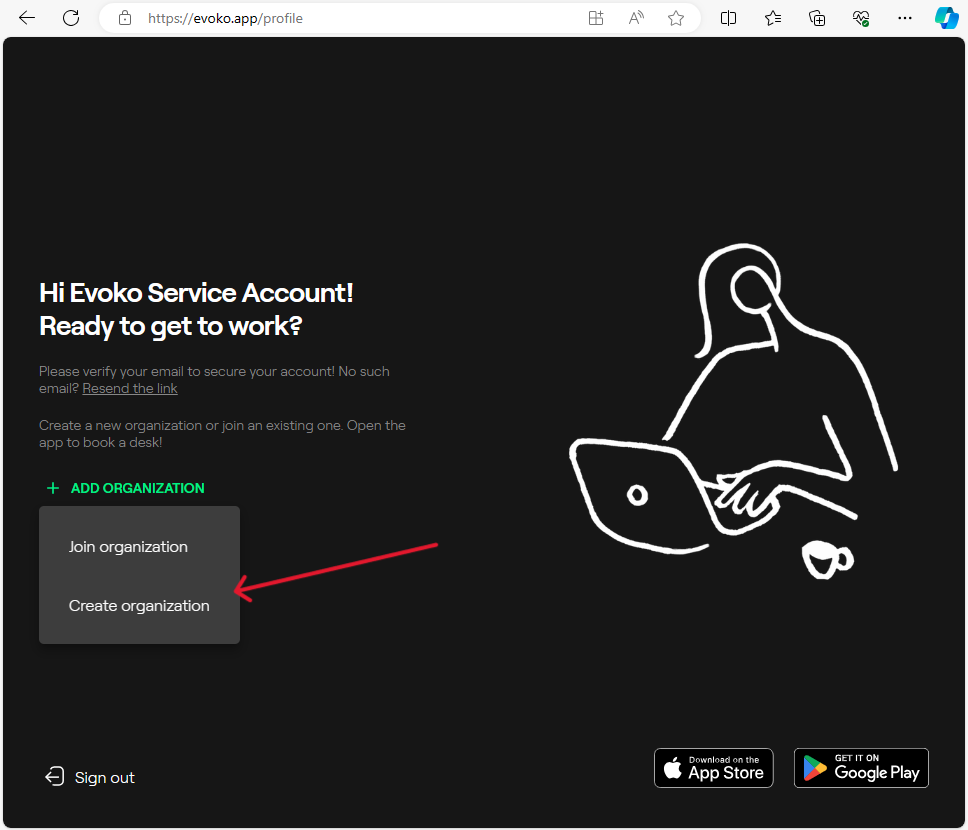
- After registering, you will receive a verification email to the inbox of the account you used to register. Please verify your email to secure your account.
- Once the email has been verified you can proceed to + ADD Organization

- Here you are presented with 2 options.
- Join Organization: (An Organization Already Exists)
- Create Organization: (Brand New Organization)
- For this guide, we will be creating a New Organization.
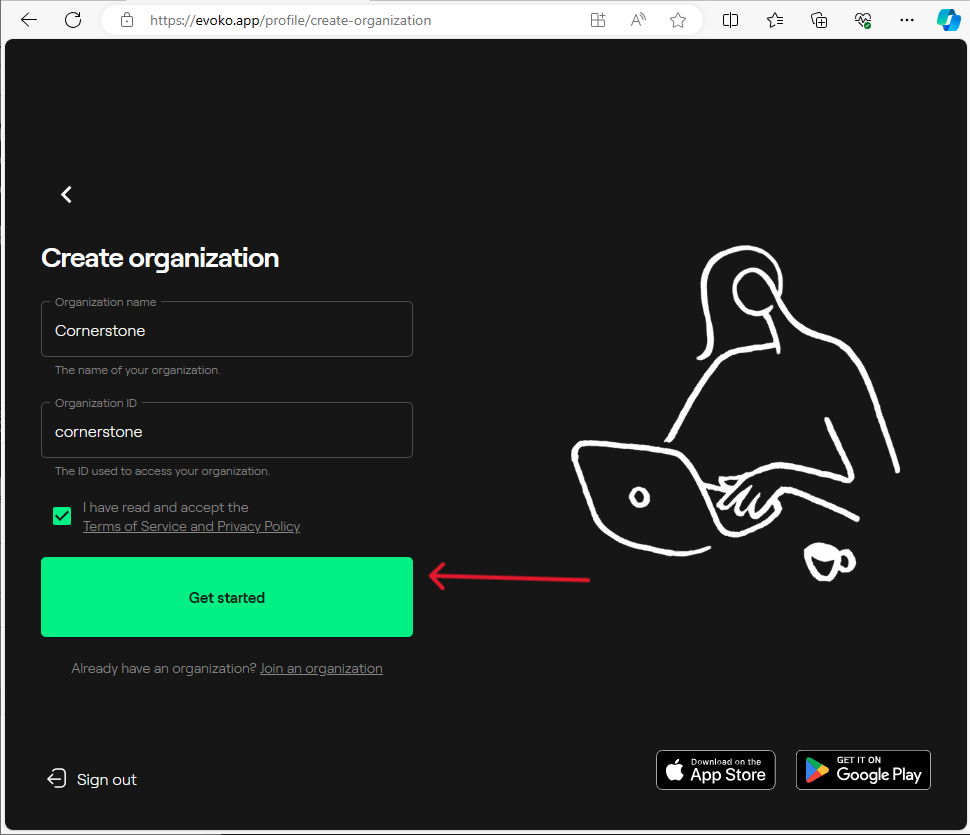
- You will be prompted to enter an Organization Name. This will also fill in a Organization ID by default. When complete, acknowledge the Privacy Policy and press Get Started.
-
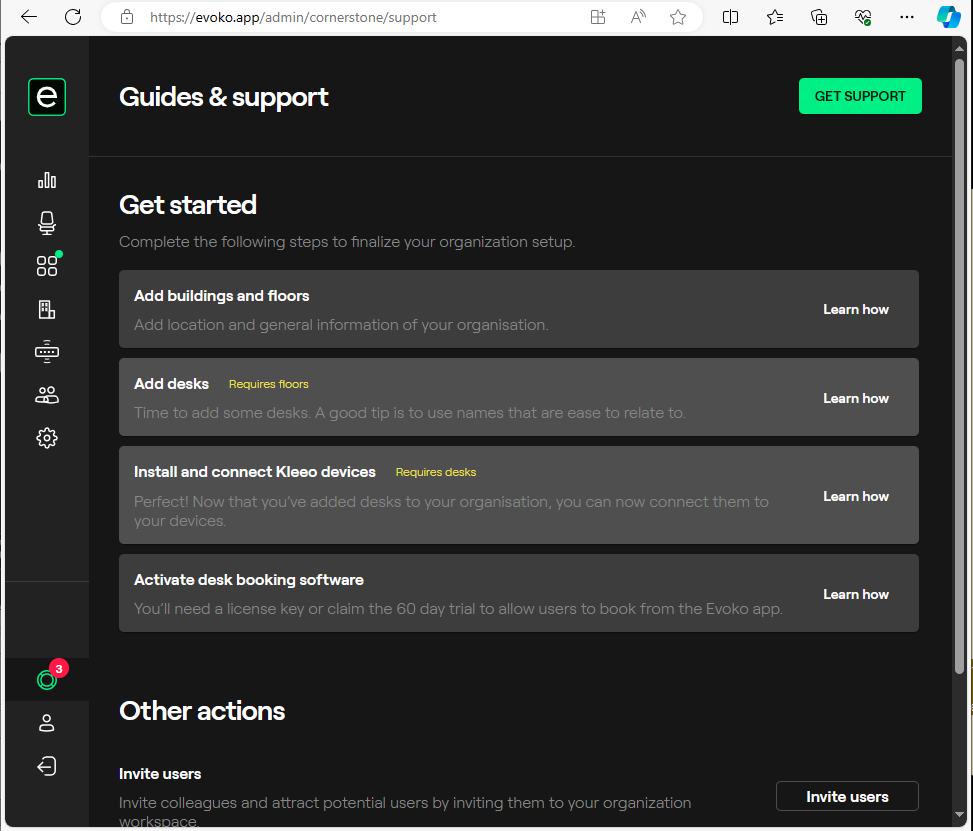
- Congrats! You should now be logged into the Evoko Workplace Admin Center for your newly created Organization.