

Devio UCX Biamp Workplace

Devio UCX Biamp Workplace
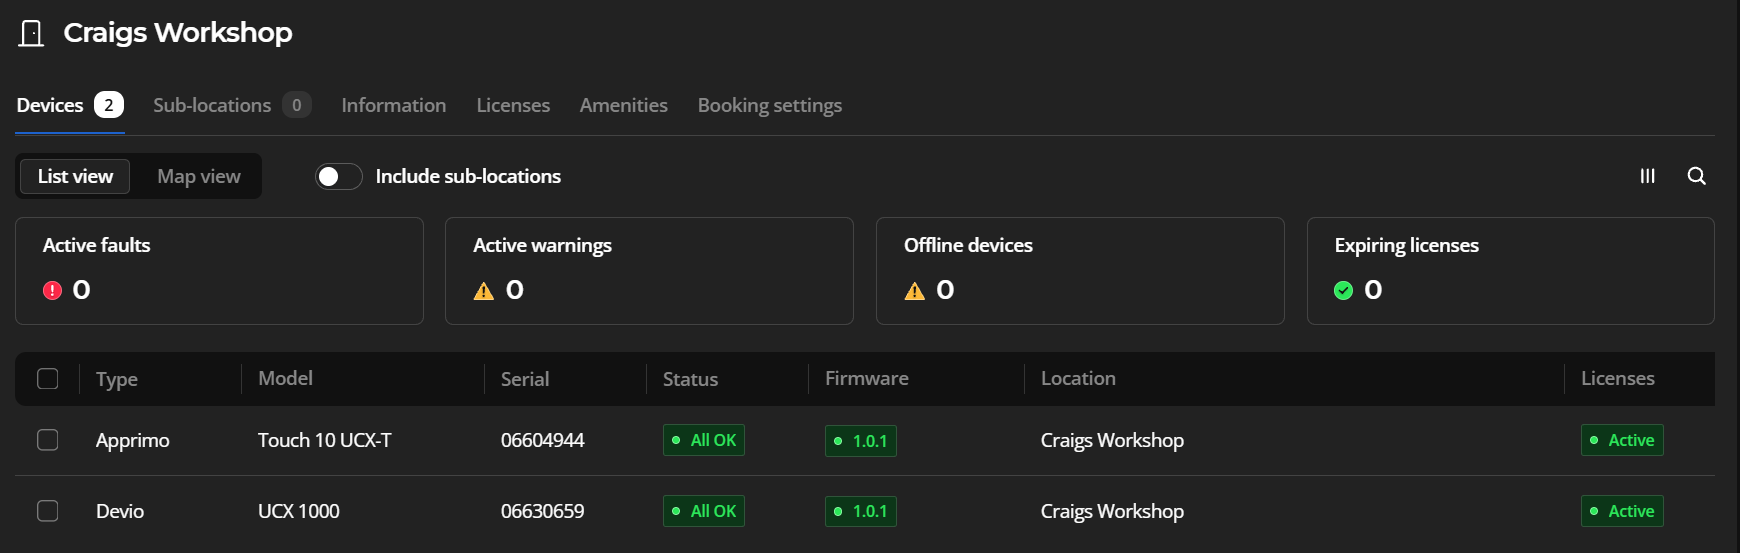
The Devio UCX once setup you'll be able to use Biamp Workplace Tools to register your devices to Biamp Workplace. Below are the steps showing the intuitive workflow.
Note the serial numbers of the Devio UCX and UCX-T to do this you go to Setttings > About > Front of room / Touch console.


Open Workplace Tools: Use the serial numbers to search for the devices. Alternatively you could use any of the other identifies. Select and assign connect them to your Biamp Workplace location.


This is blank.
Setup Procedure
Important! This section is required for all Devio UCX systems.
Coordinate with the IT or network manager to have log in information handy to enter during setup. This assumes that all peripherals and the touch panel have been connected to the Devio UCX hub per instructions in the manual and above.
1. Power the hub. Both the touch panel and the room's large display screen should show the Welcome screen.
- Ensure there is a stable connection to the internet as the system may require firmware updates. It may take more than a few minutes to update the firmware on the UCX devices and connected bar and/or camera. This should all be completed before continuing the setup process.
2. Follow the on-screen instructions to set up and configure the room account.
3. Once the accounts are set up, ensure that the hub recognizes any connected peripheral devices in the Settings menu.
4. Run Biamp Launch to configure the sound in the room.
5. Choose the meeting platform for the room.
6. (optional) Register the devices to Biamp Workplace. (Workplace setup / administrative information is available in the Workplace Admin Help File).
7. Test to verify the proper functioning of Teams or Zoom by joining a test meeting, testing audio and video functionality, and verifying network connectivity.
Technical Support
Contact US
+1 877-242-6796
See Simple Solutions for common Devio UCX issues.