MAX Connect network setup: Corporate Dual
This article provides an example of using the MAX Connect to provide a BYOD-meeting space in a dual corporate network / guest network environment.
Scenario overview
MAX Connect allows for different network topologies depending on the needs of the users and corporate IT constraints. These are described the MAX Connect Network Connections article. In this article, we will focus on how to configure MAX Connect and enable a typical BYOD-style meeting space by allowing secure access from users on both the corporate and guest networks (corporate dual network), without using the MAX Connect built-in access point.
Setup
The following graphic describes the high-level setup. In this configuration, the MAX Connect wireless interface is disabled and the unit only connects to the corporate LAN via its Ethernet port. Corporate users reach MAX Connect via their devices that are connected to the corporate Wi-Fi, while guests can reach MAX Connect by connecting to the Corporate Guest network. The visibility of MAX Connect through the network infrastructure must be configured by the system administrator.
Key points:
- Corporate users connect through the corporate Wi-Fi, no need to switch to a different network
- Guest users connect through the corporate guest Wi-Fi, no need to switch to a different network
- Direct access to the MAX Connect integrated access point is not possible

1. Access the network settings
MAX Connect is configured by default to receive an IP address through DHCP. Connect the Ethernet port of MAX Connect to a wired network with DHCP enabled and boot the unit. The "INTERNAL" tab on the room display Welcome Screen will show the assigned IP address (reboot MAX Connect if the IP is not showing). Alternatively, use a network tool to discover which IP address has been assigned to the device.
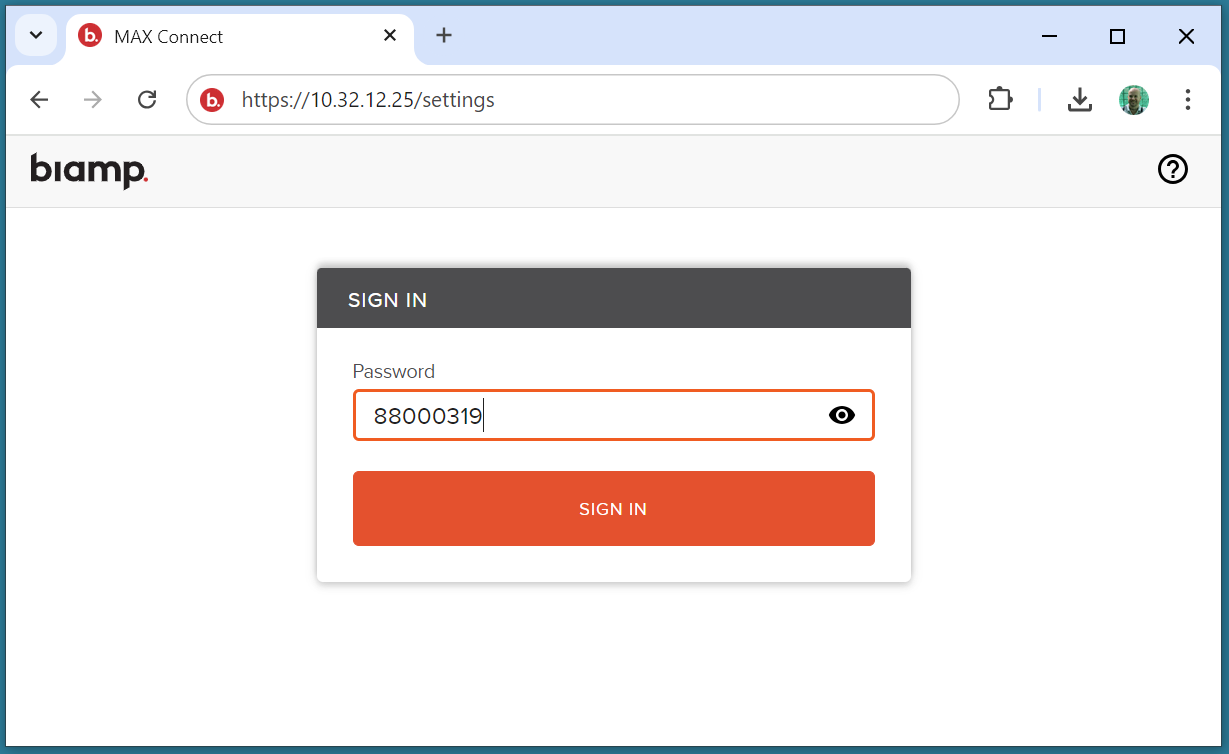
Open a web browser and access the Web Administration Console by going to:
https://<IP-ADDRESS>/settings
The default password is the device's 8-digit serial number (visible on the product label); no username is needed.

It is strongly recommended to change the default password when setting up MAX Connect, to prevent unwanted access to the unit and the network configuration.
Resetting the unit to factory defaults
This procedure is useful if MAX Connect does not automatically receive an IP address through DHCP and cannot be accessed on the network, or in case the admin password is lost.
MAX Connect can be reset to factory defaults by pressing the pin-hole button on the back of the unit for 10 seconds. The pinhole is located between the Ethernet and power supply ports. When reset, the unit will be configured as follows:
- Wired connection enabled (on DHCP)
- Wireless connection enabled
- Password as the device's 8-digit serial number
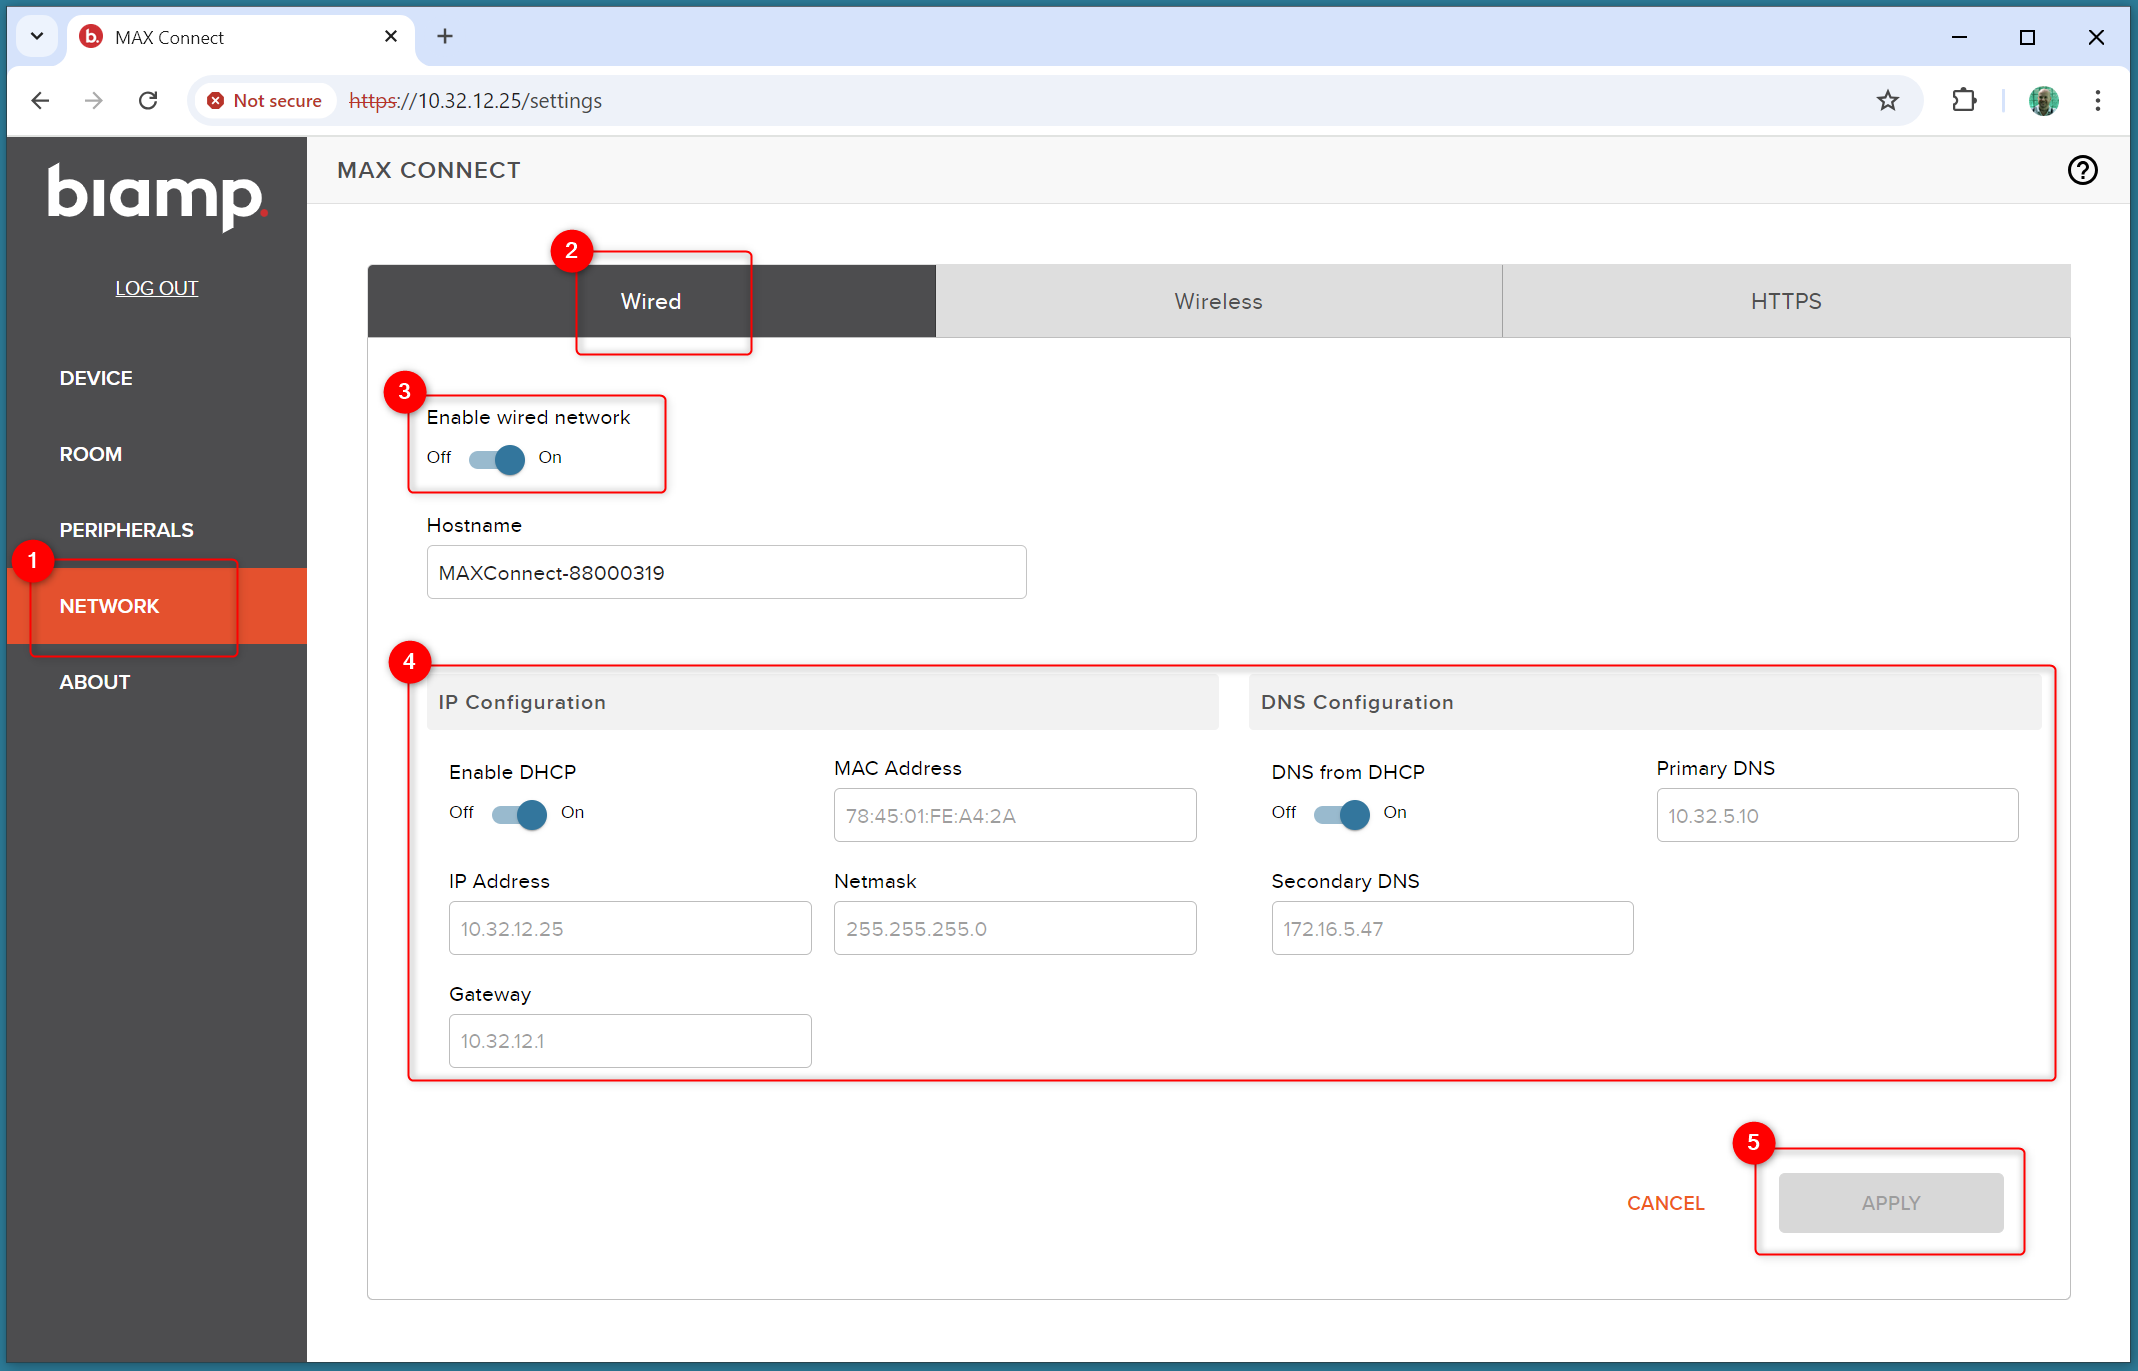
2. Configure the Wired interface
When logged in, navigate to the "NETWORK" page (1) from the left menu to access the configuration for the Wired and Wireless interfaces, and choose the "Wired" configuration page (2).
Make sure that the MAX Connect wired interface (Ethernet port) is enabled (3), which is the default factory configuration.
The hostname is a descriptive label used to identify the device within the LAN, and it's not visible to users.
The "Enable DHCP" toggle (4) allows the system to be configured either to:
- Receive an IP address automatically from the network DHCP server (default configuration).
- In this case, you can choose to also receive the DNS automatically from DHCP, or manually specify it.
- Use a static IP
- In this case the Netmask and Gateway must be provided as well.
To avoid unwanted changes of the IP address of the unit, setting a static IP address or leave the unit on DHCP and set a static DHCP lease from the corporate router (the unit MAC address is shown on this page). This is especially important when using the optional Touch 8 MAX controller.
If any change was made, apply the configuration (5): a dialog box will appear asking you to confirm the reboot, which is required for the changes to take effect.
3. Configure the Wireless interface
Enter the "Wireless" configuration page (1).
Turn off the "Enable wireless network toggle" (2), this will completely disable the onboard Wi-Fi interface of MAX Connect.
Apply the configuration (3): a dialog box will appear asking you to confirm the reboot, which is required for the changes to take effect.

To avoid being locked out, the Wired interface must always be enabled in order to disable the Wireless interface.
Make sure to complete the Wired settings with a valid network configuration before changing the Wireless settings, to avoid losing access to the unit on the network. If that happens, reset the unit to factory defaults to re-enable DHCP and the onboard Wi-Fi access point.
4. Configure the Corporate network infrastructure
Network ports
Some communication ports might be locked by default, usually for security reasons, in routed or restricted network segments such as public wireless access for guests. For optimal operation of MAX Connect, required ports should be open and without restriction.
Network visibility
The corporate network infrastructure must be configured to allow visibility of the MAX Connect IP address to the user devices connected through Wi-Fi. This is especially important if the users are on a different subnet. For example, if MAX Connect is on the Corporate LAN subnet, and guest users' devices are connecting to the Corporate Guest subnet.
Either VLANs (Virtual Local Area Networks) or ACLs (Access Control Lists) can be used to segment the network and traffic, according to corporate IT requirements.
5. Pair a Touch 8 MAX (optional)
Touch 8 MAX is an optional controller for the MAX Connect system. It's a network device that must be powered through PoE.
A Touch 8 MAX device will attempt to discover a MAX Connect on the same subnet via UDP. In this case, pairing will happen by simply typing the 4-digit Session ID as shown on the room display Welcome Screen.
If the Touch 8 MAX lives on a different subnet than MAX Connect, pairing is still possible by entering the MAX Connect IP address on the Touch 8 in the "Type IP" field. This tells the Touch 8 where to look to pair with the MAX Connect.
An unlimited number of Touch 8 MAX units can be paired to a single MAX Connect system.

The Touch 8 MAX will store and remember the IP address of the MAX Connect host it is synced to, and unless it is manually un-paired it is not needed to enter it again.
When connecting from different subnets, set a Static IP address (or Static DHCP lease) for MAX Connect to avoid DHCP automatically reassigning the unit to a different address and loseing the pairing with Touch 8 MAX.