Uniform 8U Virtual Pages and Page Jumps
Project Designer version 1.40.0 and higher is required to use these features.
Overview
Up to five virtual pages can be added to the Uniform 8U control pad using Biamp Project Designer version 1.40.0 and higher. When created, a new virtual page is placed under the "Native keypad" page, which is the top-level page on each Uniform. New functions can then be assigned to the buttons for each virtual page, allowing for the creation of menus with unique functions and indicators.
One of the first functions a system designer should add and assign to buttons is the jump page function that navigates the Uniform's screen between pages.
Adding pages
To add a virtual page to the control pad, you can either:
- Create a new page or...
- Import an existing page as a template from another Project Designer project.
Creating a new page
1. In Project Designer, open or create a project with a Uniform in it.

2. To bring up the page Create option, select the Interface tab at the bottom left of the Project Designer window.

3. Select the Create icon in the top ribbon near the left of the window, in the Page section.
- This will start the process of creating a new page beneath the top-level "Native keypad" page.

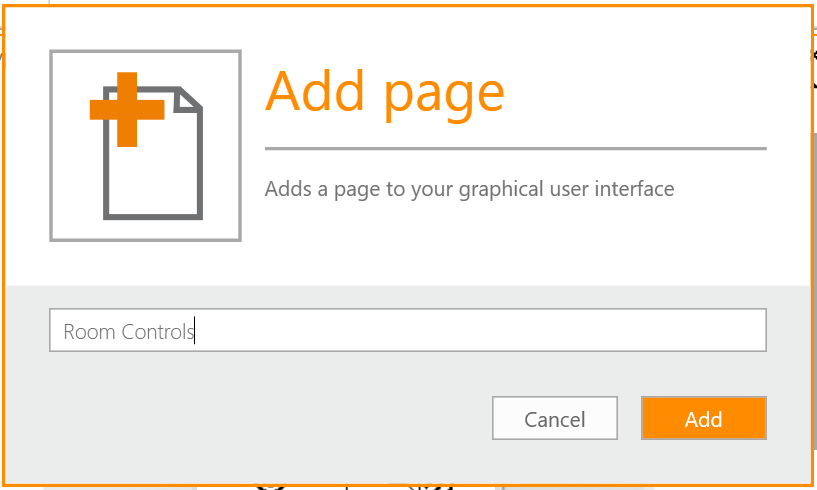
4. Name the new page, then select Add.
5. Once in the project, move or delete the project's label icons as needed to clear space on the Native Keypad page.
For the next step, see: Adding a navigation label and "Jump page" function
Importing an existing page template
You can import an existing virtual page from another Project Designer project.
1. In Project Designer, open or create a project with a Uniform in it.
2. Select the Interface tab at the bottom left of the window.
3. Select the Import icon in the top ribbon near the left of the window.
- This will open a File Explorer window.
4. Find and choose the GUI file you wish to import (pdprj or pdgfx), and then select Open.
For the next step, see: Adding a navigation label and "Jump page" function
Adding a navigation label and "Jump page" function
You must add a jump page function to each page to avoid stranding users on that page.
Example: In this example, we'll add a Jump page function to a button with a navigation icon and text on the Native keypad home page. The Jump page function will take the user to a new Room controls page.
1. Select the Interface tab in the ribbon at the bottom of the screen.

2. Select the Insert tab and use the Insert controls to add a label icon and text to the page. Drag and position the icon and text after adding them.
- You may import images, draw shapes, or use the library of symbols on the Symbols button to add an icon.
- Additional icons are available to insert using the Graphical elements pane on the left side of the page.
- The Text tool adds text to the label to help indicate a button's purpose on this page.
![]()
The new icon and a text label positioned adjacent to an unassigned Uniform button.
![]()
3. Select the Function tab in the ribbon at the bottom of the page.

4. Click the button on the Uniform adjacent to the new navigation icon. This selects the button for adding the Jump page function to it in the next step.

5. Select the "Jump page" function in the Functions pane on the left side of the page, and drag it to the selected Uniform button.
- The "Jump page" function is found under the Visual appearance Functions type.
- A green check mark message indicates the Jump page function is in position to assign to the button.

6. Use the Go To drop-down menu to set which page the Jump page function will jump to, then click the Add button

A Jump page was successfully added, as indicated by the orange Jump page icon on the button and the jump action in the Actions page.

Next Steps
You are now free to add additional functions, labels, and indicators to the new pages.
Assigning button functions on new pages
Please note that on the default home page, the buttons are identified in Project Designer as buttons 1 through 8. Buttons with assigned functions on subsequent pages are identified as the 8 + the last assigned button ID number. So the first button ID on the first added page will be 8 + 1 (9), the second button with an assigned function will be 8 + 2 (10).

Example: If there are three buttons on the first added page, they will have button ID numbers 9, 10, and 11.
- If a second page is added and two buttons on it are assigned functions, those will be assigned button IDs 12 and 13.
- If a third page is then added with two more buttons with functions, those will be assigned button IDs 14 and 15.