Locations: Create a Plan
This article covers how to create and populate a Location plan in the Biamp Workplace admin portal. For detailed information on plans and their uses, please see the Location Plans Overview article.
- Reminder: Plans are typically created for floor locations to generate interactive user-navigation floor plans, administrative floor map views, and Overview screen floor maps.
Requirements
Plan image: Creating a plan requires an image file of the physical location's layout. This is typically a floor plan.
- The image file must be less than 2 MB.
- For the best result, use an image with minimal empty space around the floor plan.
Available bookable spaces and audiovisual devices: Bookable spaces must be existing sub-locations directly beneath a location in order to add them to that location's plan. Audiovisual devices must be assigned to the location to add them to that location's plan.
- Booking spaces example:
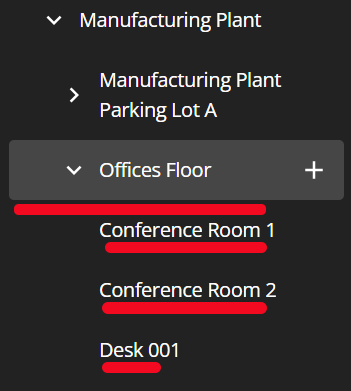
- You are creating a plan for a floor with two bookable rooms and a bookable desk. The bookable locations have been added to the organization directly beneath the floor in the locations hierarchy.
- These three bookable locations will be available to add to the plan since they are direct sub-locations.
Steps
1. Go to the Locations page of the location you wish to create a plan for. In this example, we are creating a plan for the Offices Floor.
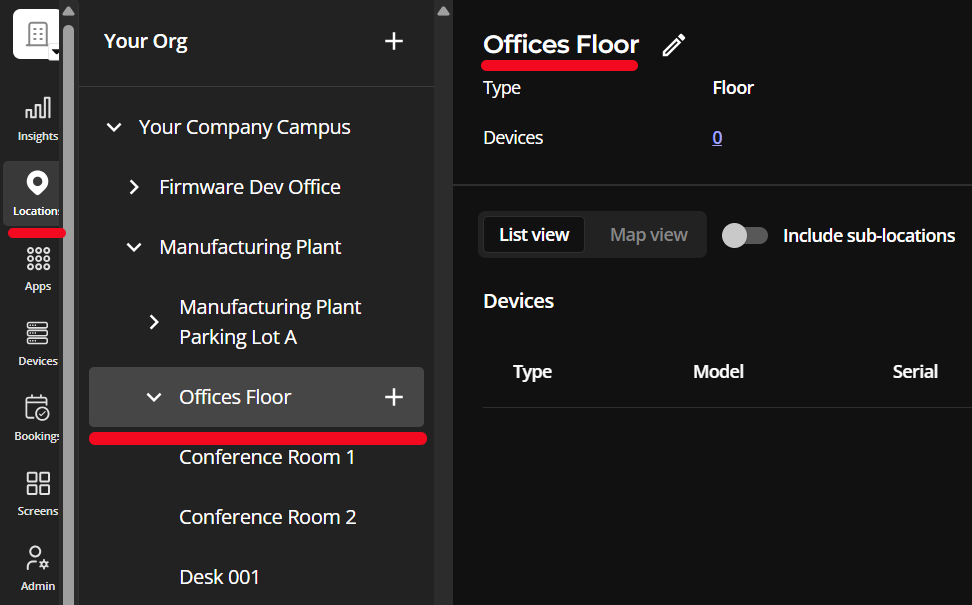
- Locations pages are located on the organization's admin console under the Locations Tab.
2. Select the pencil icon.
![]()
3. Scroll down to the Plan section and select the Create plan button.

4. Select the Upload location button to upload a plan image.

5. Add the available Room, Desk, Parking Space, and AV devices from the options pane on the left side of the window to their locations on the map pane.
- Navigating the map: Clicking the arrow Select button on the map pane interface will switch the mouse interface to a pan function, allowing you to move the map around with your mouse or touch-enabled display.

 Left: Mouse set to select objects on the map. This setting is useful when drawing room borders.
Right: Mouse set to pan for moving the map around.
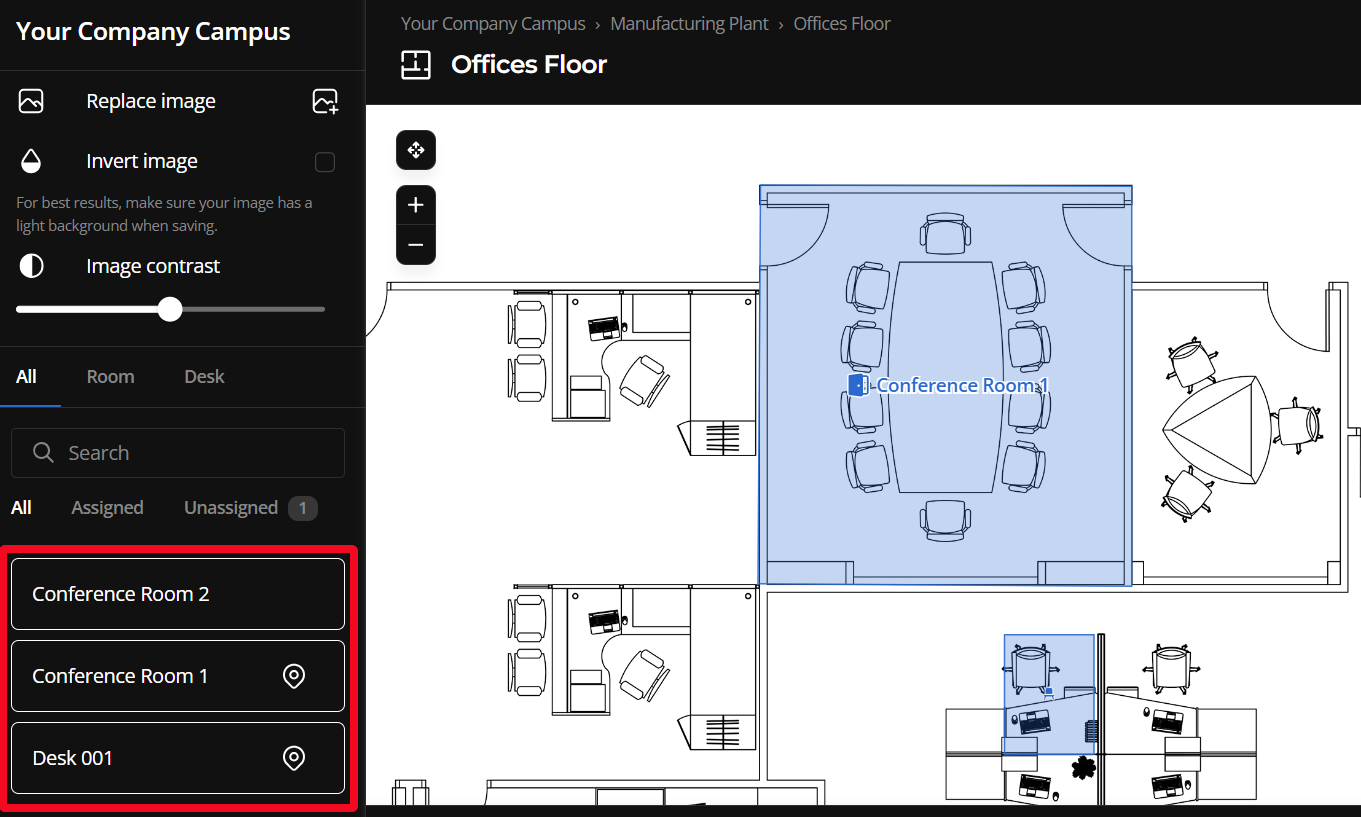
Adding Rooms: Click on a room tab in the options page, then draw the room over the location of physical location of the room on the map.
- Biamp recommends having the mouse tool set to Select rather than Pan when drawing for improved accuracy.
Adding desks and parking spaces: Selecting a desk or parking space app allows you to place a sizable box on the map over that desk or space's location. Resize and shape the box as needed to match the shape of the physical location.
Other Controls:
- Replace image - Allows the user to upload a replacement plan image without deleting assigned rooms, desks, parking spaces, and devices from the plan.
- Invert image - Switches the image between light and dark modes.
- Image contrast slider bar - increases or decreases the image contrast.
6. Save the plan by selecting the Save changes button on the lower right side of the screen.

7. Exit the edit plan page when finished by selecting the Cancel button.
Editing an existing plan
Administrative Users and Organization Owners can edit the map as needed by returning to the Plan section of the Location's page and selecting the Edit plan button.
- The plan can also be deleted from the Plan section.
