Locations: Getting started with adding locations
This article describes adding top and mid-level site, building, and floor locations to start building a moderately complex Workplace location hierarchy from the top down. Having a good structure in place will make complex organizations easy to build out, then monitor and manage.
-
Please see the Locations Overview article for an overview of how to design flat or complex Workspace location hierarchies, as well as the intended uses of the location types and their planning considerations.
-
Please see the Booking Resources: Adding Bookable Desks, Parking Spaces, and Rooms article for detailed information on adding bookable resources under these top and mid-level locations covered in this article.
Example procedure
This example covers starting a moderately complex location hierarchy with three levels. As discussed in the Locations Overview article, a Workplace organization's location hierarchy should reflect physical sites where installed booking and audiovisual device systems will be managed and monitored.
1. On the organization's administration console, select the Locations tab in the navigation ribbon on the left side of the page.
- Note: If you are just getting started with setting up an organization, selecting the "Add buildings and floors" options in the Getting started guide will also take you to the Locations Page

2. Select the + button to add a first location.
- Any type of location can be added at the top level.
- If you are building a location hierarchy, this will be one of the top-level locations that you will build out with sub-locations.
- If you are building a flat hierarchy organization, all of your locations will be at this level.

3. Choose a top Location type, then fill in the Name and Address fields. Fill in the other fields as needed, and then select the Add location button when finished.
- You may either use the organization's default timezone, language, time format, and opening hours, or enter ones appropriate for the physical site's location.
- We will be using a multi-building campus in this example, so we will select Site for the location type.
- If your organization will only manage systems in a single building, select the Building location type for the top-level.

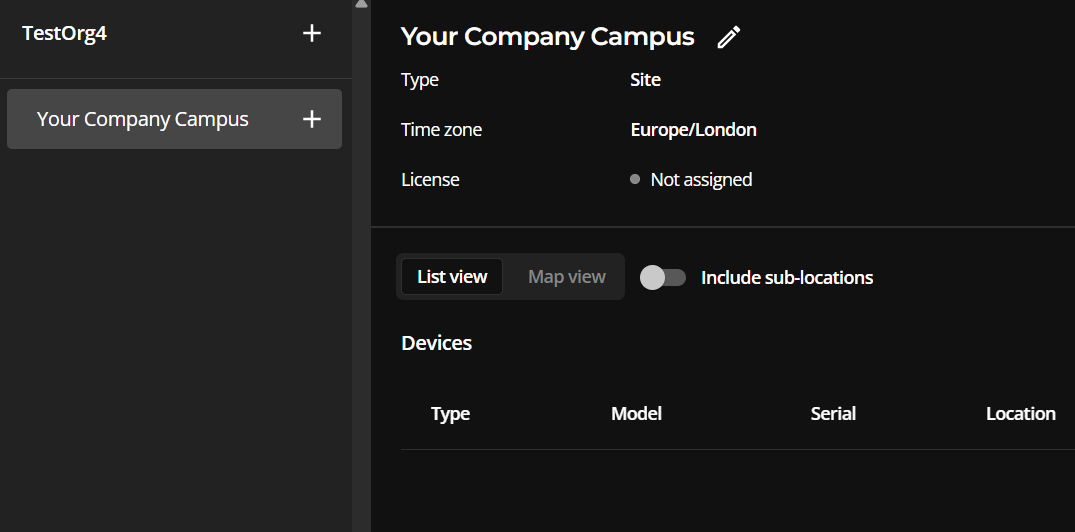
The campus has now been added to the organization as an example site.
4. Select the + button on the newly added location to add its first sub-location.
- In this example, we are adding a building to the campus site.

5. Fill out the Add Location form. Scrolling down to choose time options if the local ones differ from your organization's default settings. Then select the Add location button.

6. Select the + button on the Manufacturing Plant to add a floor to the building.

7. Fill out the Add Location form and then select the Add location button.
- In this example, we are adding a floor location. Since this Offices Floor will be on the second floor of the building, we will fill out the Level field as "2".


Next steps
Bookable locations: You can now add bookable resources to the organization, such as rooms, desks, and parking spaces and rooms. Please see the Booking Resources: Adding Bookable Desks, Parking Spaces, and Rooms article.
Audiovisual devices: With locations added to the Workplace organization, you can now discover and assign AV devices to the organization and locations within it. Audiovisual devices: Discovering and assigning