Overview Screens: How to Add Screen and Edit
This article explains how to create and edit Workplace Overview screens to show on on-site display screens. For information on Overview screens and their uses, please see the Overview Screens: Overview article.
Adding an overview screen
Add a screen to a Workplace organization under the admin portal's Overview screens tab.

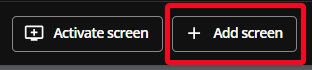
1. Select the "+ Add screen button on the lower right side of the Screens page.
2. Fill out the General settings section for the Overview screen.
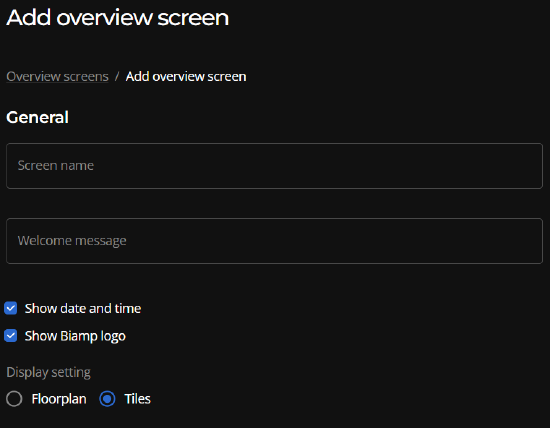
- Screen name: Assign an intuitive name to the screen for managing and keeping track of it, along with your organization's other Overview screens.
- Welcome screen: Write a welcome message that will be useful for an end-user viewing the Overview screen on the floor where the display monitor will be located.
- Screen information: Choose to show or not show:
- The date and time
- The Biamp logo
- Display setting: Choose an overview screen type under Display settings options.
- A Floorplan overview screen
- The floor you are creating the Floorplan screen for must have a location plan set up. Plans are created under the locations tab.
- A Tiles floor overview screen
- A Floorplan overview screen
For a description of the Floorplan and Tiles overview screen types, please see the Overview Screens: An Overview article.
Assigning a Screen to a display
For how to assign a screen to a display monitor, please see the Overview Screens: Assign a Screen to a Display article.
Updating and editing a Screen
The screen configuration options previously described above can be edited as needed on the Screens page. Select the pencil icon on the right side of the Screens page.

![]()
Please note: The floor location plans the Overview floorplan screens are based on are created and edited on the admin console's Locations page.
- Please see: Locations: Create a plan.