UC room commissioning: Record system performance for future reference
This article presents tips and methods to listen to and capture the raw output of the DSP at the near end. With recordings in hand, it is possible to compare the output to what is captured at the far end and then evaluate the signal path.
Our problem statement: It can be difficult to interpret a DSP output when it is sent straight to a UC system. The results are complicated by the presence of an unknown set of audio processes being executed on your signal between the near end and far end. Audio and video conferencing applications may apply compression, limiting, EQ, high-pass and low-pass filtering, automatic gain control, echo cancellation, noise reduction, and more on the signal output from the DSP. These audio modifications may be minor or significant, and there is often no way to view the modifications or manipulate them as the processes are hidden from users.
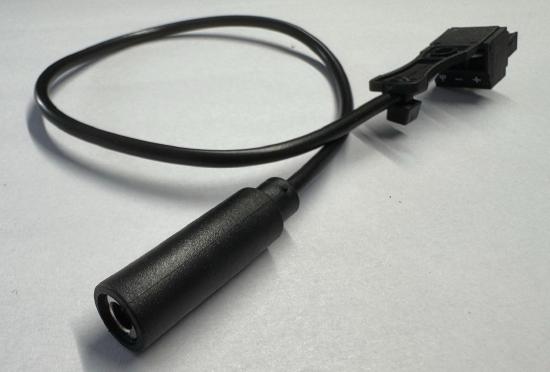
Connect headphones to audition microphone performance
The most straightforward way to listen to the DSP audio is by using an analog output of a Tesira DSP, with an adapter wired to headphones.
The simplest application is by fanning out the USB transmit audio directly to an analogue output(s). This allows the local technician an opportunity to tune the mic performance without hearing any effects of a codec on the signal. Once the local performance is verified, place a call and assess quality on the far end.

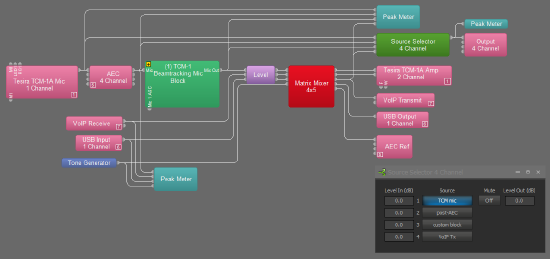
For deeper analysis, a Source Selector block with 4 or more inputs can be added to your layout. Choose pick-points through the layout to hear the effect of each processing stage on the microphone mix. The last input should be taken just prior to your transmit block (whether it is VoIP, POTS, USB, or analog out).
Record system performance for future reference
USB output
Take a recording of two signal paths of the system: USB audio direct from the DSP, and audio via the UC system.
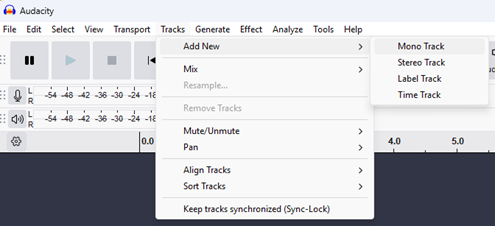
First, take the input from the Tesira USB directly into Audacity.
Second, use the WASAPI and loopback function. Start a UC call from the room system and join that call with your laptop. Adjust audio settings to use WASAPI and select the Loopback output device:

The steps above provide a pre and a post-UC platform sample for comparison. You can now analyze the differences in the two samples using the spectrogram function.
