Connecting to an Extreme switch
This article explains the basics of getting connected to Extreme Networks Summit series switches via the command line interface (CLI) or web browser graphic user interface (GUI).
Connecting
All commands to the Extreme switches are transmitted via a Command Line Interface (CLI). By default, the switch has no IP address configured, so the initial connection to the switch must be made over a serial connection. The physical Console serial connection on the Extreme switches uses an RJ-45 connection. It will be necessary to use an RJ-45 to DB-9 adapter (provided with switch) to a serial port or USB to serial adapter from your PC.
Extreme switches also provide a web GUI for monitoring and making limited configuration changes to switch parameters. It is discussed later in this article.
Note: In EXOS versions 15.6 and lower, HTTP is disabled by default in EXOS and must be manually enabled. In EXOS 15.7 and higher, HTTP is enabled by default on an unconfigured switch.


Adapters
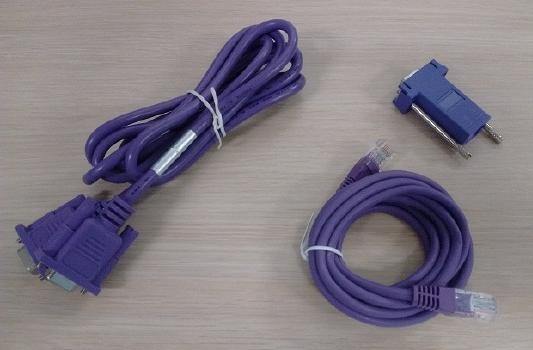
The adapter/cables shown below are provided as standard by Extreme for these switches.
The physical Console serial connection on the Extreme switches uses an RJ-45 connection. It will be necessary to use an RJ-45 to DB-9 adapter (provided with switch) to a serial port or USB to serial adapter from your PC. The Ethernet cable is a straight cable.
Console port access via CLI
- Connect to the switch's Console port using your serial cable/adapter and a terminal emulator program such as PuTTY, TerraTerm or HyperTerminal.
- Serial port settings are 9600 baud rate, 8, n, 1.
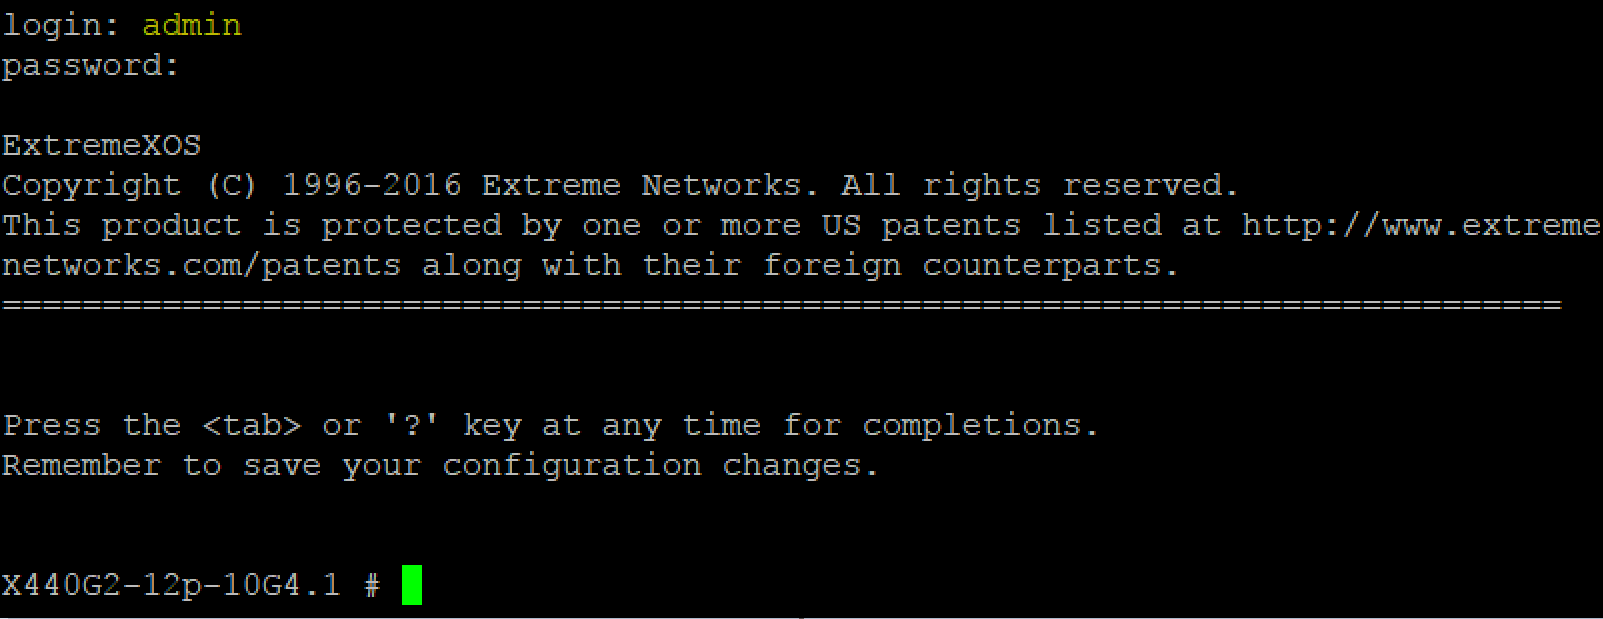
- Log into the switch using the default user. you may need to hit enter to get the login prompt:
- Default User: admin
- Password : no password ( just press [Enter] )
Reset switch
If you are unsure of the current configuration on the switch and wish to start with factory settings, you can reset the unit.
- Clear the configuration with:
unconfigure switch all
- When prompted, to confirm type:
yes
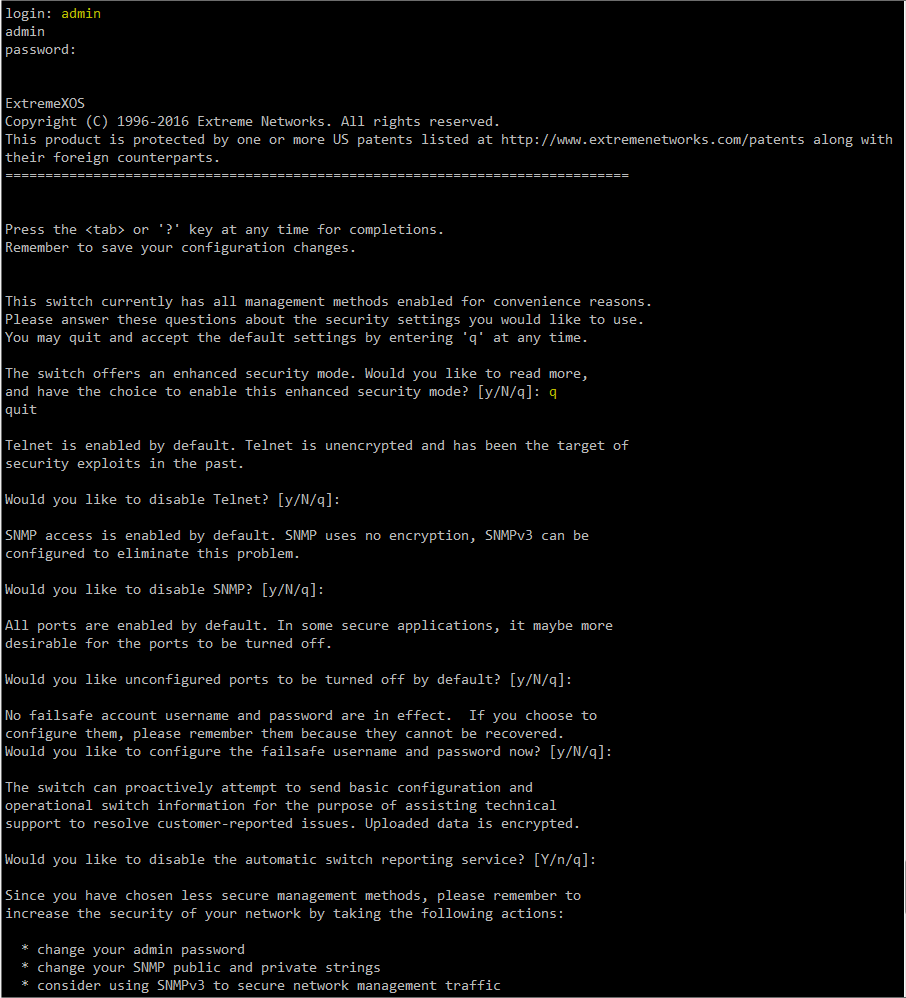
The switch will reboot. You will be prompted to log in to the switch again after the reboot. You will then be prompted to set management security options, to accept the defaults press "q" as prompted in the CLI.
Check firmware version
AVB functionality is only supported on ExtremeXOS version 15.3 or later.
Please always update your Extreme to their current software release available from their website.
To check the switch's firmware version(s), use either of the following commands:
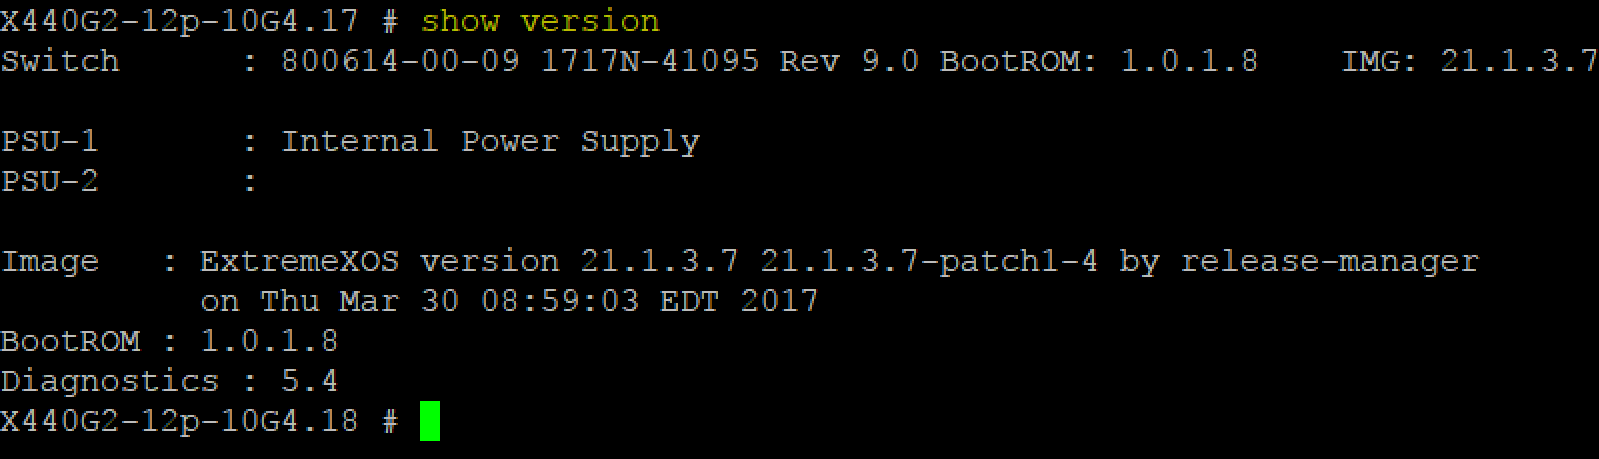
- To show the running version:
show version
- To show the primary and secondary image versions:
show switch

AVB license
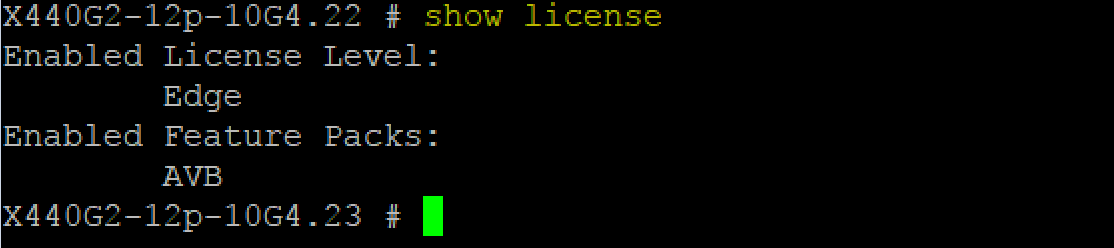
AVB support, including AVB, gPTP and MSRP commands, requires the AVB Feature Pack. A license is required to activate this feature pack. You will not have access to AVB commands if the license was not purchased and installed on the switch.
- To check that you have enabled a license related to AVB support.
show license
- To install the AVB feature pack
enable license <AVB license key>
If required, please review the licensing procedure at extremenetworks.com.
For further information on AVB settings see the article Enabling AVB on Extreme Networks switches
Management IP address
You can configure a Management IP address if you prefer to connect to the switch over IP instead of serial. Management IP addresses may be enabled on the dedicated Management port or on any of the "normal" switch ports.
The default method to connect is via a SSH session on port 22. The switch will also support Telnet connections on port 23 if enabled. (Note these are IP or system port numbers, not physical port numbers).
There are a few different ways to assign a management IP address to the switch:
- You can configure a management IP address on the dedicated Management port for increased security and isolation of management access. For manual IP address assignment for the Management port, type the following command, substituting your desired IP. Note that the management port is isolated from the rest of the ports and VLANs on the switch.
configure mgmt ipaddress 192.168.1.10/24
The "/24" after the IP is a shortcut for specifying the subnet mask associated with an IP address, also known as CIDR notation. /24 is equivalent to a subnet mask of 255.255.255.0.

- You can configure a static management IP address on the default VLAN (or other VLAN) to allow a management connection through the normal ports. This is the easiest way of connecting to a switch over IP, since the normal ports and default VLAN have access to the rest of the network.
configure vlan default ipaddress 192.168.1.11/24
The "/24" after the IP is a shortcut for specifying the subnet mask associated with an IP address, also known as CIDR notation. /24 is equivalent to a subnet mask of 255.255.255.0.
- To automatically assign an IP address for the Management IP on the default VLAN via DHCP, type the following command:
enable dhcp vlan default
Note: If default VLAN already has a static IP address, this command will throw an error. The static IP needs to be first removed with the following command before DHCP can be enabled.
unconfigure vlan default ipaddress
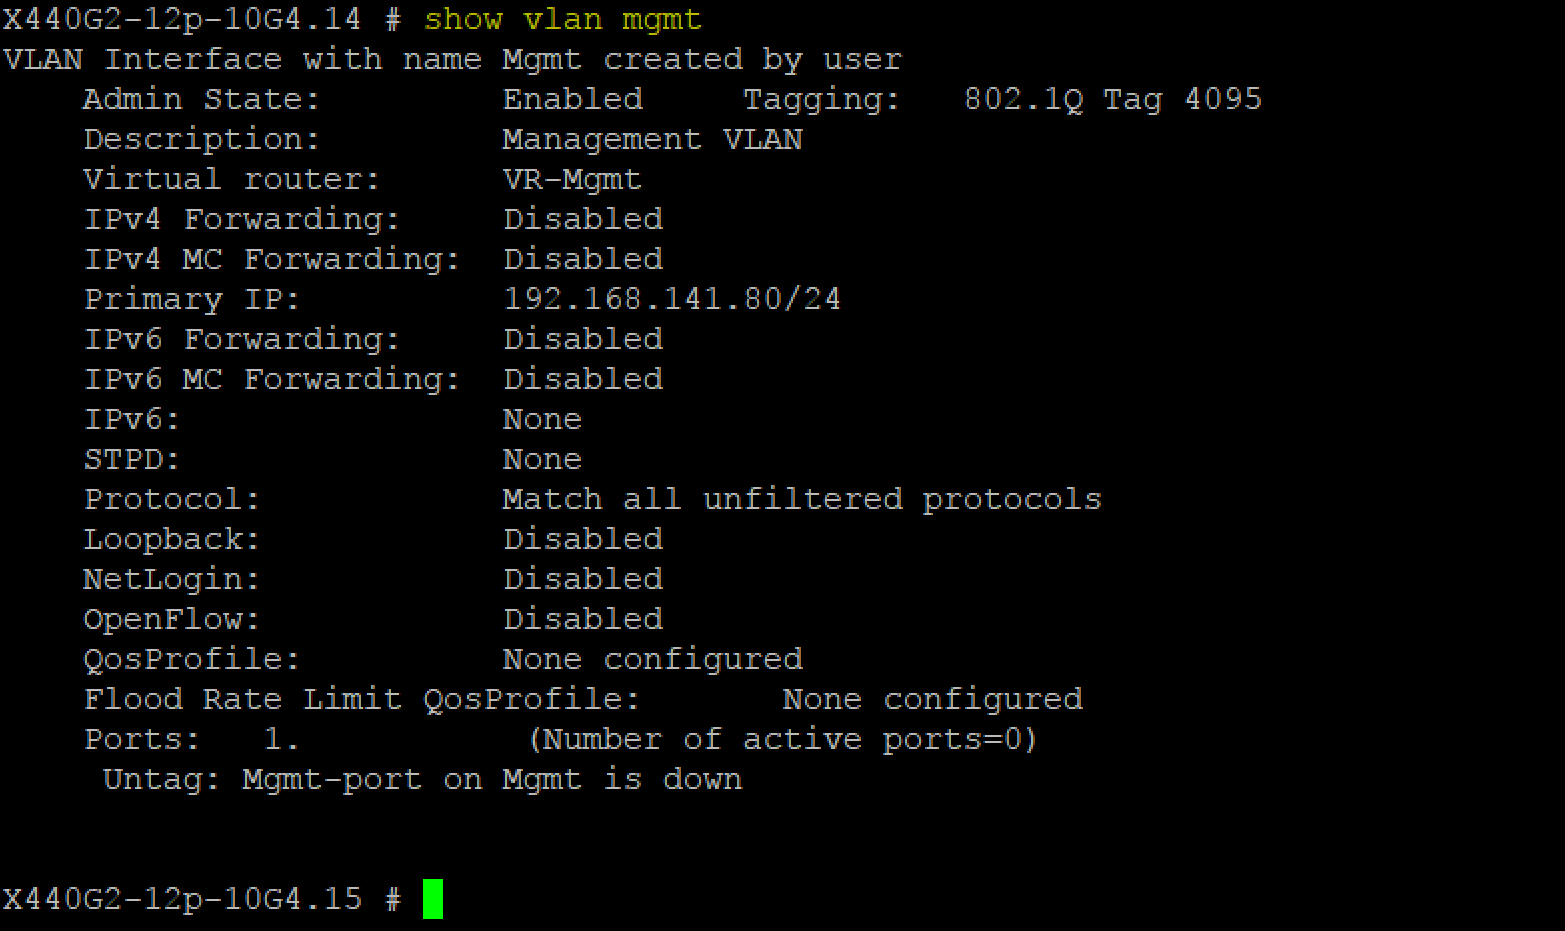
- A DHCP assigned address will need to be discovered to be accessed - you will not know what address has been assigned. To find an already assigned Management (or Primary) IP address (static or DHCP), or to check the configuration of a VLAN, type the following and replace <vlan name> with the name of the VLAN you are addressing:
show vlan <vlan name>
- If these are all the changes you are wanting to make - save the running configuration
save configuration

ExtremeXOS web interface
For OS versions 15.7 and later, http access to the switch web interface (referred to as Chalet) is available via management port IP address. Additionally, plugging a cable into the Management port will trigger the switch to self-compute its IP address with a link local IP address, which can be use to log into Chalet. Refer to this link for figuring out the link local IP address.
For older versions, web interface needs to be enabled with this command:
enable web http
As with the CLI, the web interface can be accessed with the default user credentials (default settings: User: admin, Password: "no password set").
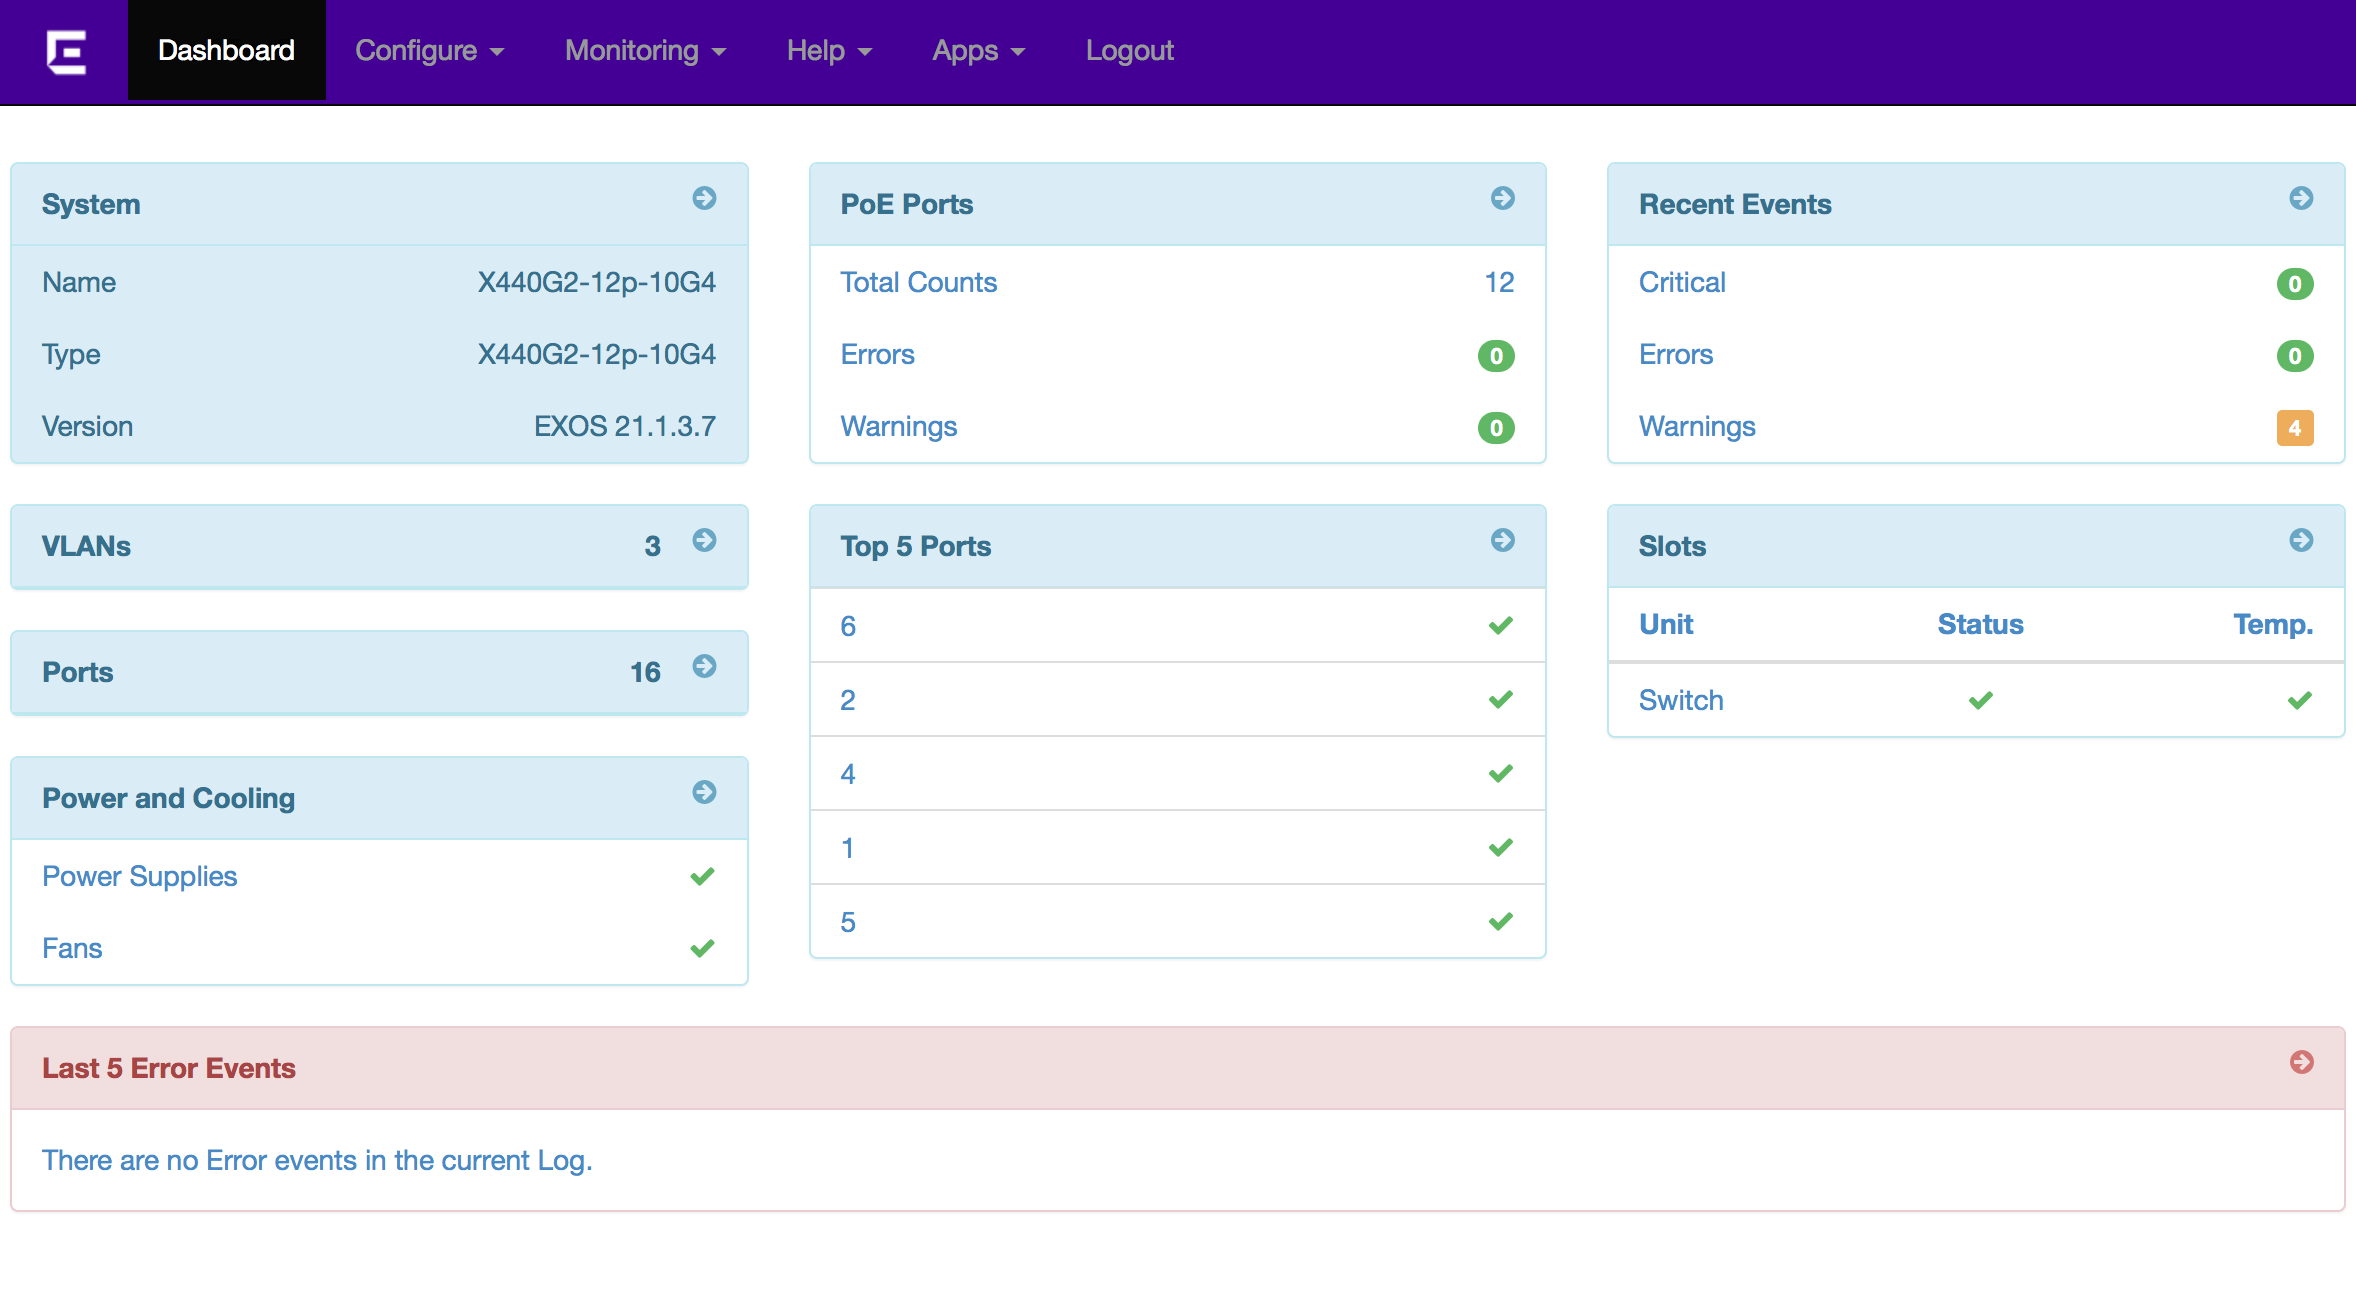
The web-based user interface, called Chalet, is a quick way for setting up and viewing information about a switch. Chalet removes the need to know and remember commands in a CLI environment. Viewable on desktop and mobile with a quick login and intuitive navigation, Chalet features a Quick Setup mode for configuring a switch in a few simple steps. Basic data surrounding port utilization, power, and Quality of Service (QoS) are available, and more advanced users can configure multiple VLANs, create Access Control Lists (ACLs), and configure Audio Video Bridging (AVB).
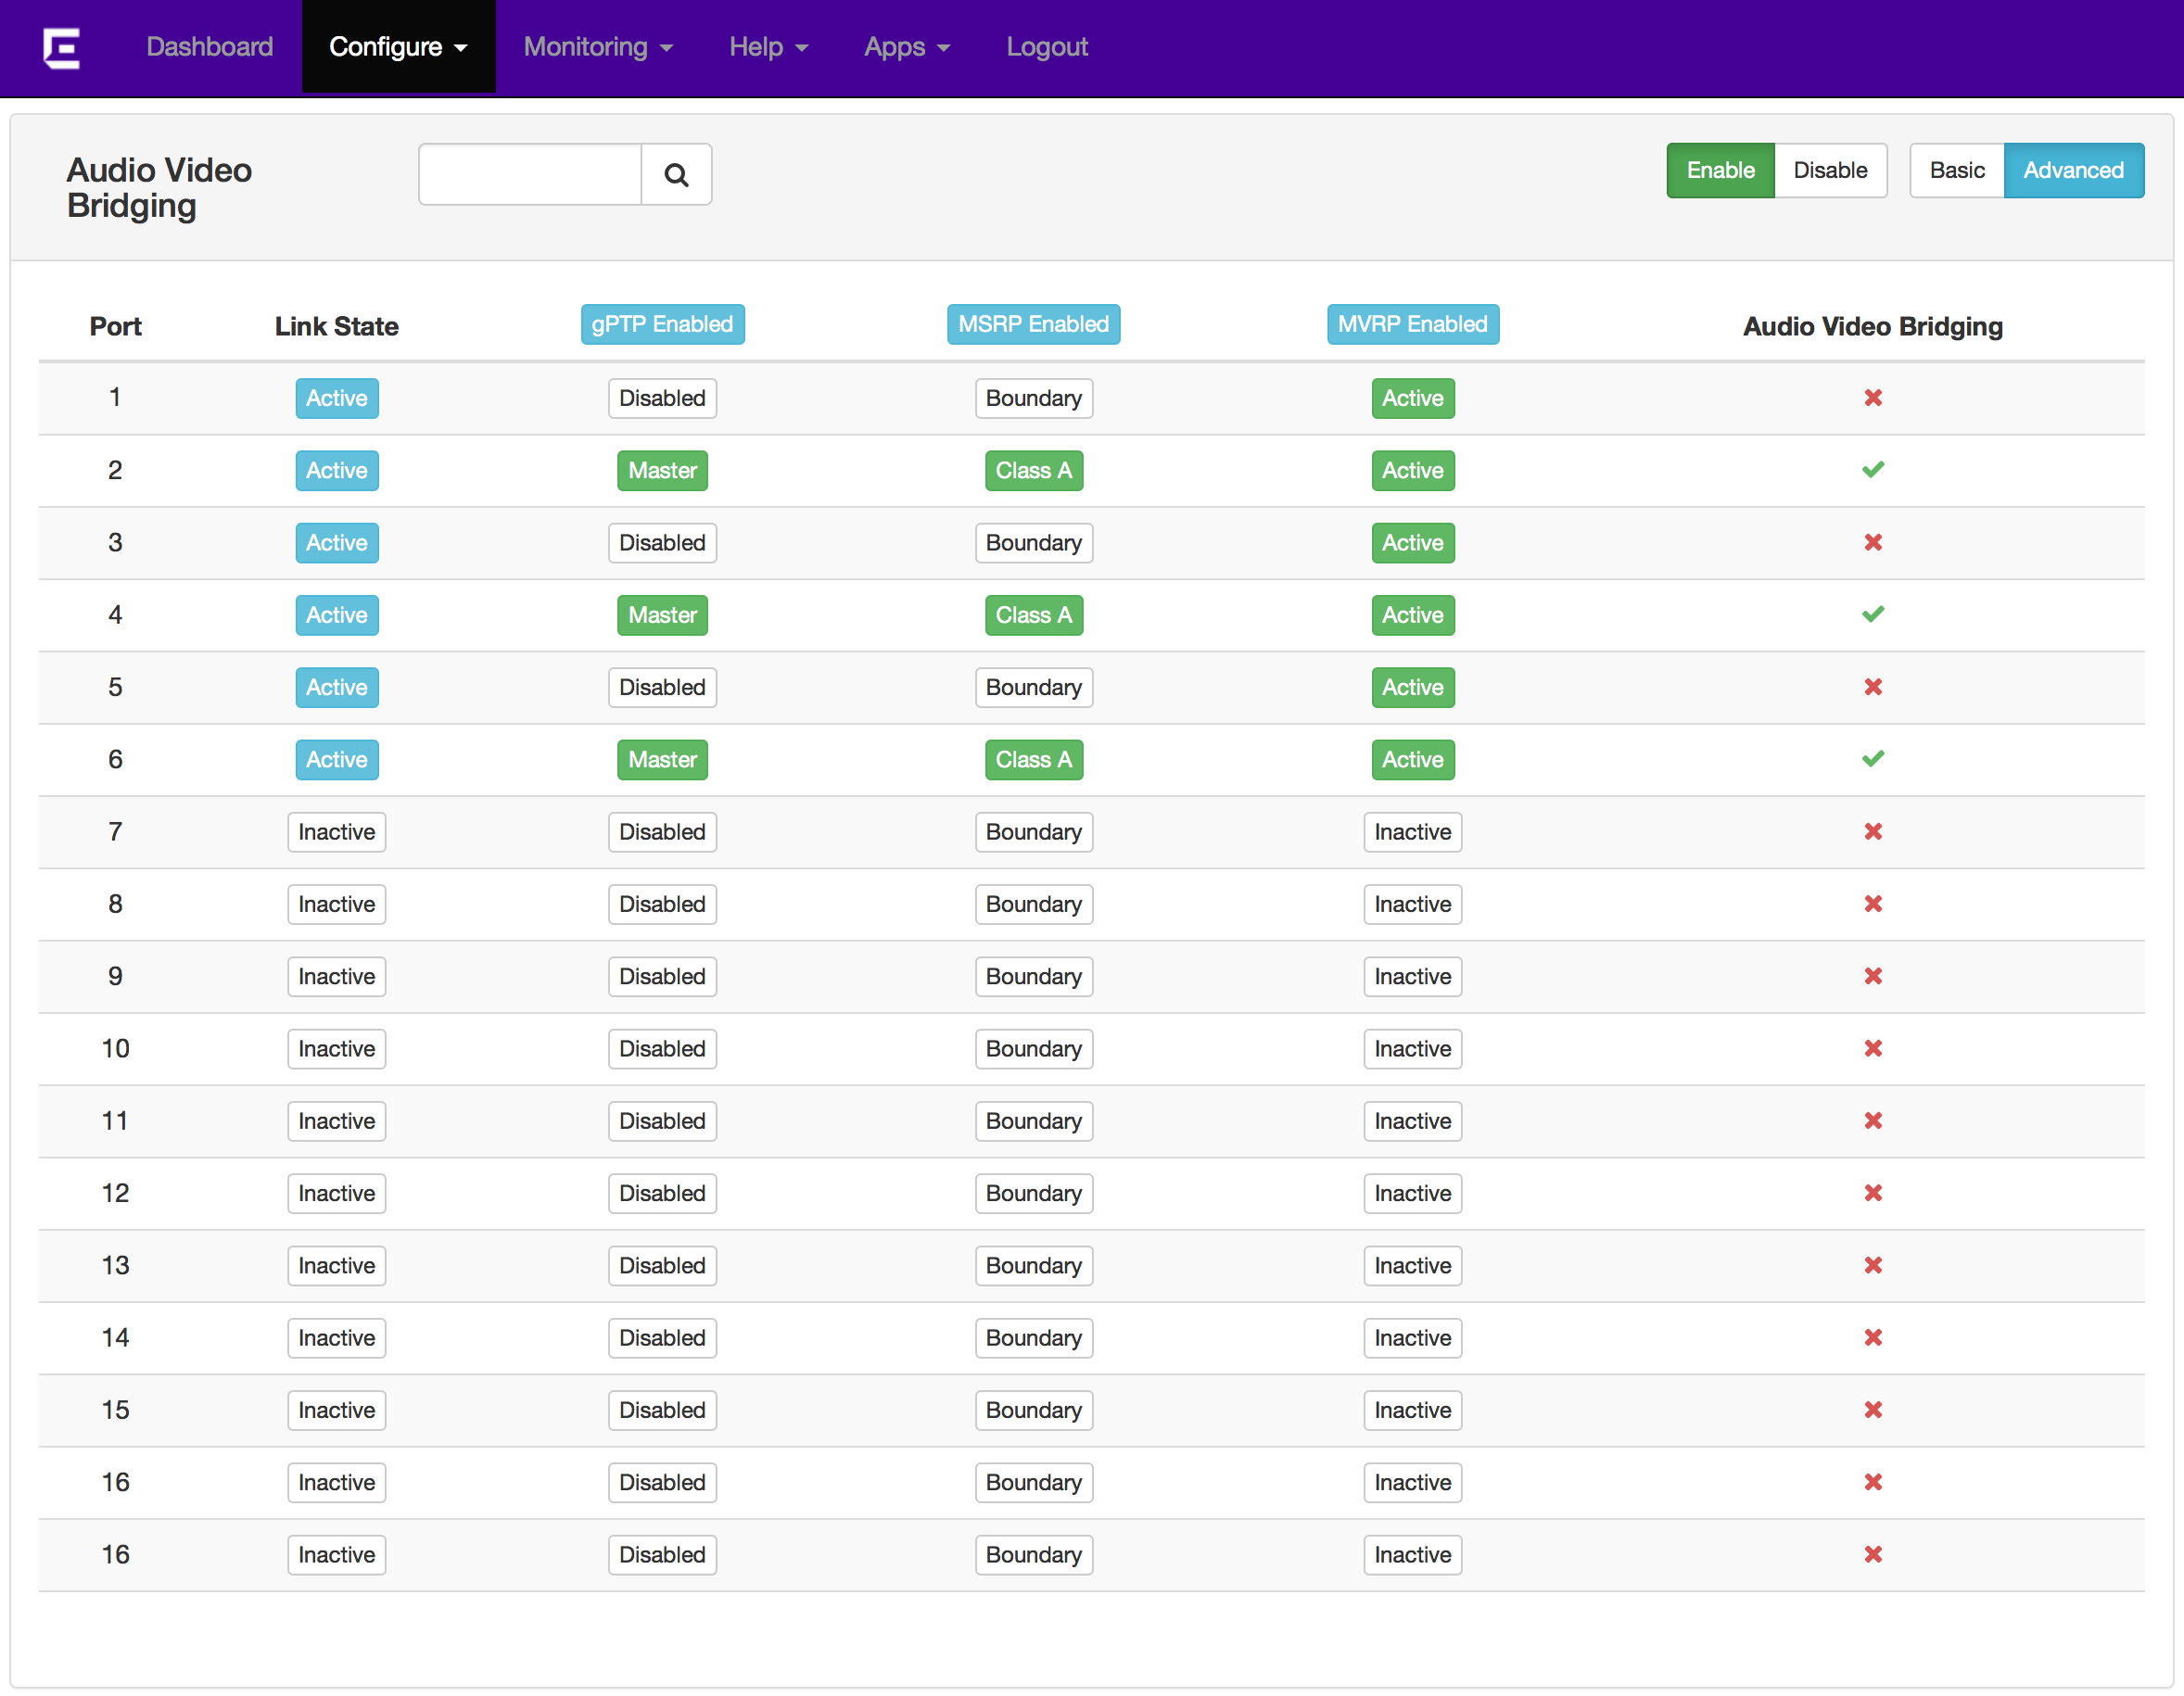
Amongst the various options available on the Chalet menu, there is a dedicated 'Audio Video Bridging' option under 'Configure', which provides a quick way to observe AVB activity on the switch.
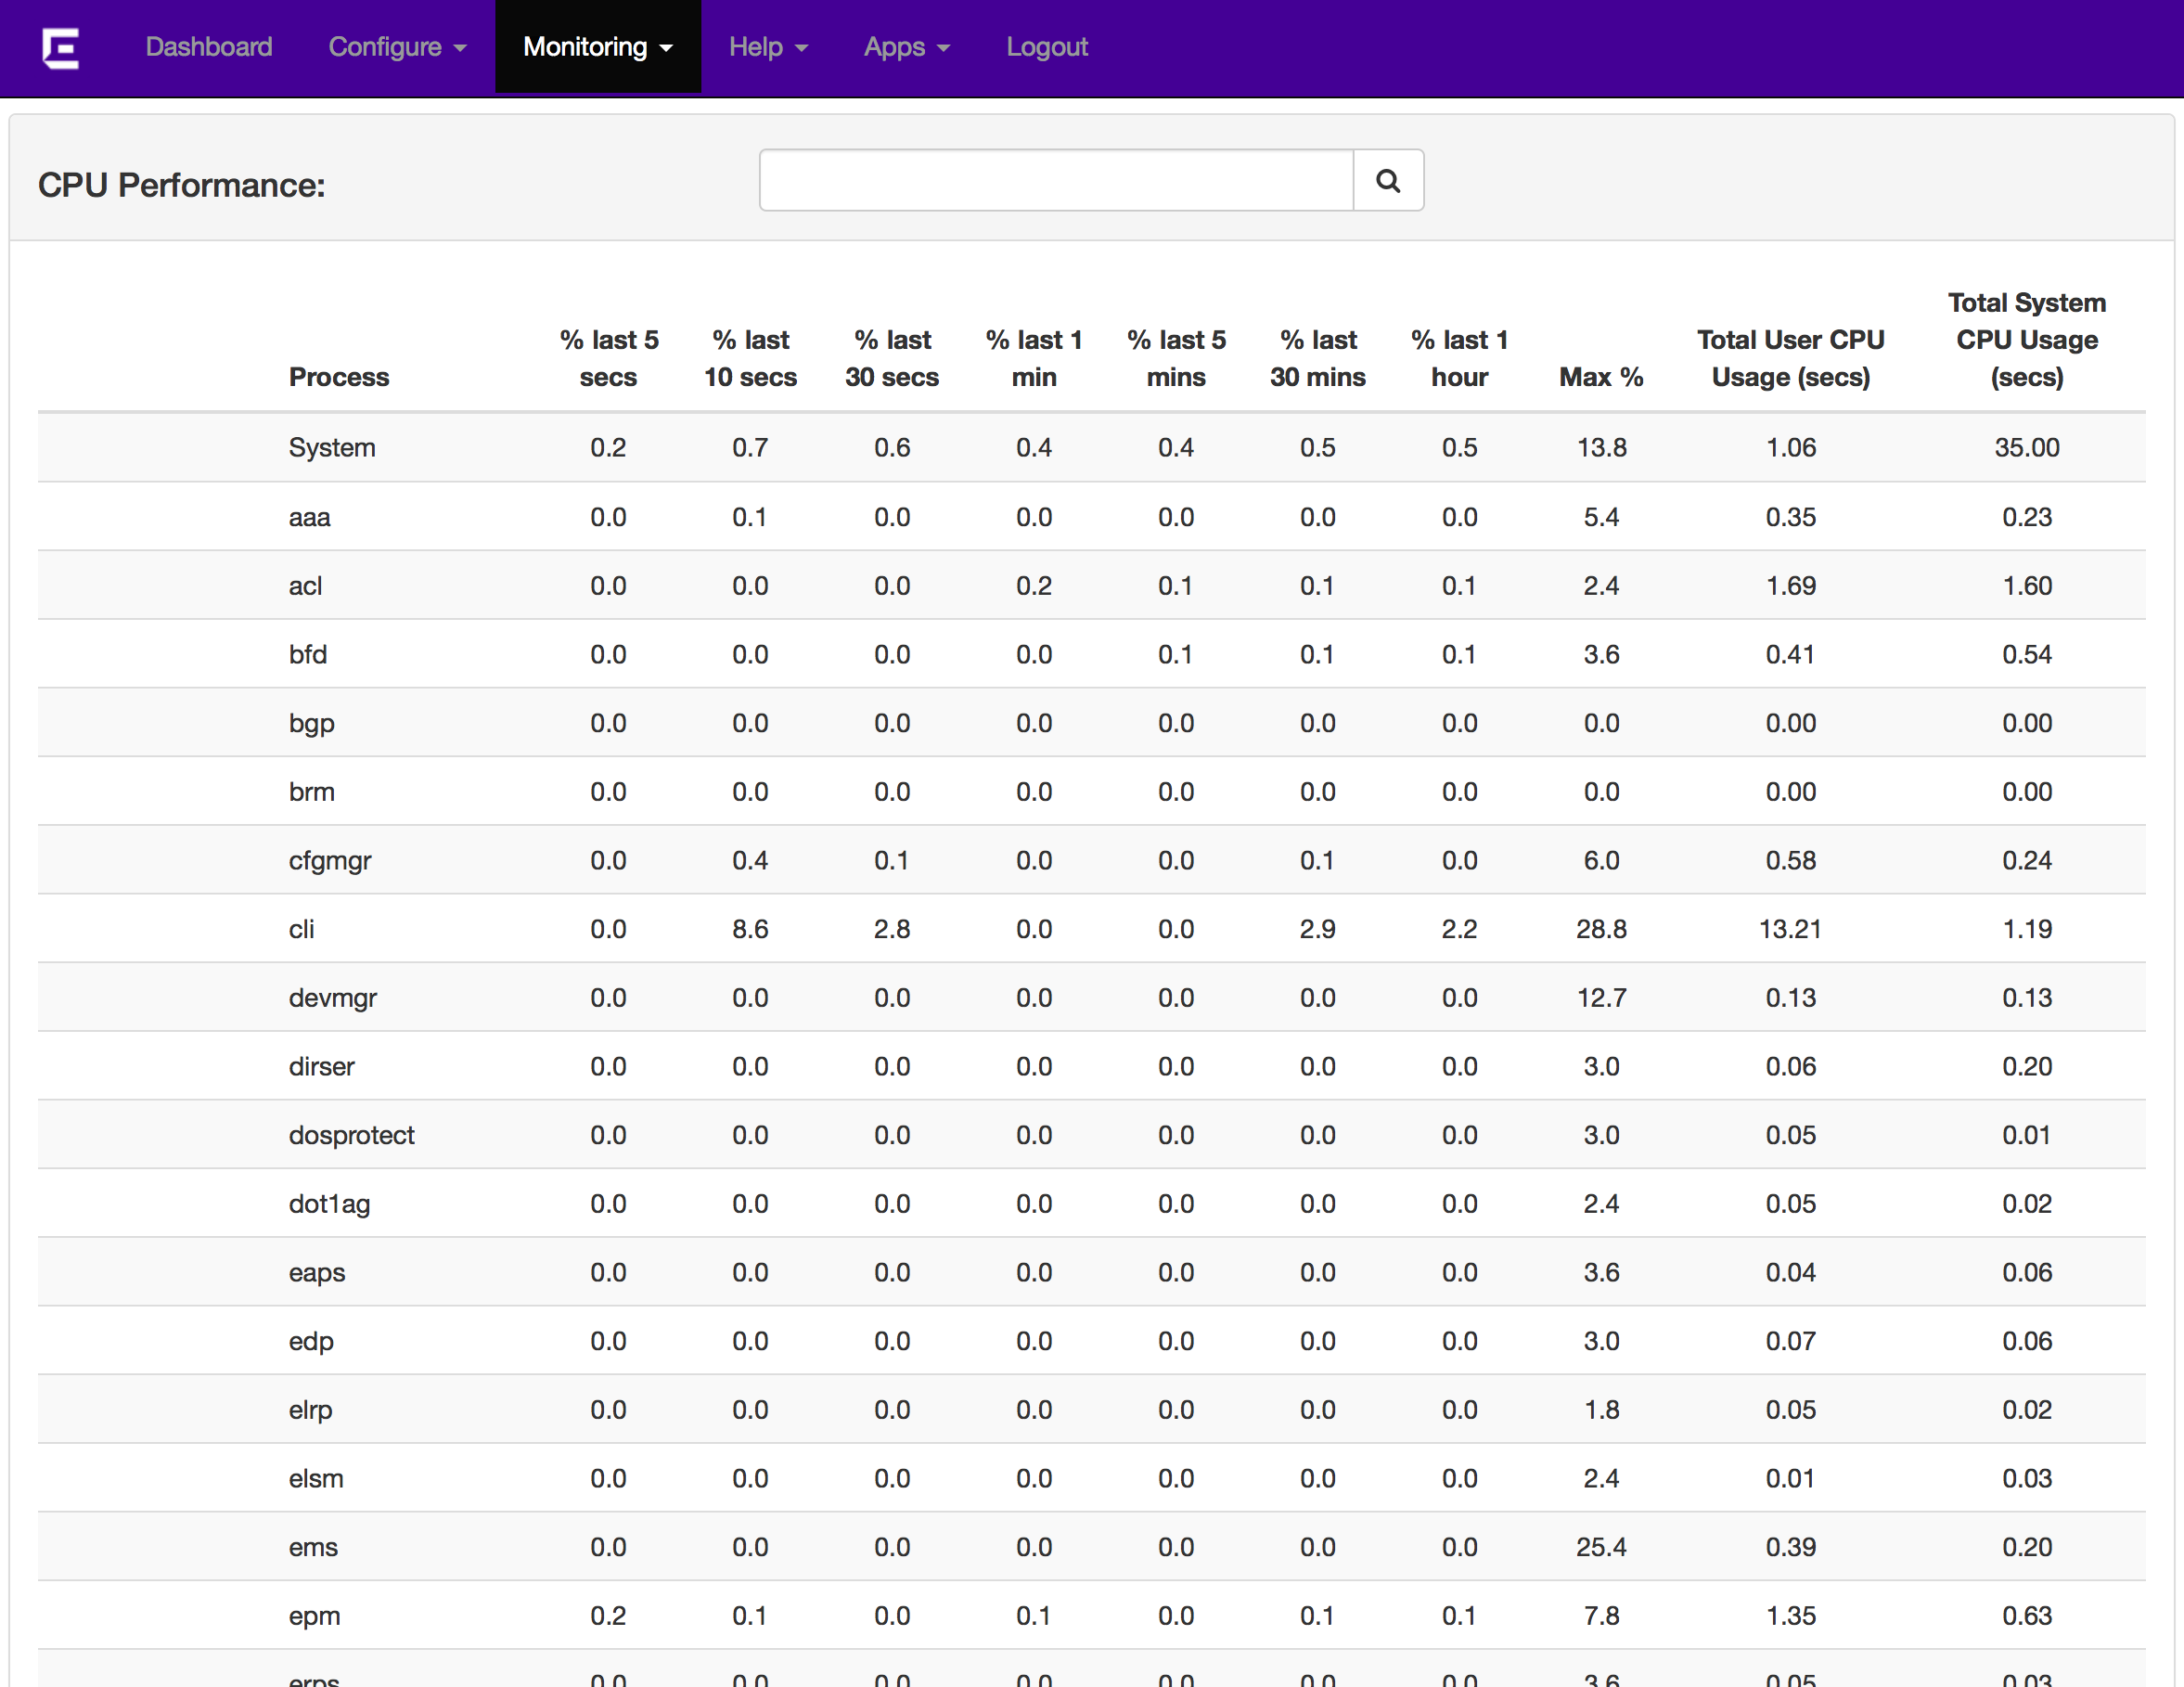
System option under 'Monitoring' can be useful to check CPU performance and identify any bottlenecks in a network with multiple switches and heavy traffic, especially in very large AVB systems.
For more detailed information on Chalet, please refer to this article from Extreme Networks.