How to load a Tesira configuration file
 Before you can tune or test a Tesira system it must be running a configuration. These steps outline how to send a configuration to a Tesira system
Make sure you can see your devices on the network.
To send a file you must see your server class devices with the software.
1. A good first step is to ping the devices
- This tech note can guide you on how to ping a device
- An example of a successful ping:
C:\Users\>Ping TesiraForte02408413
Pinging TesiraForte02408413.local [169.254.224.243] with 32 bytes of data:
Reply from 169.254.224.243: bytes=32 time=1ms TTL=64
Reply from 169.254.224.243: bytes=32 time=1ms TTL=64
Reply from 169.254.224.243: bytes=32 time=1ms TTL=64
Reply from 169.254.224.243: bytes=32 time=2ms TTL=64
Ping statistics for 169.254.224.243:
Packets: Sent = 4, Received = 4, Lost = 0 (0% loss),
Approximate round trip times in milli-seconds:
Minimum = 1ms, Maximum = 2ms, Average = 1ms
For a more detailed view of device discovery see this tech note
Ensure that the devices are configured correctly for the network.
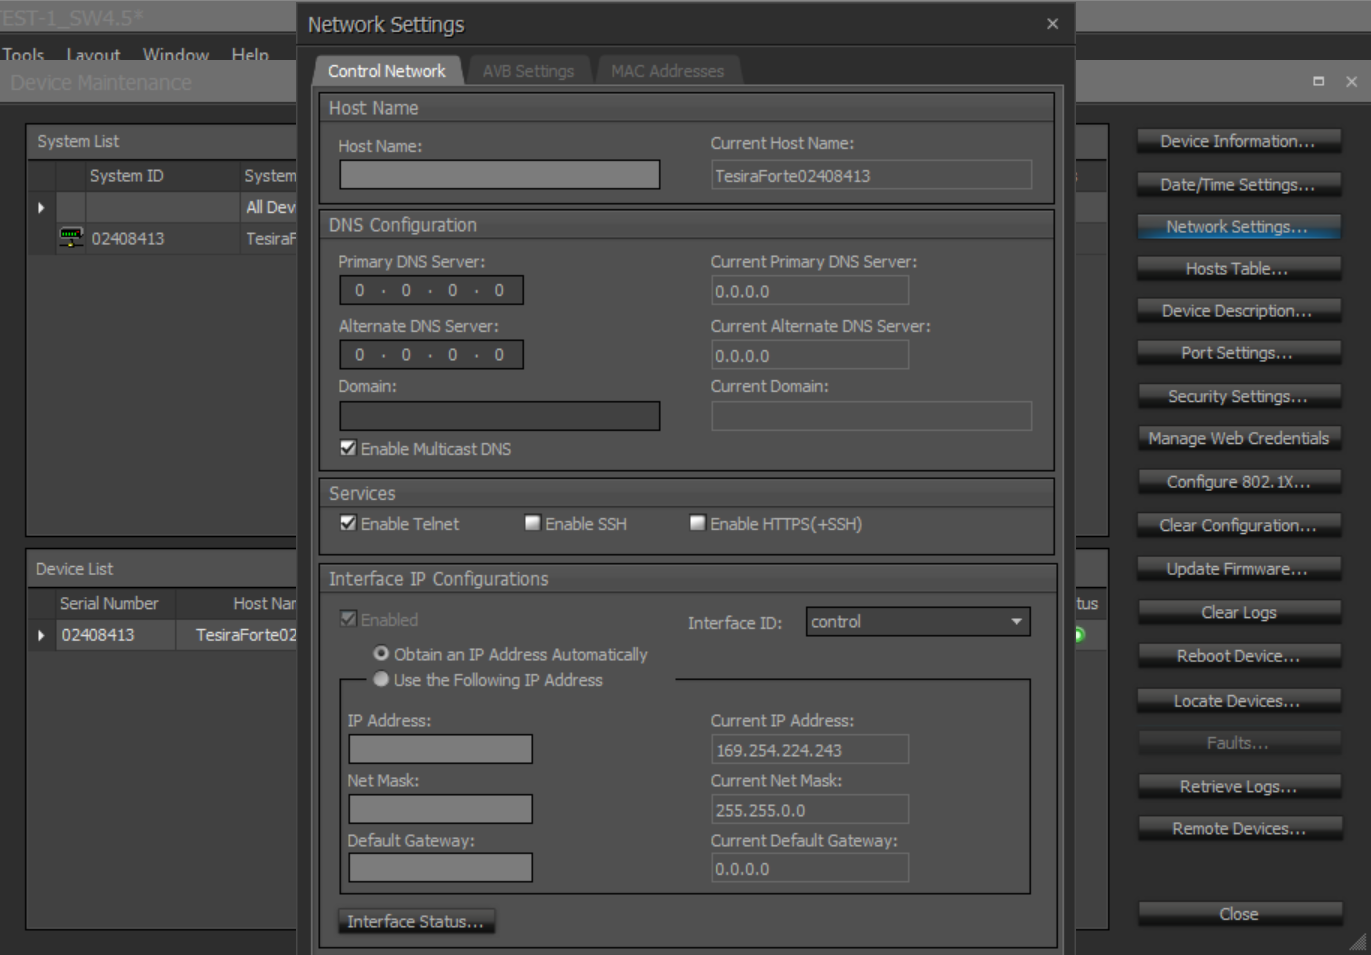
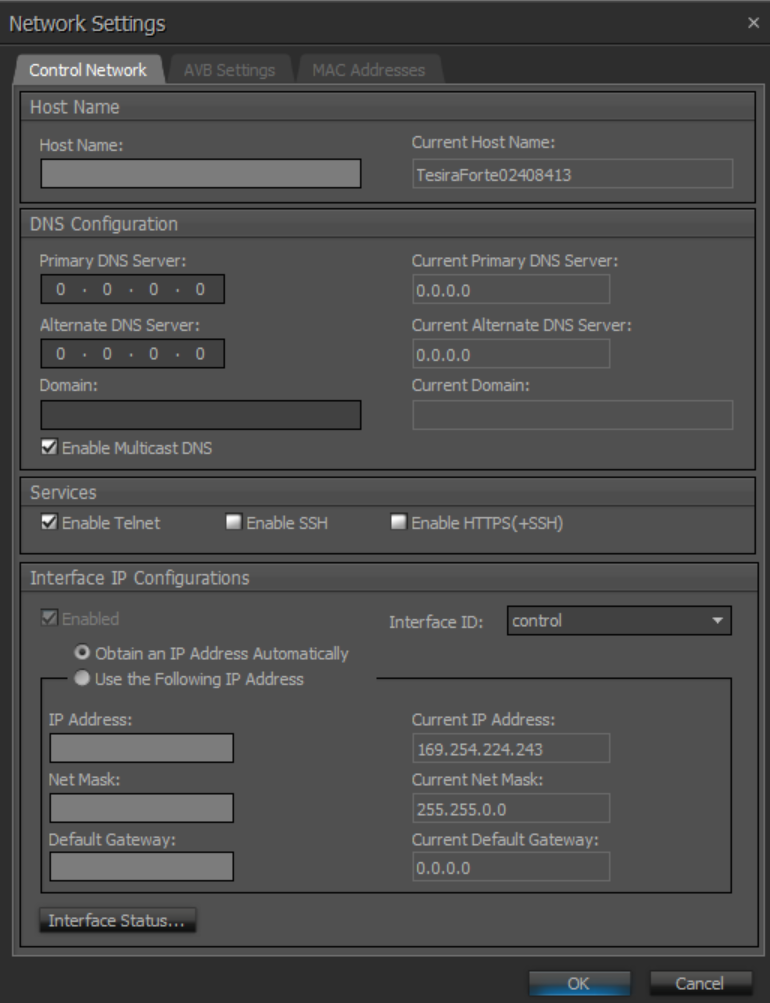
- From the Tesira Software Perform Device Maintenance - Network Settings:
- Set the Hostname.
- Set the Static IP and Dante IP
- Enable
- (Forte X only) - Set Port Mode
- Power cycle.
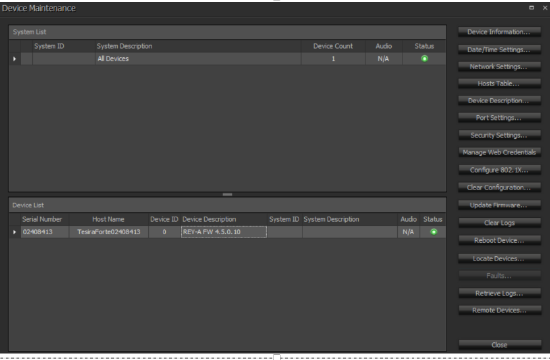
Verify that your DSPs are ready to accept a configuration
- Perform Device Maintenance to discover all devices with Tesira Software.
- Configuration Cleared,
- Verify same FW loaded.
- Device ID = 0
- Status Green.
- Set Date and time.
- Clear Logs.
Open your configuration file in the software
- Open the Configuration file.

- Verify it pertains to the correct system
Assign your hardware in the equipment table
- Open the Equipment table and add devices for this system.


- Click on Host Name
- Select the Device for this System that matches the Device Class and Model.
- Repeat for all Devices that are part of this system.
- Remote expanders must have a proxy host assigned to them.
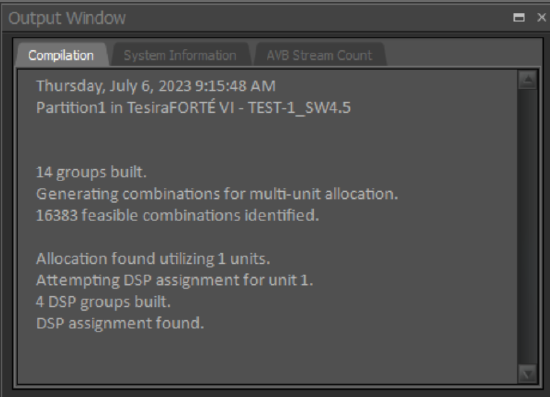
Compilation and sending the configuration
- Compile file check Output Window.
- The hardware should match what is in this system.

- Compilation should have no issues.
- Yellow text items in this window are blocks ignored by the compiler.
- Red text items are things the compiler could not configure.
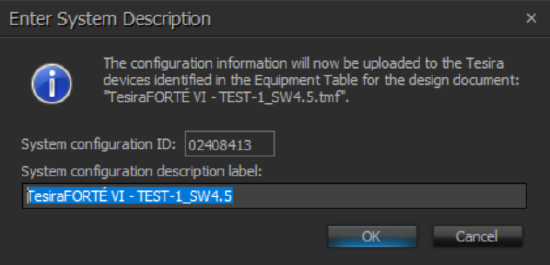
- System Description can be edited separately from the file name.
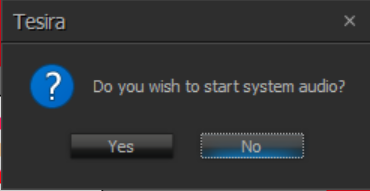
- Always start all audio.
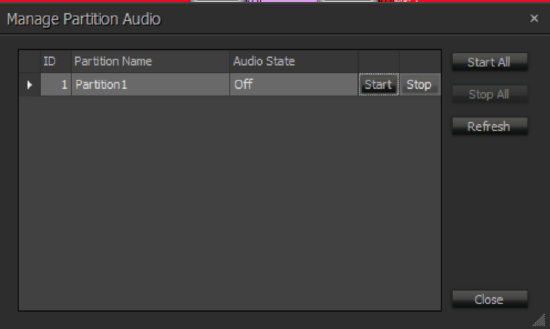
- Start the partition audio
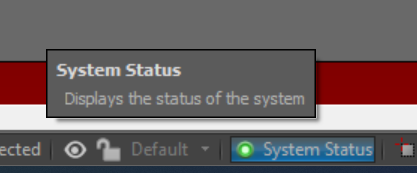
Verify that your system is running audio
- Click on System Status, Bottom right of Tesira Software.
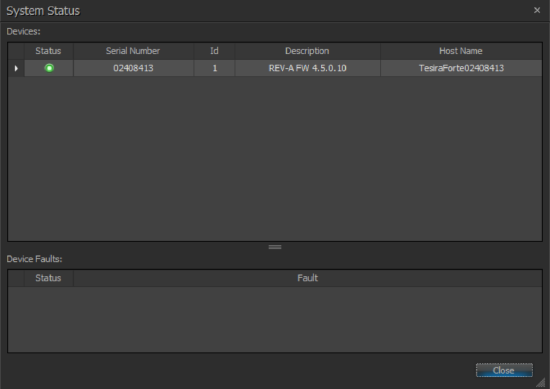
Start testing the system.